Quite a few of my readers have become interested in making home recordings, and have asked me how to mic a violin. This is a great question! Making high-quality recordings is a great way to keep track of your progress, and to share music with others.
Today I’ll go over three different types of microphones that are great for violin players, and how to use them. They’re at three different price points, and some are easier to use than others. I hope this article eliminates the challenging task of figuring out what mics you can use to capture the true sound of the violin. Without further ado, check the miking options below and see what works best for you!
Recording a Violin with a Cell Phone
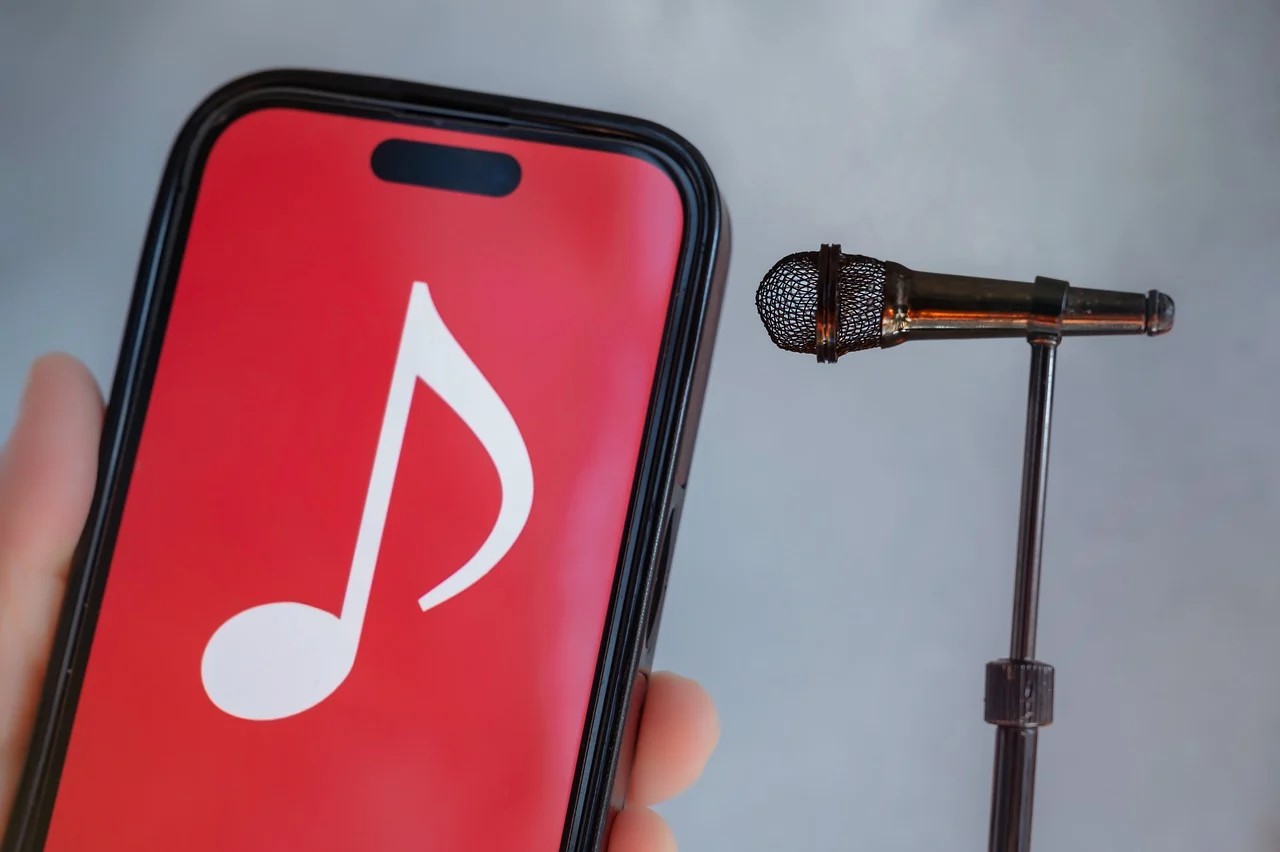
Recording your violin with a cell phone is one of the easiest, cheapest options, as long as you already have a phone. Newer models have much better microphones than older ones. Either way, recording yourself with one is a great way to get started.
Pros of recording yourself with a smartphone
- If you already have a phone, then this can be a “free” option
- External plug-in mics can give you a professional sound
- Plenty of apps available to customize the recording sound, and there are apps you can download to edit the recording
- You can easily take both audio and video recordings
- The mic is omnidirectional, so the placement doesn’t play such a big role compared to other miking options
Cons of recording yourself with a smartphone
- Phone microphones can sound low quality, especially if you don’t change any settings
- They’re especially notorious for reducing the dynamic range
- You’ll either need a tripod or a creative way to set up the phone to record
When using a phone, you can either take a video or use a recording app. Most smartphones have a voice memos app pre-installed, but there are plenty of third-party apps available on all platforms. Some of these apps even let you customize the way the microphone picks up sound, and you can optimize it for the violin.
Smartphone microphones tend to work best around 3 to 6 feet (ca. 1-2 meters) away from the violin. Learn where the mics are placed in your particular phone, and try to point them toward the right f-hole of your violin. If you’re making a video recording, you’ll achieve a high-quality sound by centering your violin in the video.
If using a phone is your preferred recording method but you want to get a clearer sound, some high-end microphone brands have started to sell microphones that plug directly into your phone’s charging port! If you like making and sharing videos of yourself playing the violin, purchasing one of these mics could be a great option.
Recording a Violin with an Audio Recorder
Audio recorders are very popular because they’re a great mid-range option for violin players. For example, Zoom makes both microphones and video/audio recorders. For the price of a higher-end microphone, you could buy a combination video/audio recorder from Zoom for the same price.
Pros of using an audio recorder
- Low-cost option
- All around a good microphone option that can give you reliable results
- Easy to use for anyone new to recording
- Easy to transport if you want to record live violin performances
Cons of using an audio recorder
- Extra accessories needed: cables, SD card
- The SD card you use can only be between 16-32 GB and has to be formatted specifically for this recorder
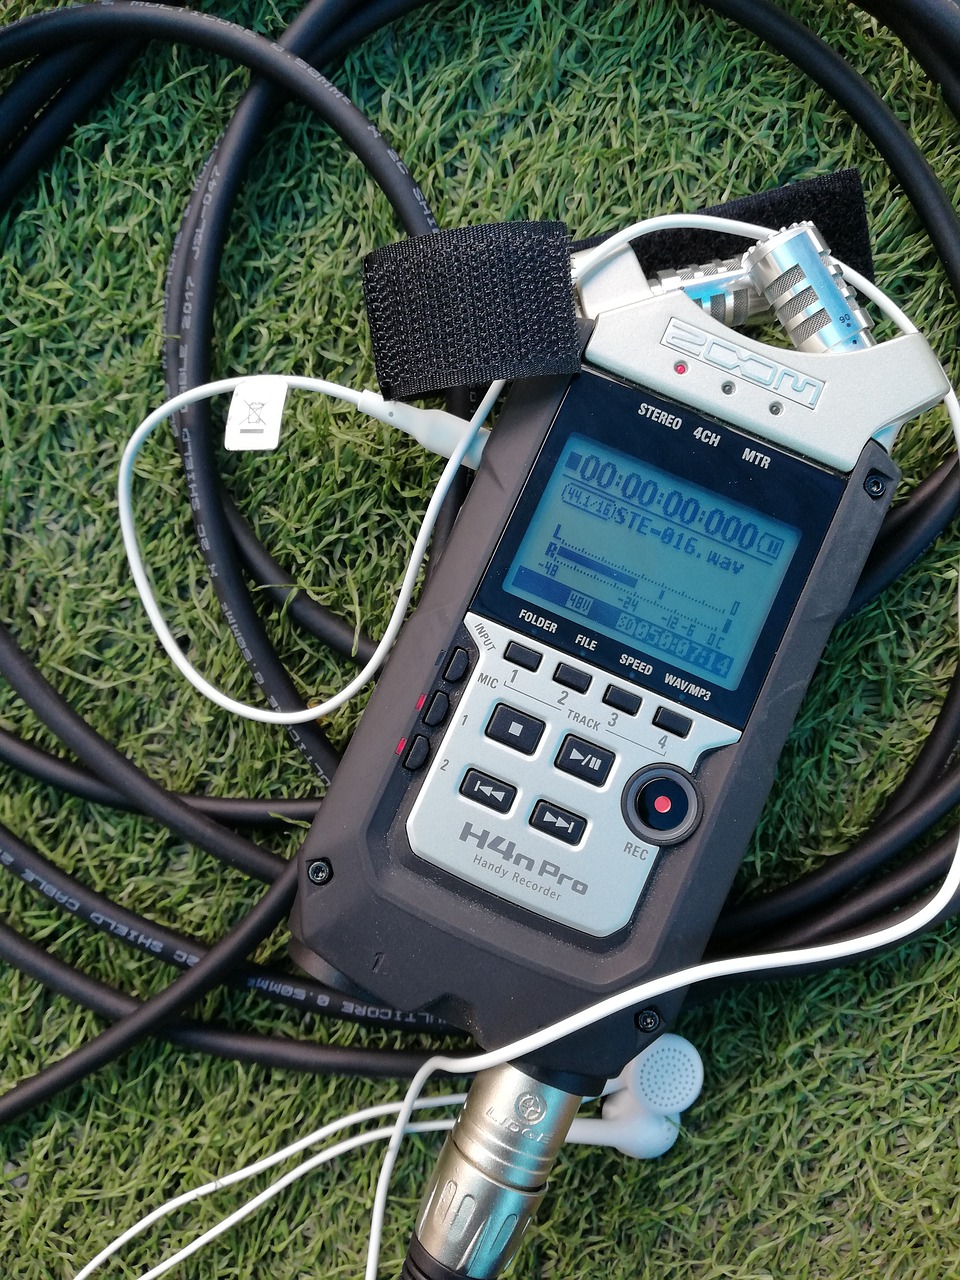
The H4N Pro is a new model Zoom microphone that can record up to four tracks. If you’re interested in layering and recording over yourself, this is a great device to start with. You can record directly into the microphone, or connect it to a computer via a USB cable to record into a program like Audacity or GarageBand.
Zoom labels this as a “recording device,” because it has the capacity to both record sound and edit it on the device. It has two built-in microphones that are placed in a V shape to capture sound from different angles. They can record in stereo, and you can even change the angle of the two mics to capture either a wider range of sound within the space or to center in on just one instrument’s sound.
If you use this particular recorder, you’ll need an SD card that can only be formatted to work with the device. If you want to plug it into a computer, you’ll need to buy a separate USB chord, and if you plan to plug in more microphones to the device, you’ll also need a separate XLR cable for each microphone.
To record the violin sound, try placing this mic 1-2 feet (ca. 30 – 60cm) above your instrument, and about 3-4 feet (ca. 90cm – 1,2m) away from you. You can achieve a full sound by pointing one of the microphones at the violin, and the other at the back of the room to capture the natural violin sounds that bounce around the room.
Recording a Violin with a High-End Microphone
In this section, I present more expensive options that are better for professional, high-quality recordings. If you’re doing virtual auditions or distributing recordings, these microphones will give the most honest, beautiful, and full sound.
Pros of using High-End Microphones
- Generally, they give you the best, most natural sound
- After you record, you can edit the raw recording to add extra reverb and other effects to get a professionally-sounding recording
Cons of using High-End Microphones
- Can be a steep learning curve
- Requires extra equipment, like an audio interface, XLR cables, and mic stand
- Most expensive option
Condenser Microphones
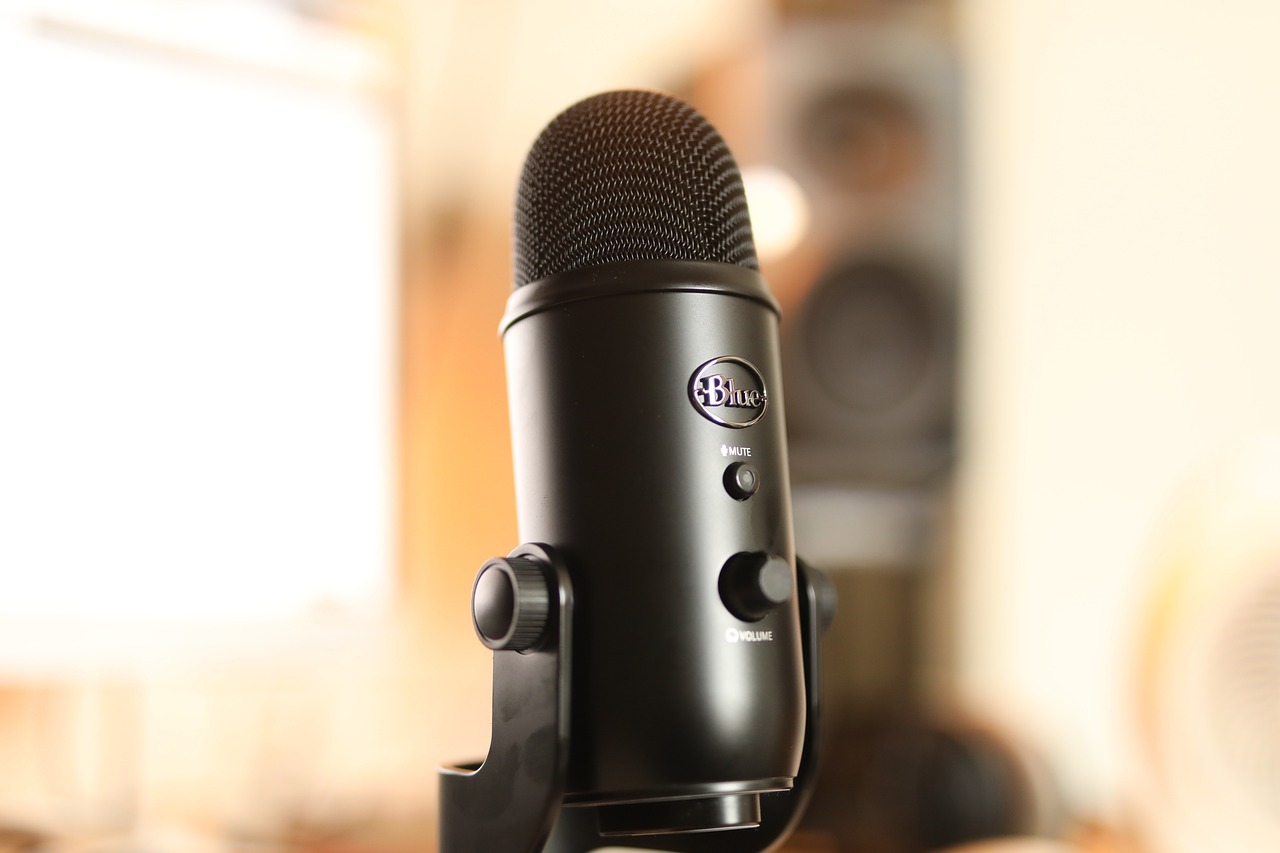
Condenser mics are one of the most popular forms of microphones available. They come in many different price ranges, but a great starting option is the Blue Yeti.
This type of microphone picks up a large frequency range and is great for capturing voice, violin, and other instruments. It’s very versatile!
This particular microphone has a USB plug, so you can connect it right to your computer without any extra equipment. The gain dial on the mic allows you to change how sensitive it is, so if you record once and find that your violin maxes out the sound, turn the gain down a little, and it should sound less harsh.
There’s also a “pattern” dial that lets you change what direction of sound the microphone picks up. Cardioid mode is best for recording the violin, voice, or any instrument in front of the mic. This setting focuses on just picking up the sound occurring in front of the mic and picks up less sound from the sides or from behind the microphone. This setting helps avoid unwanted background noise from your recording studio.
A good mic placement for the Blue Yeti is about 3-4 feet (ca. 90 – 120 cm) away from the violin, either level with the instrument, or a little above it, angled towards the bridge. This should pick up the tonal qualities you’re looking for, without too much extraneous noise.
No extra accessories are needed for this particular microphone since it plugs in via an included USB to a computer.
Ribbon Microphones
Ribbon mics provide the most natural sound of the instrument. Sound engineers primarily used ribbon mics from the 1930s to the 70s, until the condenser microphone became more widespread.
Ribbon mics work best in a room that already has a good sound. The AEA R84 ribbon microphone is a fantastic microphone for recording solo violin, however, it’s quite expensive. This microphone works best when placed 2-4 feet (60 – 120cm) above or in front of the violin.
These microphones, while they capture a fantastic full-bodied sound, have the highest learning curve and require the most accessories. Ribbon mics (and many condenser microphones, too) must be plugged into an audio interface, which acts as a liaison between the microphones and the software you’re recording into, like Audacity on a computer. So in addition to the microphone, you’ll need an XLR cable, an audio interface, and a USB cable to plug the interface into a computer. You’ll also need a mic stand to place the mic optimally when you record.
If you purchase this type of microphone, check out their website for helpful videos and instructions on how best to use it. This, along with the instructions in the box, will help you start making solid recordings!
Preparing Your Space
Before pressing record, make sure your space is optimized for what you want to do.
1. Choose your recording space
Choosing an acoustic space worthy of recording your string instrument is very important. A large space will provide a reverb that can sound “messy” in a recording, but a small recording booth or closet will deaden the sound of the violin too much.
To get the best violin sound, try to choose a moderately-sized room so that the violin sound is full, but not bouncing off every surface.
2. Minimize the reverberation
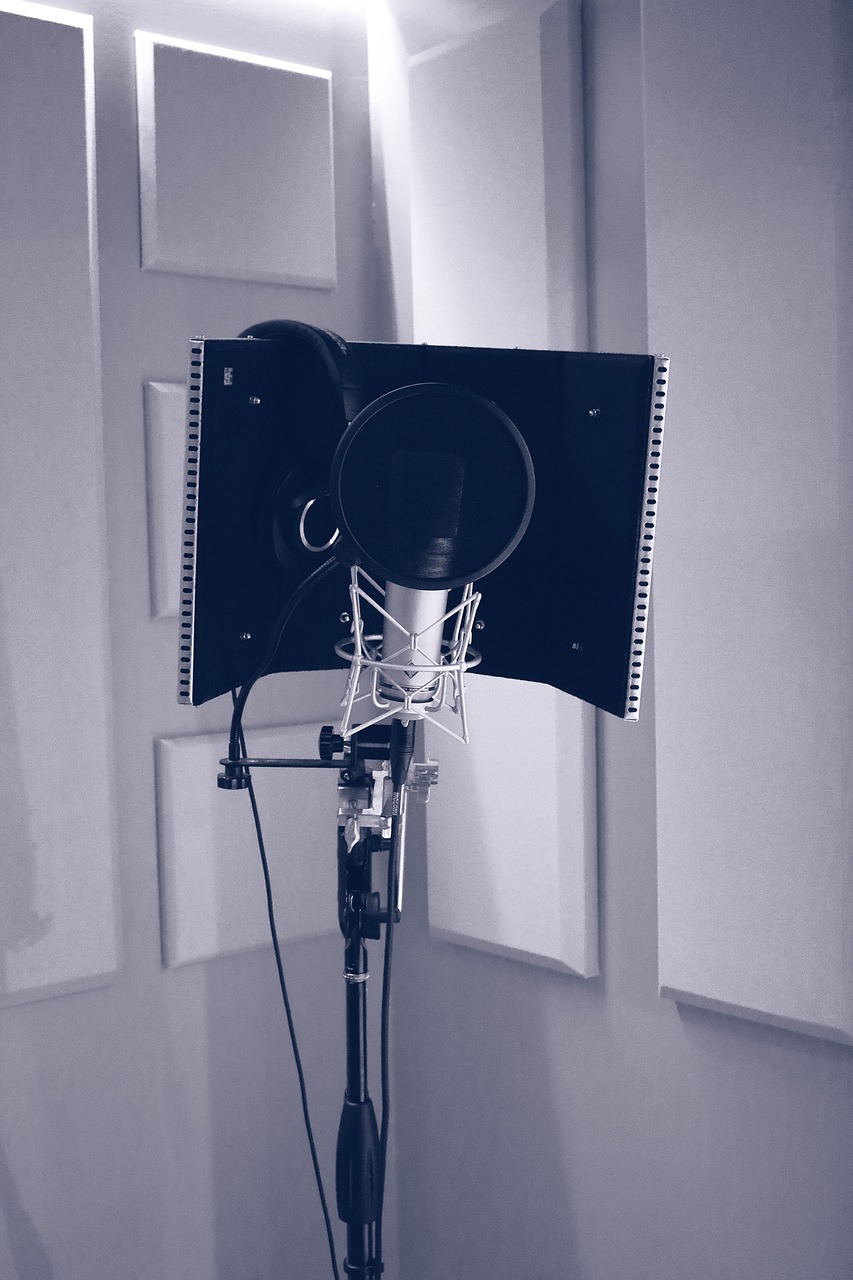
If your space has too much resonance, you’ll want to try to deaden the sound (take away the echo). If you’re very serious about recording, you could invest in soundproofing panels, but easier solutions include drawing the curtains closed, adding rugs, and even hanging a blanket or tapestry on the wall to absorb some sound.
3. Pick a quiet time to record
It’s best to choose a time and place that’s quiet, and free of distractions. Many high-quality mics are sensitive and will pick up extraneous background sounds. Choosing somewhere quiet will help eliminate unwanted sounds in your recording.
4. For video recording, add some lights
If you’re also recording video to share with others, choosing a space gets even more difficult. In addition to finding a space that sounds good, you want to find a place that looks good on camera. Phone cameras generally do a nice job, as long as there’s natural light, but if you’re using a fancier standalone camera, you may need some extra lights.
To prepare, let in as much natural light as you can. Take a short test video, and see what it looks like played back. It very well might not be bright enough. If so, turn on all the lights you can, and if you need any more lights, try adding more lamps to the space, or even a cheap ring light or other lights intended for videography.
Troubleshooting
Here are a few common issues you might encounter when you learn how to mic a violin.
Your mic is too close
Your mic might be too close to the violin if you hear unwanted noise from the strings or bow, or if you hear too much of one string and not enough of another. For example, if the E string is loud and the G string is quiet, the microphone might be placed too close to the E string.
Your mic is too far away
The microphone might be placed too far away if you’re hearing ambient noise and sounds from the room or even outside of it. You might not hear your articulations, and the recording may be too quiet overall. Try placing the mics a little closer to your violin, or turn up the gain.
Your clothing and environment
Jewelry and even buttons on your clothing can make vibrating or weird metallic noises against the violin, which are then picked up in the recording. As a string player, I always avoid wearing long earrings for performances and recordings!
If you have pets or kids running around, or even people talking in the next room over, it might get picked up. Try your best to record on a day and in a place without distractions.
Poor equipment – speakers/headphones, sound card
If you’re listening back to your recording and thinking “this just doesn’t sound good,” think about what you’re listening on. Cheap speakers or headphones will do a disservice to your playing and to the quality of the recording. If you can, listen back to your recording on something with good speakers, or with quality headphones to get the best idea of the true sound quality. Also, you may want to use an external sound card if your computer has only an integrated one.
You may also like…
Recording your violin playing is a great way to track your progress and share your work with others. Now that you know how to mic a violin, I hope you feel empowered to make your own recordings!
If you enjoyed this article, I think you might also like my Violin Pickup Guide. Good luck recording!


