A beginner’s guide on how to rosin a bow
You brought your violin home and opened up the instrument case to find the violin, bow, and… a box of shiny brown tree sap? You might have wondered, what is this stuff?! The answer is rosin! Rosin is a necessity for playing violin or any other bowed string instrument.
Rosin is applied to the bow hairs to provide friction on the strings and actually produce sound. Applying rosin to your violin bow is a rather easy task, but apply too much or too little, and you won’t achieve your desired sound. Beyond that, there are also different types of rosin to choose from!
Let’s walk through what rosin is, the right and wrong ways to apply it, what types are best, and all the other questions that may be going through your mind.
What is Rosin?
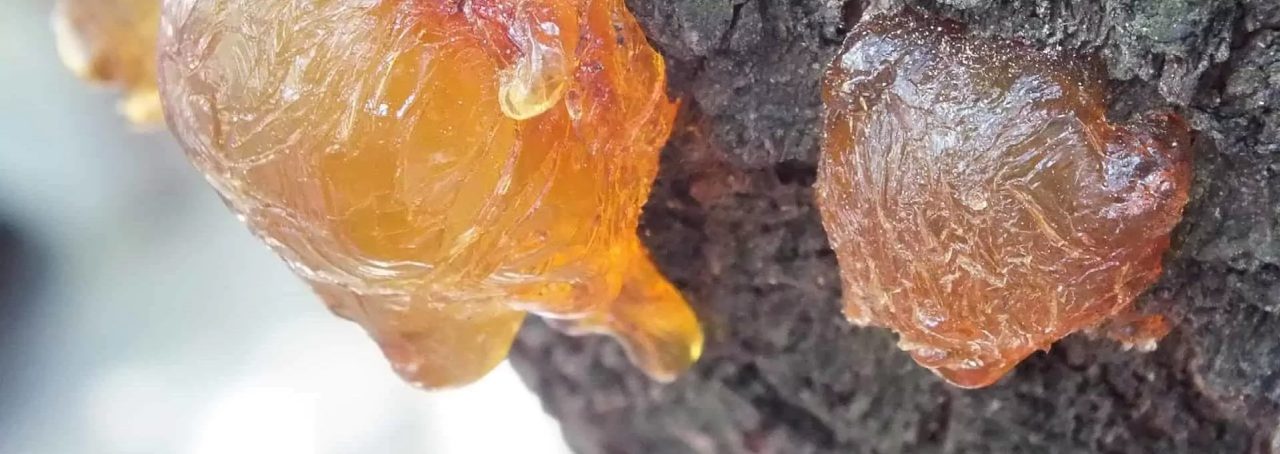
Rosin is a sticky substance that we apply to our bows to create friction between the bow hair and violin strings, which then creates sound. Rosin is made of pine resin that has been heated, purified, and re-solidified. Some manufacturers will add additional ingredients to improve the grip, change the desired tone, or to make the product more suitable for different environments.
Since rosin is made from sap, it can have a slight pine scent.
Rosin dusts up as we play from the friction between the bow and strings. In dry conditions, rosin can kick up a lot of dust, but in humid environments, rosin can become quite sticky. It’s important to clean rosin dust off your violin and bow to keep things clean, and to keep rosin from melting and sticking to your beautiful investment.
How to Apply Rosin to Your Bow
- First, tighten the bow hair.
- Going in small sections, swipe the rosin up and down the bow hair about 3-5 times. You generally want to apply rosin evenly along the entire surface for a consistent sound.
- If you’ve been playing for a while and notice “dead spots” on your bow that sound quiet and don’t grip the string quite as well, try to focus some extra rosin on those spots.
- After I’ve gone over all the hair in small sections, I like to go over the entire length once or twice in long sweeping motions to blend everything together.
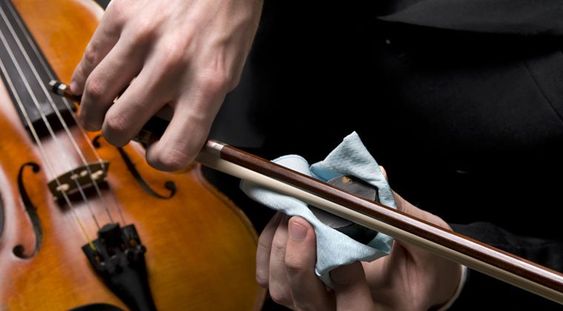
Congratulations, you just applied rosin to your bow! This is my process when rosining a bow that I play on often. If this is your first time adding rosin to a new bow, keep reading for more specialized instructions.
How to Apply Rosin to a New Bow for the First Time
When you get a new violin bow, it probably won’t have any rosin on it yet. Rosin provides friction between the bow hairs and the violin strings. Without any of this friction, the bow doesn’t really grab the strings, and you might feel the bow slide and “skate” on top of the strings, while only producing a whisper of sound. This is why we use rosin!
To apply rosin to a new bow, you’ll want to follow the steps above, but with many, many extra swipes up and down the bow hair.

It can sometimes feel difficult to estimate how much rosin to apply to an entirely new bow, so you might want to apply rosin, experiment with playing, and then add more if needed.
When you’re playing on a new bow, you might need to reapply rosin often to build up a residual amount. This is normal, and after a bit of time, you’ll be able to use a “normal” amount of rosin to achieve your desired sound.
How Often to Rosin Your Bow
Since rosin is essential to playing any string instrument, you always want to have at least a thin layer of rosin on your bow.
I find that I don’t need to put on rosin every single time I play, but a good rule of thumb is to apply rosin after every 3-5 hours of playing. If you play a lot, that may mean you have to use rosin every day; or if you play a little less, it could mean applying rosin once a week or so.

The Right Amount of Rosin
Finding the right amount of rosin to use can be a delicate balance. Too little rosin will give you a thin sound, and it may feel like your bow slides or skates on top of the string, rather than really gripping it. Too much rosin will give a scratchy sound, and you may even notice clouds of rosin dust puffing up as you play!

At some point, you may find small spots along the length of the bow that don’t create sound, and feel slippery across the strings. I call these “dead spots” – little areas along the bow that just don’t have enough rosin. If you notice this on your bow, note the location, and apply extra rosin to that area in particular to fix it.
Types of Rosin – What to Buy
When looking to purchase rosin, you may feel overwhelmed by all the options available! There’s light rosin, dark rosin, summer rosin, and even winter rosin! They all have their own unique traits that can be useful in achieving your desired violin tone.

Types of Rosin
There are 2 basic types of rosin: light and dark. Light rosins are generally dustier, and dark rosins are stickier.
Many violinists and violists choose lighter rosins, while dark rosins are better for cellists and double bassists, as they need a little more grip to get their large strings to speak. Light rosin can help you create bright sounds, and dark rosin can bring out a warmer tone.
When shopping for violin rosin, look for formulas that are marketed for violin and viola. Most violin, viola, and cello rosins are formulated similarly, so in a pinch, you can use or borrow someone else’s rosin for a different instrument. I would avoid applying double bass rosin to a violin or viola bow. Since they use very sticky dark rosin, it can cause your bow to grab the string too hard and create a heavy, crunchy sound.
Choose rosin based on your environment
It’s also important to consider your environment when purchasing rosin.
If your area has extreme weather changes, you may want to try using different types of rosin depending on the season. If your climate is generally either very humid or very dry, then you should look for a rosin that correlates with your environment.
Light rosins are dustier, and are best used in hot, humid environments. Rosin will get sticker with heat and humidity, so choosing a rosin that is not quite as sticky as others can help you achieve just the right amount of stickiness.
Dark rosins are stickier, which can be best for colder, more dry locations. If you use a dark rosin in a very humid atmosphere, it may become too sticky and feel troublesome.
If you live in an area that is cold and dry in the winter, but hot and humid in the summer, it might be good to experiment with using a stickier rosin in the winter and a drier rosin in the summer to best combat the environmental changes and to keep your violin sound consistent through the year.
Hypoallergenic rosin
If you’re allergic to tree sap or have sensitive skin, you may want to consider trying a hypoallergenic rosin. Clarity is a hypoallergenic rosin made by Daddario, a trusted instrument brand, and is worth trying if you think you might be allergic or irritated by traditional rosin.
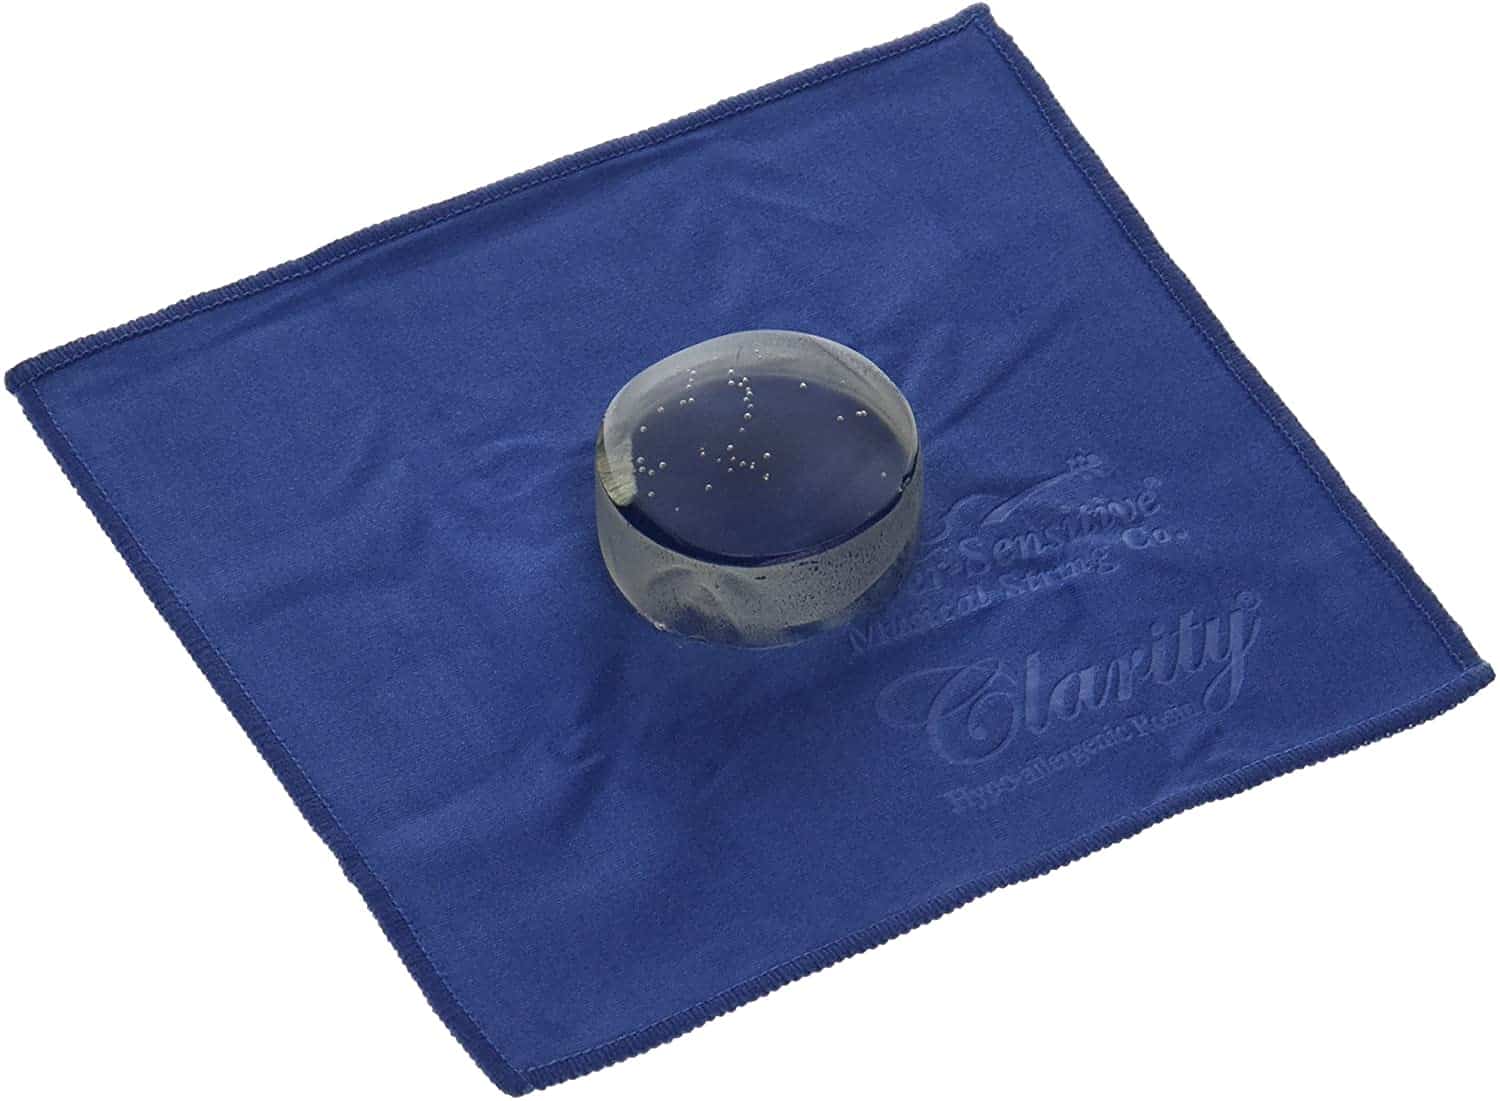
Super Sensitive Clarity Hypo-allergenic Rosin
Support us for more FREE content No extra costs for you Recommended by Violinists
My favorite rosin
I personally use Pirastro Goldflex Rosin, and recommend it to many of my students. I find that it creates a good sound on most violins, in most environments!
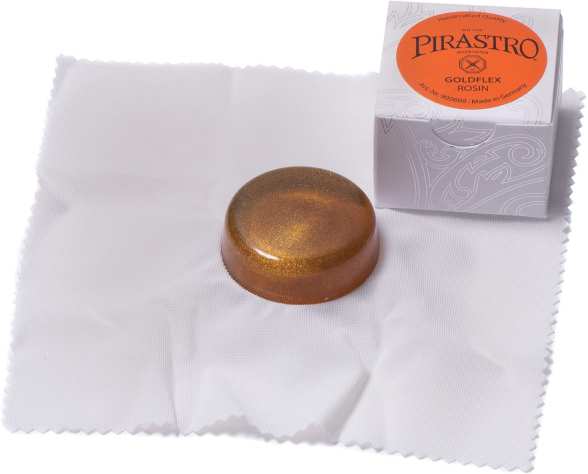
Pirastro Goldflex Rosin
Support us for more FREE content No extra costs for you Recommended by Violinists
“Fancy” rosins aren’t always worth it, but the boxed rosin that might’ve come with your violin likely won’t give you the best sound. I find that most rosins that cost $6 or more are generally good quality.
Stay tuned for a rosin buying guide, coming soon!
Frequently Asked Questions
I just got a new bow. Why isn’t it making any sound on the violin?
New violin bows generally don’t come pre-rosined. It’s up to you to apply as much rosin as needed to create sound on your instrument.
It may feel like you need to use tons of rosin on your new bow. That’s normal! Apply rosin as you normally would, but many, many times. Test your bow on the strings often to check your progress. Once you hear rich tones from your violin, you should have enough – at least for a while.
Since your new bow doesn’t have any residual rosin on it, you’ll likely need to add more rosin much more often than you’ll need to once the bow is worn in. If your violin sound starts to get quieter, or if your bow feels like it’s starting to slide around the strings without really gripping them, add more rosin.
How often should I rosin my bow?
A general recommendation is to rosin your bow after every 3-5 hours of playing. This means that some people will put rosin on each day they play, while others can get away with applying rosin a few times a week, or even just once a week.
It really depends on how much you play, but the best way to tell how much rosin you need is to gain experience and develop your ear.
- If your violin sounds scratchy, you might have too much rosin.
- If you hear a quiet, thin sound, there’s likely not enough rosin.
- If your violin sounds nice and warm, you have the right amount of rosin!
Why isn’t my rosin sticking to the bow?
When you buy a new rosin cake, it’ll come looking really smooth, almost like jelly. If you look at an older cake of rosin, you’ll notice that it’s very dusty. The reason is that it takes some time to get your rosin producing dust that sticks to the bow.
You can jumpstart the process by taking a knife and scoring the rosin just a bit to get some dust flowing. You could also gently scratch the top of the rosin cake with some fine-grained sandpaper or a nail file to achieve the same effect. This’ll help you get your rosin started sooner than applying it over and over and over again to get it producing dust that sticks to your bow.
Can you put too much rosin on a bow?
Yes, there is such a thing as too much rosin! When you have too much rosin on your bow, you’ll hear a scratchy sound, instead of the smooth, warm sound you want to hear. Excess rosin will dust up and collect on both your violin and the bow stick, which requires extra cleaning.
If you notice that you have too much rosin on your bow, clean everything down, and try either using less rosin or applying rosin less frequently.
Should I clean rosin off my strings?
Yes, you should clean the rosin off your strings, the body of the violin, and the bow stick.
Excess rosin on your strings can dull the tone, and degrade your strings faster. Over time, rosin solidifies from dust into gunk, which isn’t very good for the violin strings. It’s helpful to clean off your strings at the end of each playing day to get rid of excess rosin and finger oils. Doing regular cleaning will help keep your strings in tip-top shape!
If you liked this article, I think you might also enjoy reading about other violin maintenance topics, like how to clean your violin strings or why and when to rehair your bow.
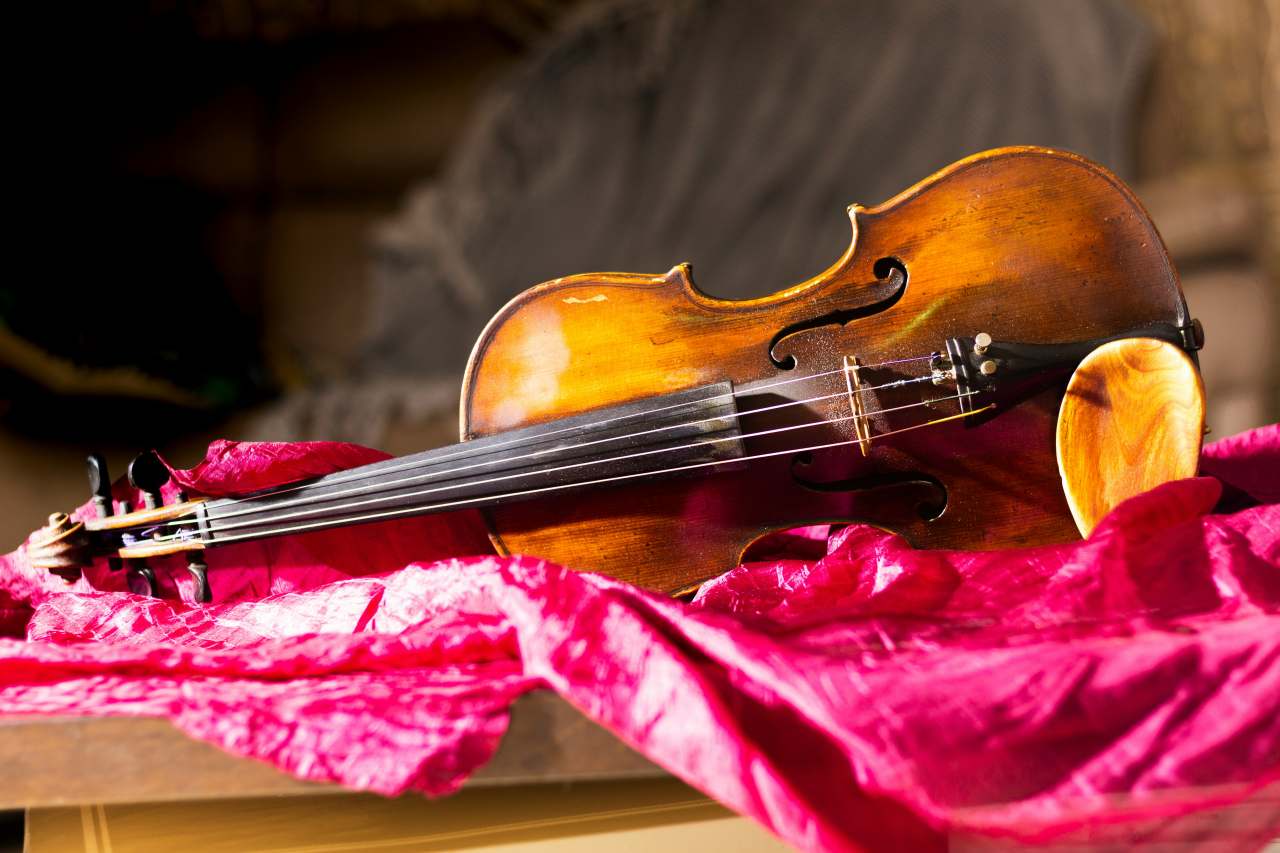
How can I minimize rosin dust?
Rosin dust can get quite annoying, and it’s important to remove excess rosin dust from your violin and bow to keep your equipment in good playing condition. In humid environments, and simply over time, rosin can melt and adhere to the varnish on the violin, which can alter both the sound and look of your instrument!
Here’s how you can minimize rosin dust:
- Keep your violin and bow clean
- Use a lint-free cloth to wipe down your violin strings, the fingerboard, and the body of the instrument at the end of each playing day. It’s also helpful to clean the bow stick with your cloth to pick up any rosin buildup.
- Use rosin sparingly
- Sometimes a little goes a long way. Try rosining your bow often, but with smaller amounts of rosin to achieve a warm playing style without the excess dust.
- Choose the right rosin
- There are many different brands and formulas of rosin. Some may work better in specific environments than others. For example, there are light rosins, dark rosins, winter rosins, and even summer rosins! Some types of rosin will be dustier, while others will be stickier. If you’re experiencing too much rosin dust, it might be a good idea to experiment with a stickier variety.
Conclusion
I hope this lesson in applying rosin was helpful! Rosin is an essential tool for all string players, and understanding how to rosin your bow early on can help save a lot of time as you learn your instrument, and it’ll help you achieve a beautiful sound!


