Do you know how to clean a violin? Often students don’t know how to properly take care of their instruments, so I’ve put together this step-by-step guide.
Cleaning and maintenance are very important if you want to enjoy a great sound and a long-playing life. With a bit of consideration and regular care, you can enjoy many years of happy partnership with your violin. This guide shows how to clean your violin and how to maintain it to ensure that it lasts long.
A Step-by-Step Guide to Clean Your Violin
Before You Start
Please remember that if you own an antique or older violin, take it to a professional and let them determine the best way to clean it. Most antique violins are coated with a sensitive varnish that most violin-specific cleaning products can easily damage.
Step 1: Wash Your Hands
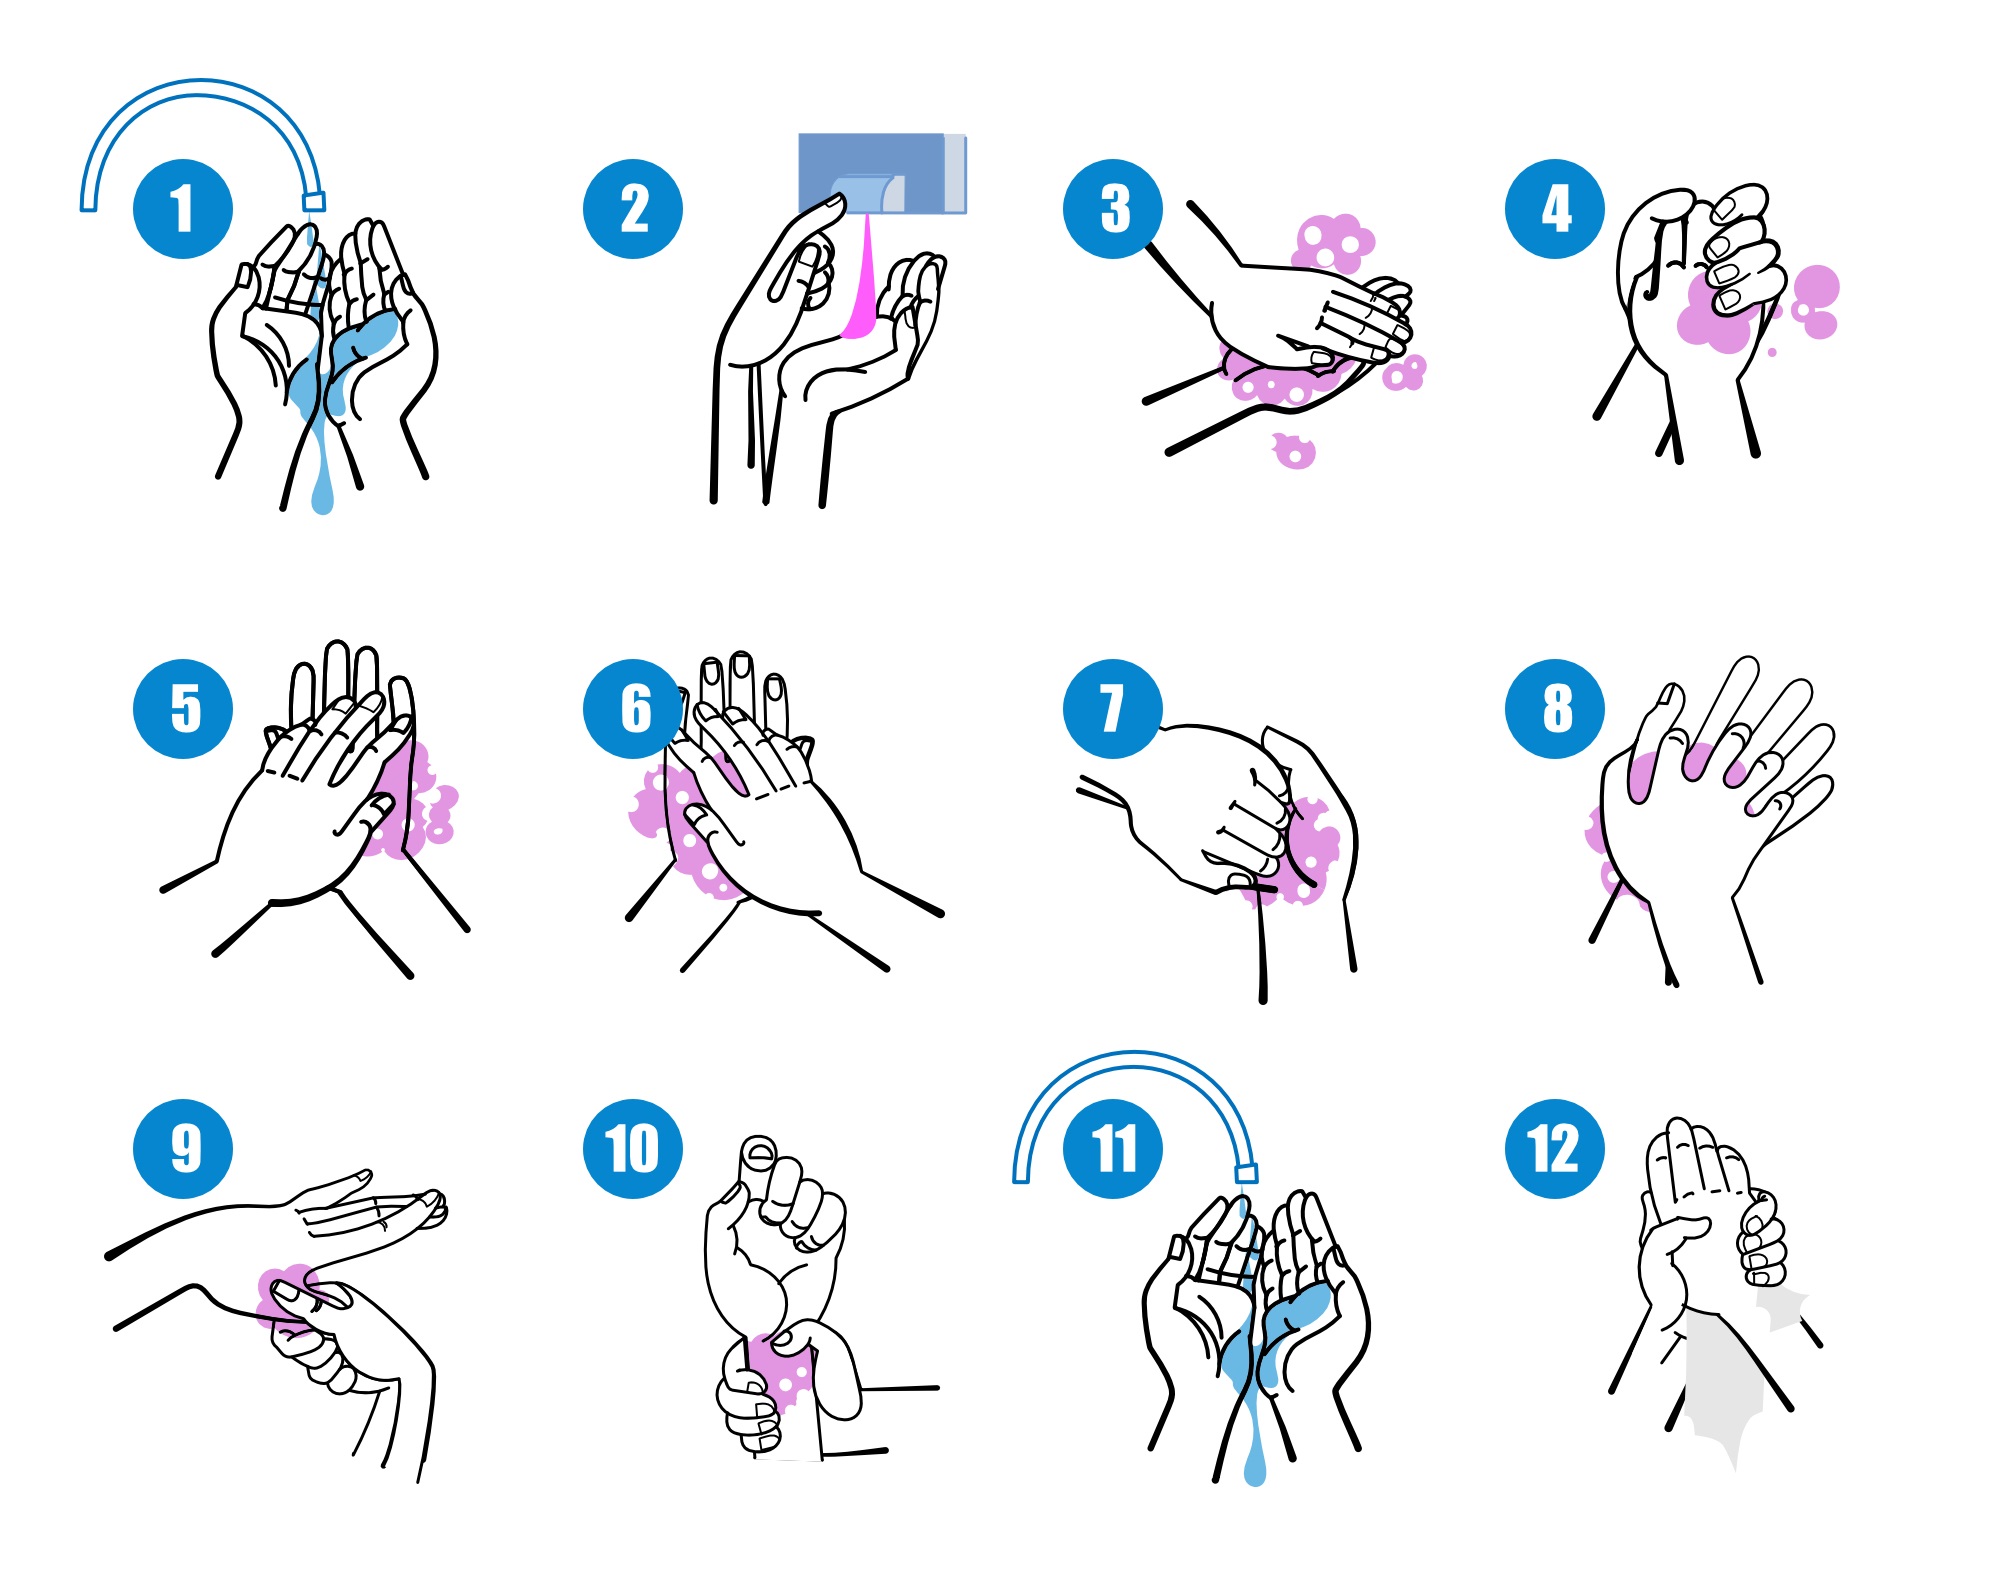
Begin by exhaustively washing your hands with soap and water and drying them with a towel before commencing the cleaning process. Please don’t skip this step because dirty hands may end up making the violin dirtier than you found it. Our fingers and hands naturally contain body oils, which could leave small grease marks on the violin’s varnish and interfere with its luster. Always ensure that your hands are as clean as possible before you start cleaning your violin. Remember to always wash them before playing as well!
Step 2: Wipe the Body
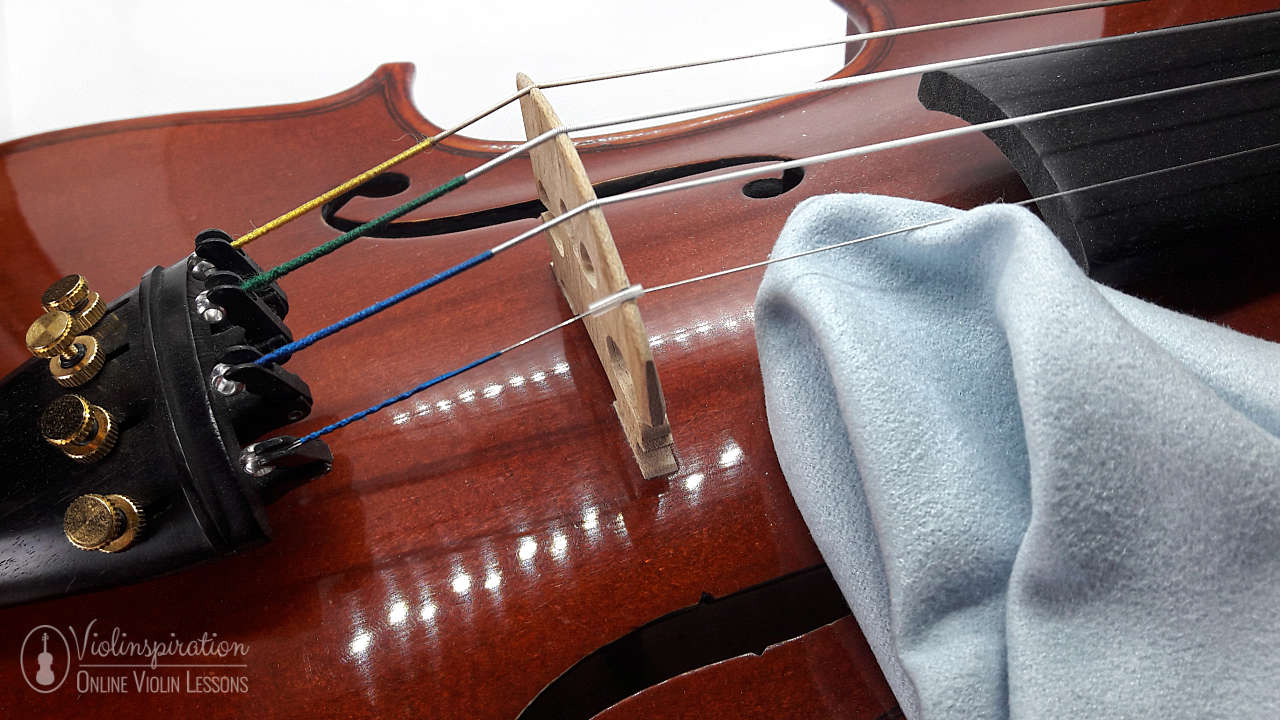
After washing your hands, use one of your cleaning cloths to wipe down the violin’s body to remove excess rosin. Start where there is the most amount of rosin – under the strings. After removing the rosin from the area between the f-holes, wipe the rest of the instrument – the whole front, sides, and back of the violin.
Wiping down the bridge and F-holes with a cotton bud (Q-tip) will allow you to get into the tighter corners. If the bud’s tip becomes discolored, switch to the opposite side to avoid spreading dirt around.
Dusting With a Dry Cloth
A microfiber cloth is ideal, but any soft cotton cloth (it can be flannel) should come in handy. You can use a regular cleaning cloth or buy a special soft cloth for your violin. There is a wide range of products, for example, Bellacura is not so expensive and of good quality:
- microfiber cloth which you can find on Amazon or on Thomann
- cotton cloth – Thomann
If you have a large buildup of rosin, you will want to be careful not to spread it further, so check how smudged the cloth has become and use a relatively clean section of it if necessary. Please be gentle and don’t apply too much pressure here, since your violin is quite delicate!
Using a Violin Cleaner
It may happen that using a dry cloth is not enough to remove the rosin from the body of the violin. In such a case, I would suggest using a cloth with a bit of a special violin cleaner. You can buy a pre-treated cloth, which already contains the cleaner (have a look at it on Thomann or Amazon), or you can choose to buy the cleaner separately. Again, there are so many of them for you to choose from. I’d pick one of these:
- W. E. Hill and Sons Polish & Cleaner, very popular, available on Fiddlershop, Thomann, Amazon US
- Basic Care by Nature Works with only natural ingredients – available on Fiddlershop and Thomann
Step 3: Clean the Rosin Dust of the Strings
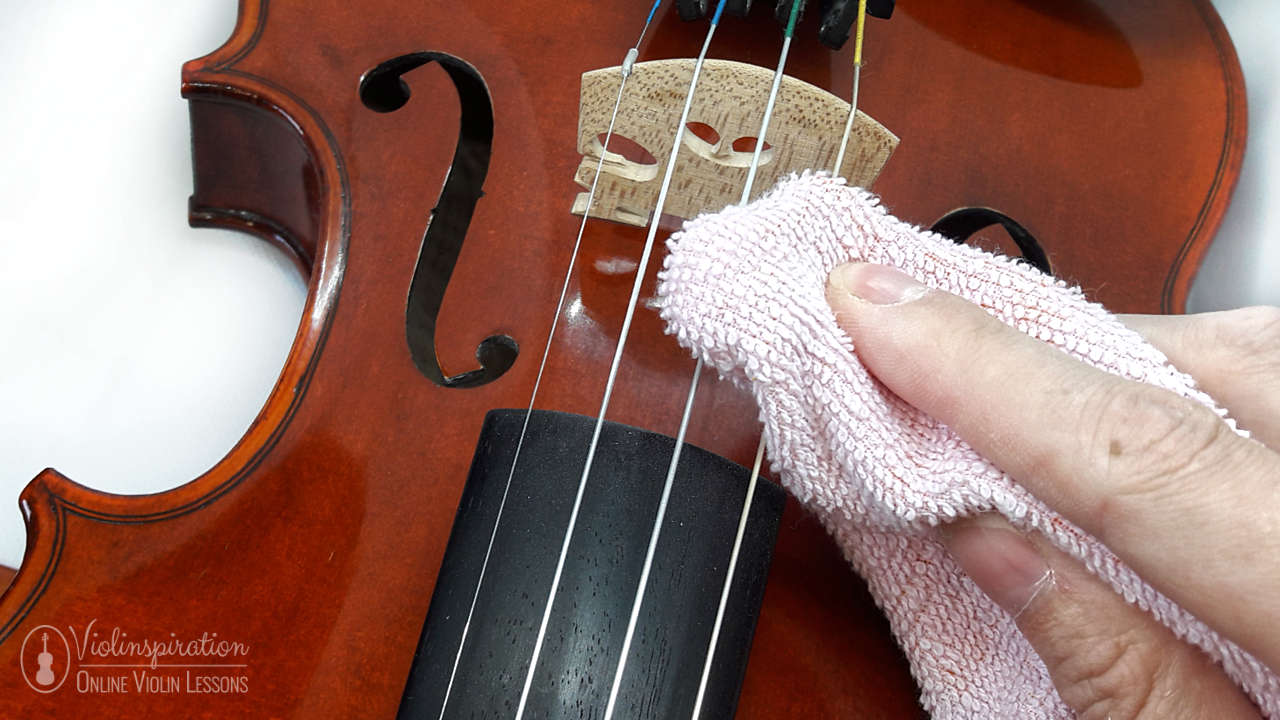
Now it’s time to clean the strings using a clean section of the cloth or even using a separate cloth or tissue. You will need to use a rosin cleaner to make sure you’ve removed all the rosin dust layers from the strings if you notice that a dry cloth wasn’t enough to remove it.
The best rosin removers include Petz Rosin Remover or the Dunlop Formula 65 String Cleaner.
Sometimes people use alcohol for cleaning strings. It does work, but the risk of damaging the violin is very high, so I don’t recommend this method.
Please use the rosin remover carefully, only a few drops on your cloth at a time, and gently stroke each string with your cloth. You can also gently pull each string with the clean cloth and steadily slide from the nut to the bridge to remove the rosin.
Step 4: Clean Your Bow
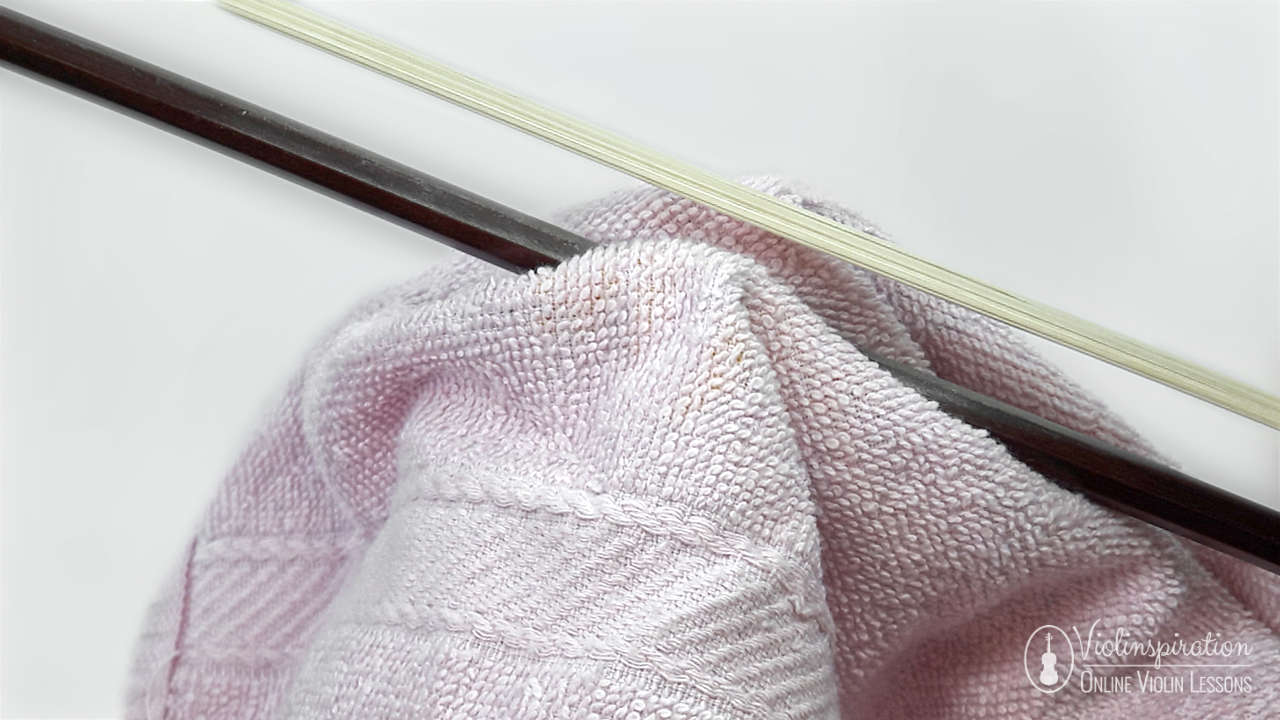
Rosin can accumulate on your bow, affecting its sound and longevity. After you’ve finished playing, loosen your bow and wipe the stick down with a soft, lint-free cloth. If this doesn’t work, you can use a cleaner to clean the stick. You only need a few drops. Take care not to get the cleaner on your bow hair. Make cleaning your bow a habit and do this at the end of each practice session.
Step 5: Polish the Wood
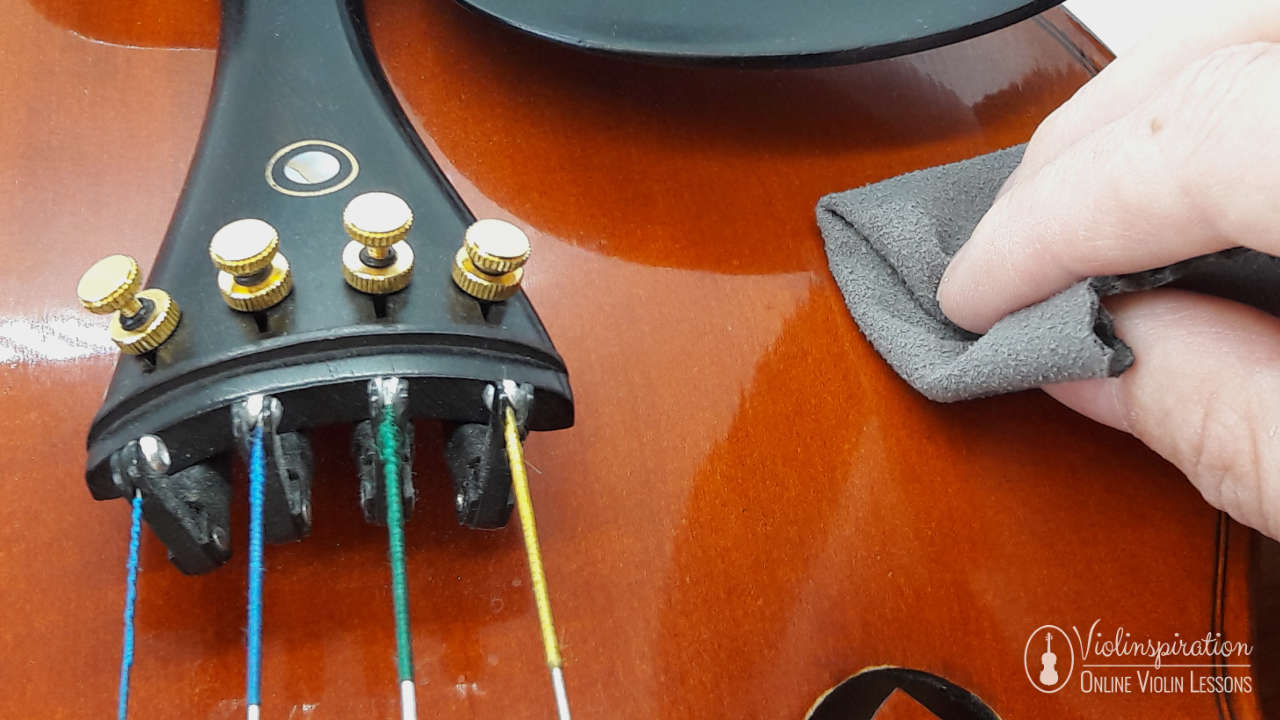
If you were able to clean the violin’s surface without any problem, you could now polish it. Please keep in mind that polishing over a dirty, sticky surface risks integrating the dirt further into the wood of your violin, so make sure it’s spotless first.
Use only a special violin polish for this process and avoid using furniture or other wood polishing products. To restore the shine, take a clean cloth or tissue and dab a few drops of the product such as:
- W. E. Hill and Sons Polish & Cleaner (Fiddlershop, Thomann, Amazon US and Amazon UK)
- Protective Polish by Nature works (Fiddlershop, Thomann)
on it before gently rubbing it over the surface of the violin.
Avoid getting the polish on the strings and bridge, as this can cause damage and change the sound of your instrument. You can also polish your bow’s stick, but be careful not to get polish on the bow hair! Your violin should now be sparkling and clean, ready for your next practice or performance!
Step 6: Clean Your Violin Case
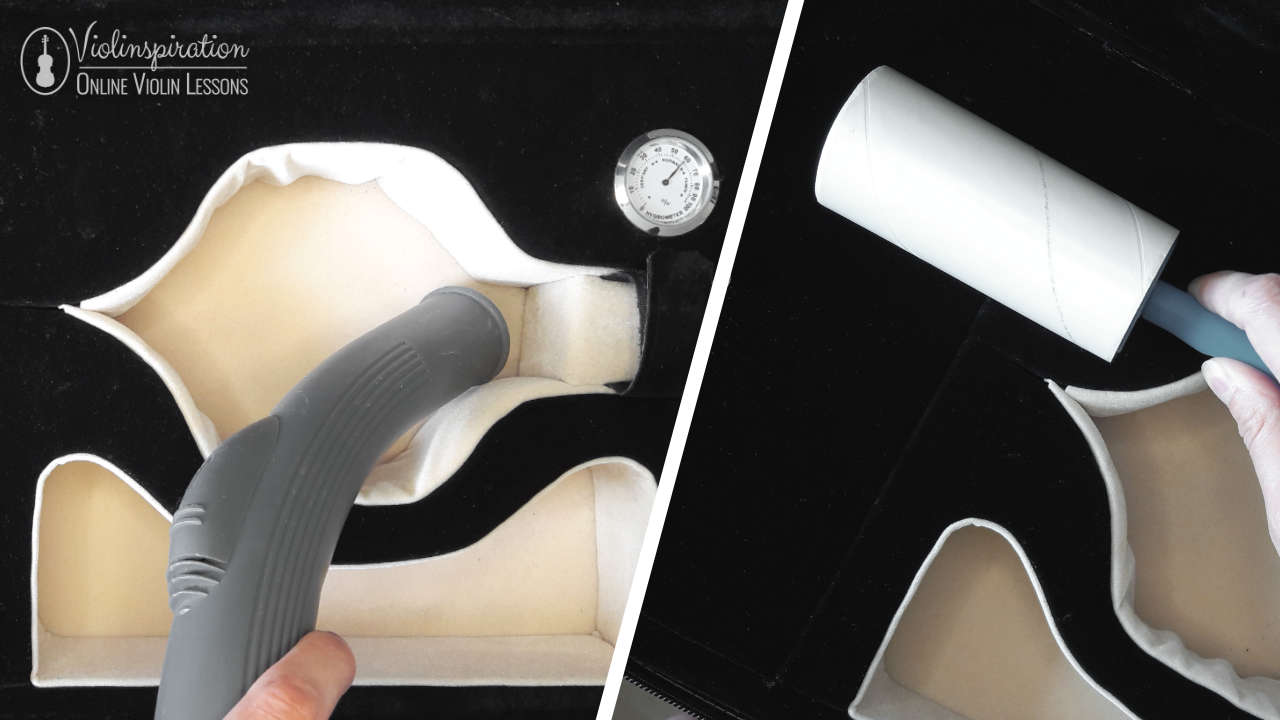
Once a week, or whenever you notice flakes of dust, dirt, or rosin, always empty and vacuum your case. Your instrument will not stay clean if its storage space is full of dust, so keep an eye on your case as well. This step also helps keep dust mites at bay. Those annoying mites adore bow hair, so check the tidiness of your violin case every couple of weeks.
Daily Violin Maintenance Habits
We all know that the violin is a very delicate musical instrument. Besides learning to clean your violin appropriately, these violin maintenance tips and tricks will go a long way in keeping your string instrument in pristine condition. Temperature changes, physical damage, improper cleaning techniques, and hazardous commercial cleaners are just a few of the factors that can have a negative impact on the sound of a violin. I’ve put here a list of essential steps to ensure your violin is well-protected.
1. Regularly Dust Your Violin with a Soft Cloth
Making it a habit to clean your violin after each practice session is definitely the best thing you can do to protect it. Although it may seem like a minor and insignificant step, most violins lose their sound quality because of inconsistent cleaning. I recommend using two microfiber-cleaning cloths – one for wiping the rosin and one for the rest of the violin. Try not to use a single cleaning cloth to clean everything. If you use the same piece of cloth to wipe away the rosin and the dust, you risk spreading it to other violin parts.
2. Loosen the Bow
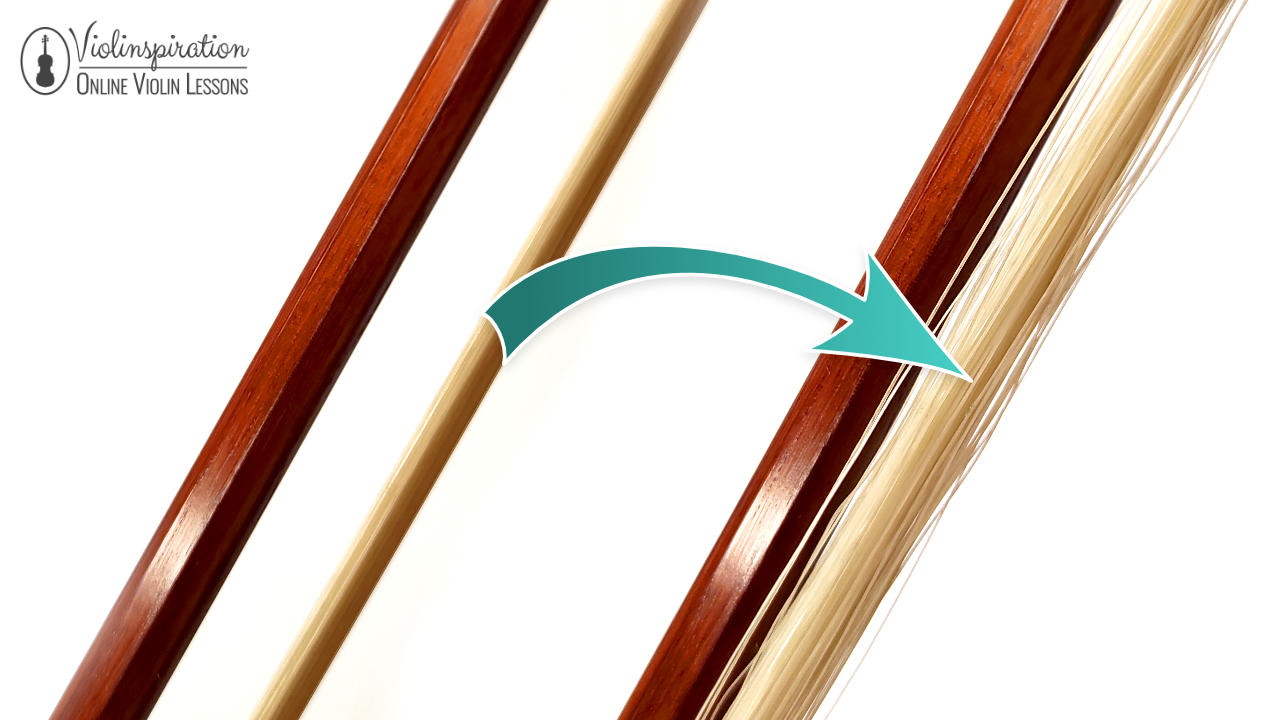
Loosening the bow is essential for maintaining the best possible condition of your bow, so remember to do it after each practice session.
If you keep your bow tight, it pulls the hairs from the stick, and eventually, they may all fall out. Moreover, it will eventually result in a side bend of the bow or may even cause breaking of the tip!
3. Use Peg Paste When Needed
Peg paste, also known as peg compound, is needed to help turn pegs that have refused to turn smoothly and have become stuck or are unable to stay in place. It makes tuning pegs easier and more precise. To aid in smoother turning, rub some peg paste compound on the peg shaft. Use a small amount where the peg is in contact with the pegbox and use it sparingly.
The peg compound that I am personally using is W. E. Hill & Sons Original Hill Pegsoap.
4. Keep an Eye on the Temperature
The recommended temperature for a violin is between 15 and 20 degrees Celsius, or 60 to 70 Fahrenheit.
When wood expands or contracts, subtle adjustments to the alignment and structure of your violin can result in changes in sound production or even damage the instrument. The changes may also have an effect on your violin’s tuning. That’s why you should always avoid leaving your violin in direct sunshine as high temperatures may cause irregular expansion and warping of your stringed device. Also, do not leave your instrument in a low temperature environment. Not only may it cause damage to the wooden parts of your violin, but also the strings may break much more easily in extreme temperatures.
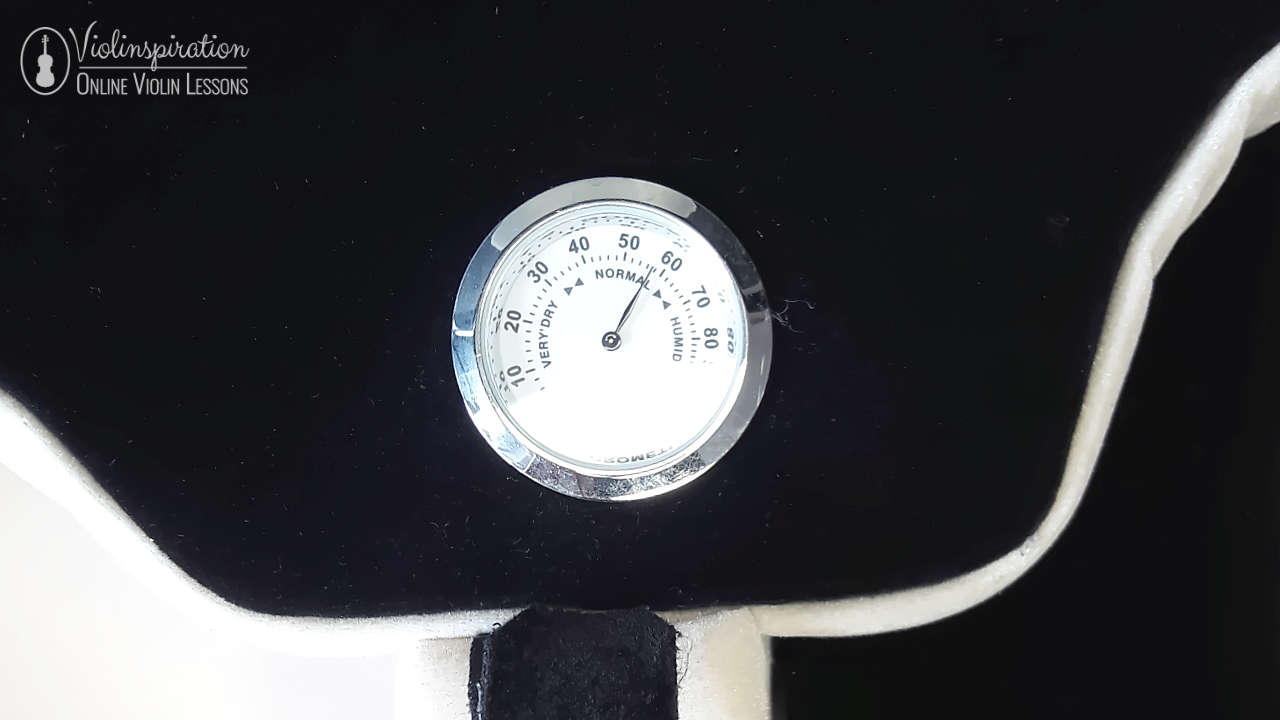
5. Control the Humidity
The recommended humidity for a violin is 40-60%.
You can control humidity in two ways; controlling humidity in the room where the instrument is kept or in the case. If you’re controlling humidity in the violin case, remember to always put the violin back in the case when you’re finished playing. If you prefer regulating humidity in the room, always have a humidifier in the violin case for travel during the dry months. A very popular humidifier is Dampit. You can find it on Fiddlershop, Amazon US, and Kennedy Violins.
Recommended Maintenance
You may be wondering how often you should clean your violin. You don’t have to do the whole cleaning procedure described in the first part of this article on an everyday basis. Steps like cleaning using special cleaners and polishes should be done when it is needed. It depends on how much you are using your instrument, so you have to observe it and pick the right moment.
You can also do additional steps quarterly or annually. Let’s have a look at them.
1. Bow Hair – Cleaning or Rehairing
Cleaning bow hair is not impossible, but it is much easier to rehair than cleaning it. Some people wash it with water and soap, but it never becomes as clean as it was initially. Bow hair can also conduct water into the head and frog, causing issues like warping, so if you decide to do so, be extremely careful with that.
Some individuals love rehairing their bows every few weeks, others every few months, and others go years without rehairing – it all depends on where you live and how much you’re using the bow. I recommend you to observe your bow, also in terms of how much hair is left. If the hair is very dirty or it breaks very easily, it’s time to rehair. Also, if the seasonal humidity difference where you live or travel to is so great that your hair becomes too short to loosen or too long to tighten, you’ll probably need to rehair it at the start of the wet and dry seasons.
2. Once a year, pay a visit to a luthier
Even if you constantly clean your violin and make sure it’s well protected with a good case, seeing a luthier once a year is the best way to ensure it’s still in good shape. Experienced luthiers can take preventative measures to ensure that the sound of your violin is preserved. They can also clean your violin with the best cleaning products they are familiar with.
FAQ
Is it safe to clean my violin with olive oil?
Whether it is safe or not depends on how old or new your varnish is. It is said that it’s safe to use olive oil strictly on brand new varnish but not on old varnish. Olive oil would be fine for polishing a new instrument because the varnish will be in its finest, most protective state at the moment. On the other hand, olive oil will never dry, so any dust or dirt will stick to the instrument until it’s cleaned again. Moreover, the oil will penetrate the wood if there are any cracks or a lack of varnish. It might be hard to repair such an instrument because the glues used for that purpose are water-based.
Is it safe to clean my violin with alcohol?
You should never use cleaning solvents, alcohol, hand sanitizer, or alcohol-based solvents on the wood of your violin. Alcohol compounds can easily damage the varnish on your violin. If necessary, use a tiny dab of 99 percent isopropyl to clean the strings only. Avoid getting any alcohol on other sections of your violin, particularly the wood, as this will damage the coating.
Which violin cleaning kits are available?
If you want to buy an all-in-one kit for cleaning your violin, have a look at the following options:
These sets contain cleaner, polish, cleaning cloth, and polishing cloth.
If you have a chance to ask at a music shop, you may be offered with Kolstein’s set or JOHA Reinigungs und Pflegeset, which are high-quality products recommended by luthiers.
Cleaning your Violin in a Nutshell
This guide has covered almost everything concerning violin cleaning, what you can do yourself, and when professional help is required. Many people consider the violin to be their “baby,” something they cherish and strive to maintain in the best possible condition. When it comes to violin care, daily habits are crucial to keeping your instrument in top condition. Nevertheless, do not forget to visit a luthier once-twice a year for a few more significant maintenance, such as a rehairing or adjusting to humidity changes. Take your violin for a checkup and scheduled maintenance regularly, just as you would a vehicle. This will help you avoid larger problems.
Knowing the right techniques and having the right products is only half the battle when it comes to keeping your violin clean. Ensuring that you clean your stringed instrument regularly is the key to keeping your violin in mint condition.


