Are you ready to play in the third position on your violin?
You’ve managed to learn to play many pieces in the first position. Your sound and pitch are good. Now you’re ready for one of your first big steps!
Violinists use a system of positions that dictates where each finger should be, and the first one most people learn (after the first position of course) is the third. It’s one of the most used positions and one that most violinists enjoy playing more.
5 Benefits of Learning Third Position
The first question you might ask is: why would you learn to play in third position? I’m glad you asked. Here are some great benefits of learning to play in third position:
1. You will be able to play 2 more notes
By learning third position, you can play new higher notes on the E string! Specifically, you get a C and a D. By extending the fourth finger you can reach the E too.
2. You can play with a different sound color
Several notes are now played on different strings. That gives you variety in sound, as the same note provides different tone color.
For instance, if you want to make a softer sound, you might want to opt for playing in third position, while if you want to create a sharper sound, you can play in first position instead.
3. Playing in third position can be easier (eventually!)
Yes, after learning third position, playing it can sometimes be easier than playing in first position! The reason for that is that you have more possibilities for fingerings. This will come in handy when you can bypass jumps between strings, or if you want to keep a legato on the same string.
4. You will learn to shift positions
If this is the first position you will learn, it will be a great opportunity to learn how to shift. This will not only come in handy when learning third position but also when learning other higher positions. When you have learned shifting properly, you can eventually reach all notes on the violin.
5. Play more pieces!
What violinist doesn’t want a bigger selection of pieces to choose from?
After learning the third position, all violin pieces that are composed in third position become available to you. That might include some of your favorite pieces!
For instance, one of the pieces I couldn’t wait to try after learning third position was Vivaldi – Concerto in A minor!
Are the Other Positions Mandatory?
As it is explained in my Ultimate Guide to the Violin Positions, you can play several songs and pieces in the first position. The first position is the most fundamental and the easiest to use, and many traditional folk violinists are not familiar with the higher positions. Click on this link for various tutorials on how to play well-known melodies in the first position.
However, if you’re an intermediate student you would most likely want to get your hands on more demanding material, as well as enjoy the benefits of shifting through the higher positions on the violin.
All Violin Notes in the Third Position
It’s easy to remember the notes in the third position: think of the note you’re playing with your third finger on any string, in the third position this is now the note you’re playing with the first finger! It means that on the E string, for example, your first finger plays A.
You’ll notice that a couple of notes are now being played on a different string. The math behind it is that the two lowest notes in each string (the ones you’re playing with your 1st and 2nd finger in the first position) are now being played on the string just below the original, (except the ones on the G string of course). On the other hand, the 3rd and 4th fingers are now your 1st and 2nd on the same string. E and F played on the D string in the first position are now played on the G string, B and C from the A string are now on the D string, etc., as seen in the chart below.
So, the notes in the third position are the following:
- G string: C, C#/Db, D, D#/Eb, E, F, F#/Gb
- D string: G, G#/Ab, A, A#/Bb, B, C, C#/Db
- A string: D, D#/Eb, E, F, F#/Gb, G, G#/Ab
- E string: A, A#/Bb, B, C, C#/Db, D, D#/Eb
There is a whole post dedicated to violin fingering charts that can be very helpful, be sure to check it out!
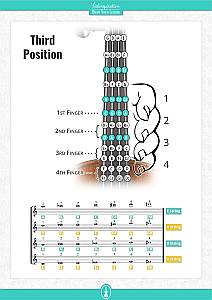
Third Position Fingering Cheat Sheet
How to Play in Third Position
Start in the first position and play an open string, then the first three notes. For example, if you’re on the A string, play B, C, and D. Take a good look at the exact spot your third finger is in and listen very carefully. Now release your fingers and slide your whole hand, your first finger should go in the exact spot your third was. Does it sound the same? Well done, you are now playing in the third position!
Shifting From First to Third Position on the Violin
Next to learning how to play in third position, you also have to know how to shift between positions. “Shifting” is the technique used to move your hand from one position to another, either higher or lower. It is an important skill to master, as the best violinists produce virtually zero noise while shifting. That might seem like a herculean task at first, but with practice it gets better, trust me! Many teachers use the example of the elevator: your hand is an elevator, and each position is a separate floor. You need to stop the “elevator” in a specific position and not between “floors”.
5 Tips for Shifting to Third Position
Here are some basic shifting technique tips that can help you:
- Your posture should remain the same
- Watch out for your thumb! When shifting, your thumb should remain relatively at the same angle as it is in the first position and not turn horizontally
- Do not shift with your wrist or forearm, your elbow must initiate the move and the rest of your arm should remain relatively unchanged
- Keep your knuckles up and don’t curl them over the fingerboard or raise your fingers too high, they should have contact with the string without pressing
- Your first finger is leading the change in position, even if you’re about to play a different one. Make sure you know where to place the first finger and then you’ll know exactly where to place the desired one
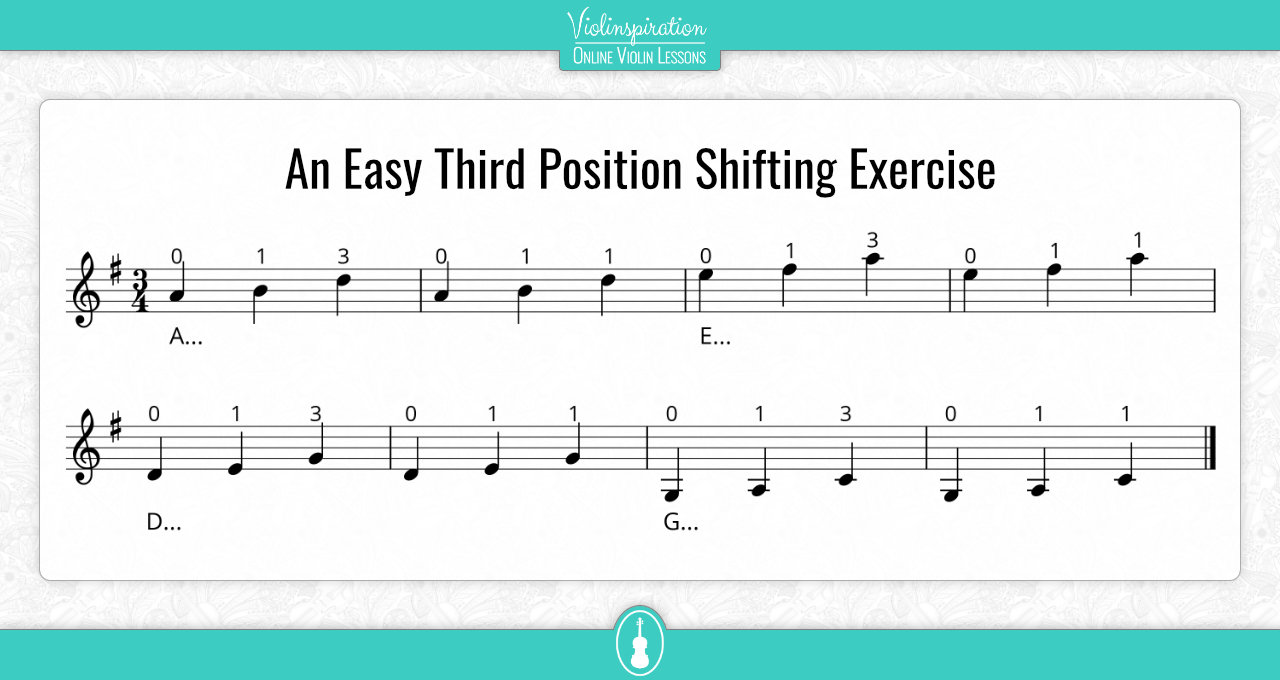
An Easy Third Position Shifting Exercise
Here’s an exercise you can try: Play the A string and then B and D with your first and third finger in the first position. Then the A string again, B, and shift to D with your first finger in the third position. Try it on all strings. There are a lot of variations and similar exercises to try as you get better with shifting.
How to Check Your Pitch in Third Position
After getting familiar with the notes in the third position, as well as shifting, you’ll have to start testing how to play and how to be sure that the pitch of the notes you’re trying to play is correct. However, you might feel uncertain about your pitch, especially when you first learn the 3rd position. There are four easy ways to see if your pitch is fine:
- Place your first finger in the third position on any given string except G, then play the first finger along with the string below at the same time. Your first finger should sound one octave above the open string
- Place your second finger in the third position on any given string except E, then play the second finger along with the string above at the same time. The two should sound exactly the same
- Another way is to play in the third position with the first finger on any string except E, and the fourth finger on the string above. The two should sound an octave apart
- A final way (for more advanced students) would be to listen to the sympathetic vibrations
If you are one of Julia’s Violin Academy students, you can check out the following links:
- What are Sympathetic Vibrations?
- Which Notes Produce Sympathetic Vibrations?
- Why Are Sympathetic Vibrations Useful?
The four ways to check your intonation in the third position are also covered in my violin positions guide, so make sure to check it out.
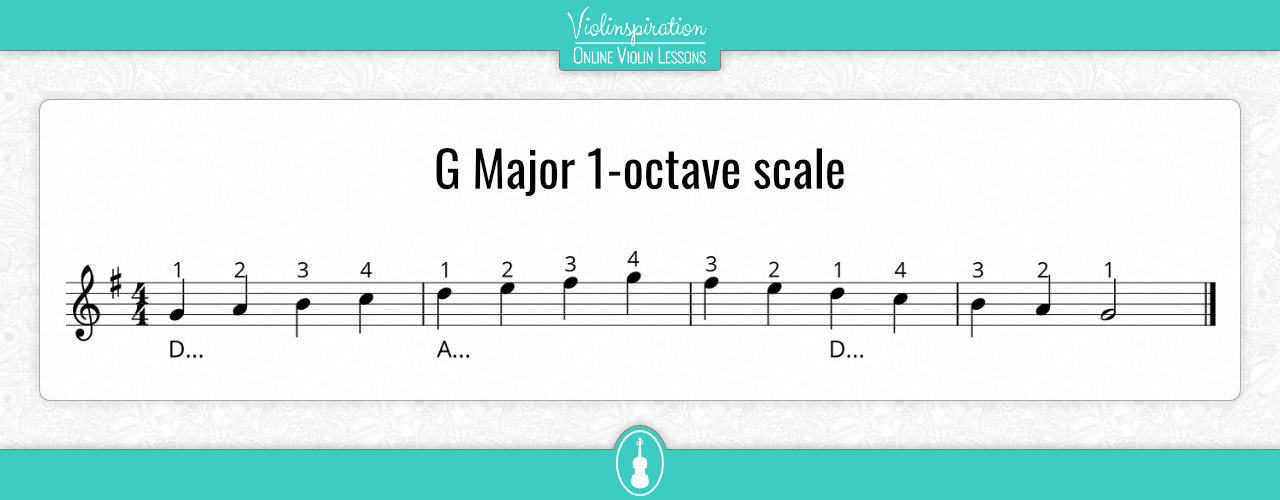
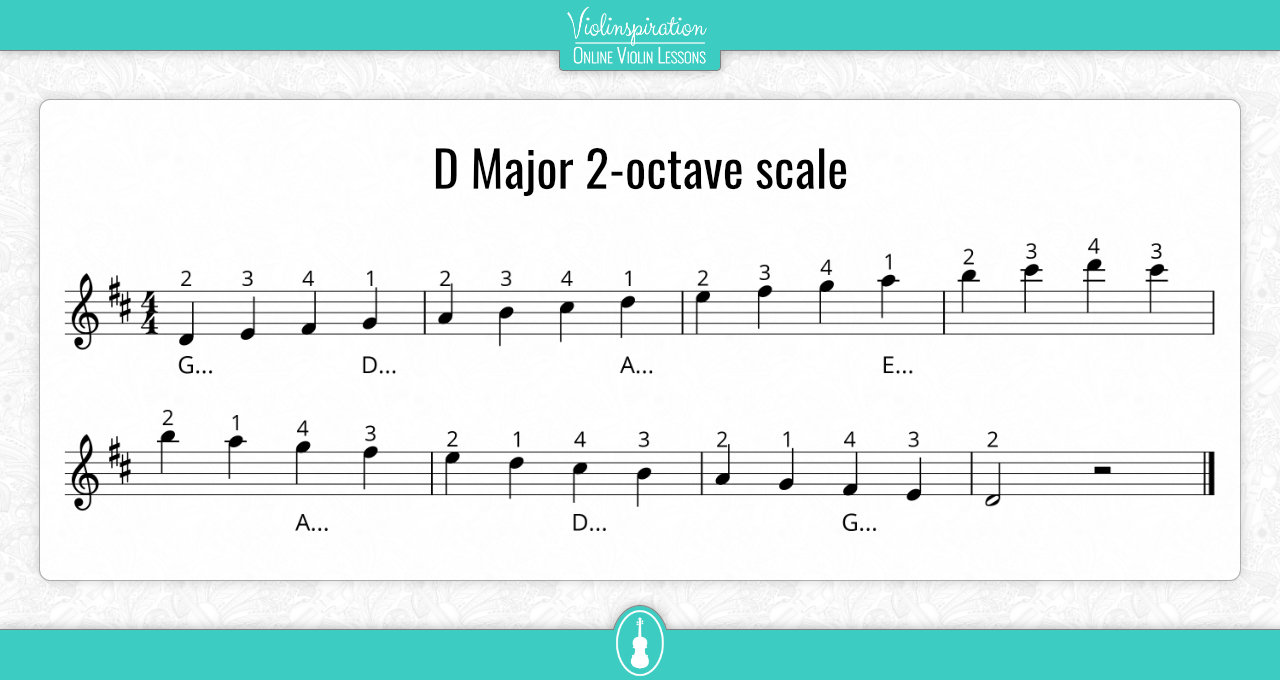
The best way to familiarize yourself with playing in the 3rd position is to play some scales. You can start with one octave G major, starting with your first finger on the D string up to the A string with your fourth finger.
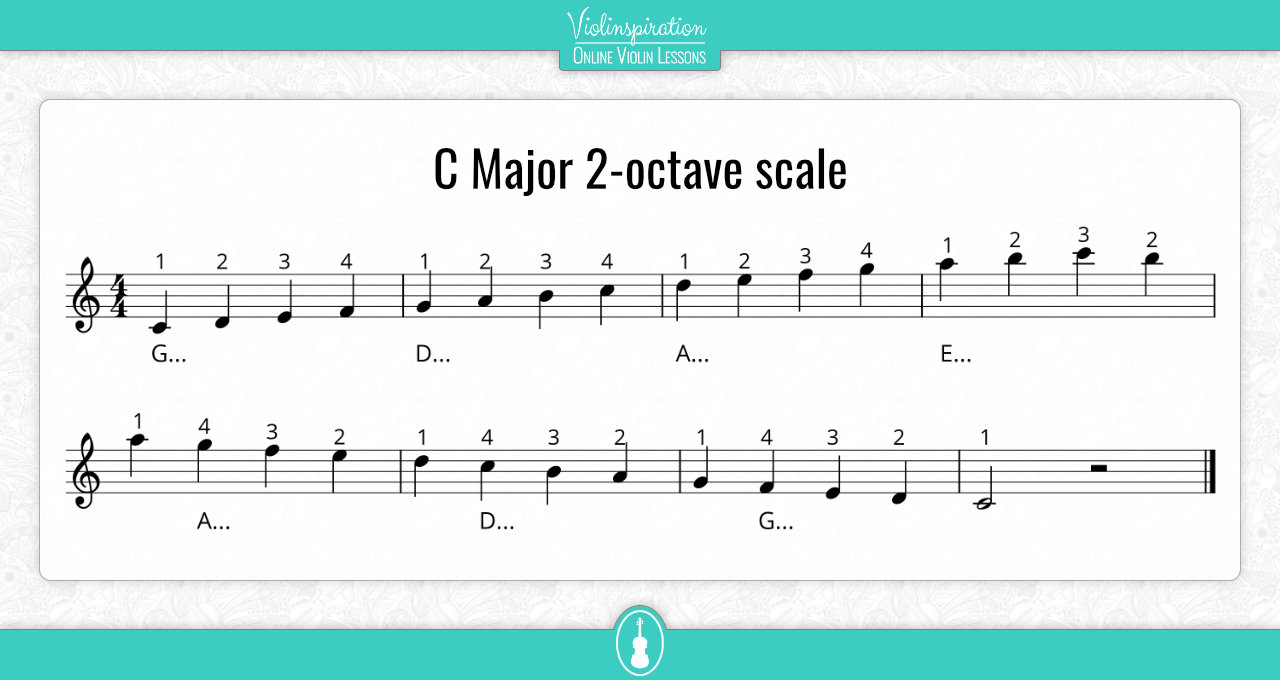
If that seems too easy for you, try two octaves in C major, starting on the G string up to the E string with your third finger.
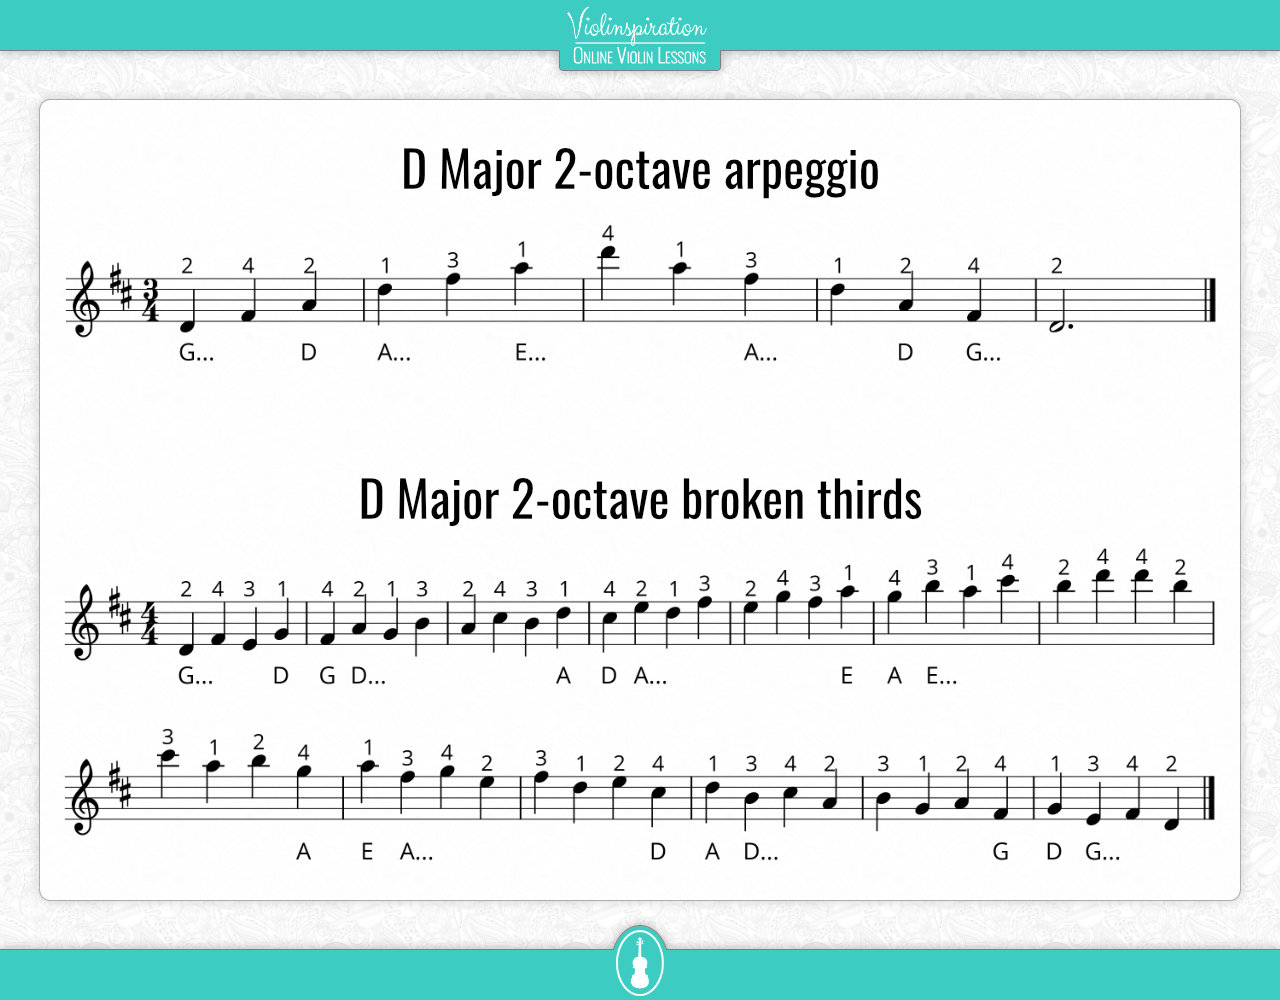
You can download all scales, arpeggios, and broken thirds exercises mentioned in this article here:
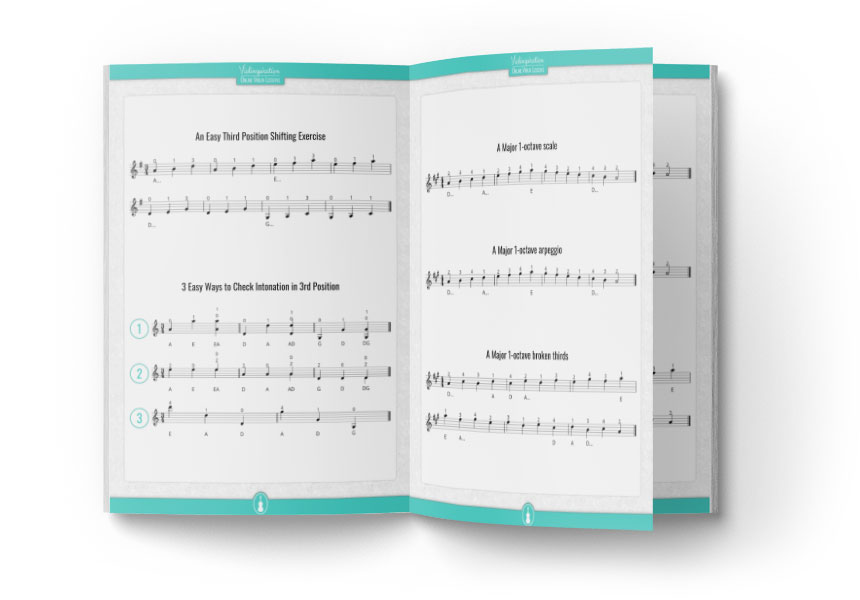
7 Easy Scales to Learn to Play in Third Position
Try playing some well-known small melodies in third position. Here is a tutorial on how to play “Twinkle Twinkle Little Star” in third position:
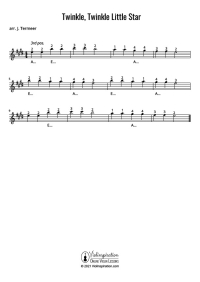
Free Violin Sheet Music
Twinkle Twinkle Little Star – Intermediate version
You can also try other easy songs from my free online Video Lessons page.
Left-Hand Position and Posture in Third Position
Your left hand should stay relatively unchanged, it should look the same way it does in the first position. You should watch out for your thumb to not tilt. While there is a “hack” to easily find the third position, you shouldn’t rely on it: usually, when the base of your hand is just touching the body of the violin, you’re in the third position. This can come in handy during some difficult passages, but you should try to avoid resting your hand there. However, be sure to use your ears too – they are always more reliable than any position.
It is very important for your posture to remain the same and initiate the move from your elbow. Make sure that it is in fact your elbow and not your shoulder or wrist. Ideally, you should not change anything in your posture other than the location of your hand.
Try not to move your fingers away from the string, but release pressure. Every move should be smooth and calm. You should try it slowly at first and, trust me on this, your mind will start giving orders to increase the speed of your movement after you learn how to do it. Remember that the goal is to produce as little noise during shifting as possible. Keeping your whole arm in the correct posture is imperative to keep the pitch good and use vibrato.
How Do You Practice the Third Position on a Violin?
To learn any new position, you need good relative pitch hearing, a lot of muscle memory, and everything else you used to learn the first position. The most difficult part in each position is not getting confused with the new fingerings. I recommend you first familiarize yourself with the notes in the 3rd position. After that, proceed to exercises, each harder than the previous.
It’s an old music joke, but the answer to any question that starts with “how to do…” is “practice”, so there’s no avoiding that. Finally, keep in mind that the higher the position, the spacing between notes decreases, and while the third position is not that dissimilar to the first, you’ll notice a slight change.
What to Practice in the Third Position?
Usually, I don’t use one book, but rather a collection of exercises and pieces – both from books and custom-made exercises. These are some of the books I have enjoyed using:
This is a great book with lots of exercises for shifting that will make you understand the third position very quickly. There are several etudes and some small songs. It really is a goldmine for any student who wants to know the positions. The first book covers the third and fifth positions, but I suggest that you should learn the second and fourth positions first and then return to this book for the fifth. In any case, when you master the third position, the rest of them will be easier.
Ševčík wrote a bunch of etudes about any given violin technique. His work is a treasure to violinists, no one likes to study him, but the benefits are almost unmatched. His studies and exercises are for a bit more advanced students though, so select them very carefully. Book 2 has several third position ones you can choose from.
This book is available for purchase and also part of the public domain so… it’s basically free!
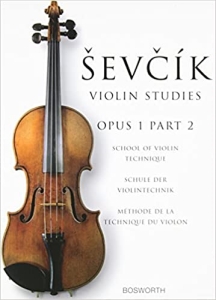
School of Violin Technique, Op. 1, part 2
by Otakar Ševčík
These are not very original book titles! Schradieck has some etudes in the third position, as well as changing from first to second and third position. However, having the second position before the third is not very helpful, so I’m using it as a supplement to Ševčík. It is also in the public domain, so you can buy the printed version or download the PDF version here:
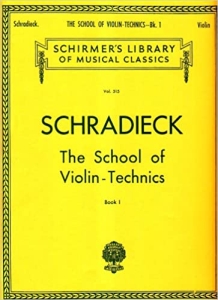
School of Violin Techniques
by Henry Schradieck
Not a great book for learning the third position on the violin, but if you’re already using it, it has some basic shifting exercises that can be a good introduction for a newer student.
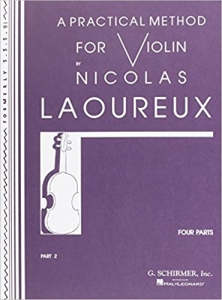
A practical method for violin
by Nicolas Laoureux
These etudes will not help you learn the third position, but they will help you master it. It’s usually the first introduction to violin etudes, and some of them can be of great help.

36 Violin Studies, Op. 20
by Heinrich Ernst Kayser
Same with Kayser, this will only help you improve. Contrary to the former, these are more musical, resembling actual music compositions rather than sounding like etudes.

Etudes, Op. 36 (book 1 & 2)
by Jacques Féréol Mazas
Both of the final two books have etudes that involve other positions and are not for anyone just starting to discover the third position. But if you have some experience, you can try some of them. They are some of the most well-known violin etudes and the beginning of your next step as a violinist.
If you are looking for even more resources, check my post about books for learning how to play the violin.
Five Tips for Mastering the Third Position
1. Try practicing easy scales
If you are a beginner, try starting with easy scales, the easy ones in the third position are:
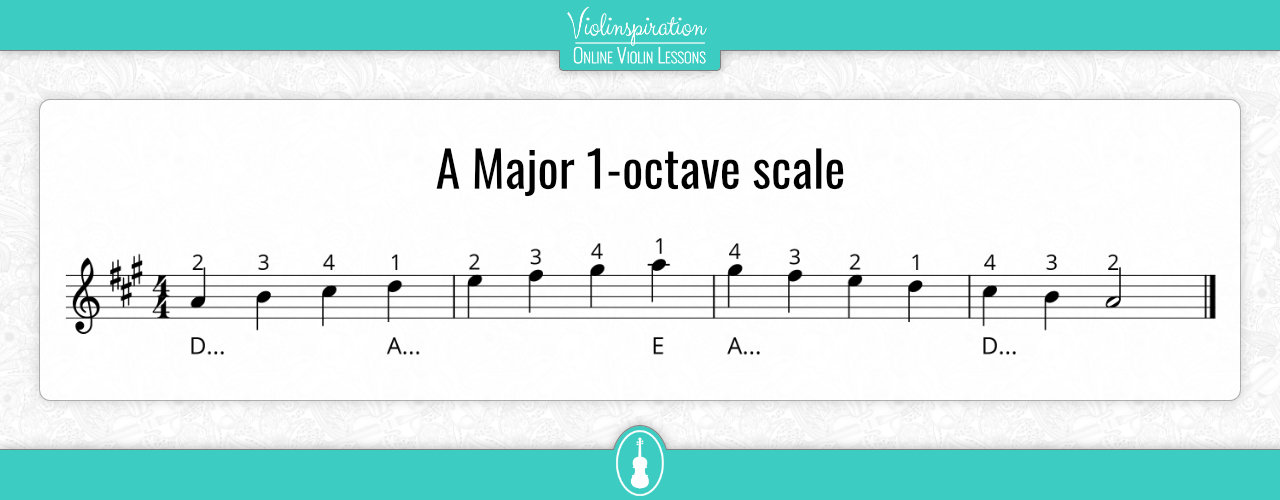
- one octave G and A major
- two octaves C and D major.
You should also try some minor scales like one octave A and B and two octaves E. Arpeggios are also very helpful.
Download the booklet with the easy scales here.
2. Regularly check your Intonation
If playing in tune seems difficult, try to check the tune in every way possible. So if you’re playing G major, you can check G, A, C, D, E, G with the four ways I explained before. If anything you play sounds challenging, you can try to first play it in the first position, memorize the pitch and then try it in the third position. This is a very helpful trick that you can use almost for all positions and you might return to it several times.
3. Play Arpeggios and Broken Thirds
If you’re a bit more advanced, try to play all major and minor scales with arpeggios, then try broken thirds. This is when you skip one note then return, so for example if you’re starting from C it will go C – E – D – F – E – G – F – A etc. You can try this on every scale.
You can download the booklet with all the exercises here.
4. Practice with Third Position Exercise Books and Pieces
Trying out the studies in the books mentioned above and playing well-known melodies will help you to get more and more comfortable with the third position.
5. Learn with my Step-by-Step Third Position Course
If you want my very best support to learn third position (and the violin in general), I recommend becoming a member of my online violin school Julia’s Violin Academy. I put my heart and soul into every lesson in the school, and amongst others, I created a step-by-step course to learn the third position. This course includes scales, shifting exercises, arpeggio’s and easy songs – all to help you learn third position as easily as possible. There is also a library of classical pieces in third position with piano accompaniments available for practice. Practicing with my course means that you will get professional support every step along the way, including the possibility to submit your own playing videos for review and asking all your direct questions.
If you are already a student at JVA, start practicing third position here.
Final note
The third position is a great tool, and every violinist enjoys playing in it. After a while, it will feel as natural as the first position. It is the first major step and can open a lot of new doors to a new violinist, and it’s easier to learn than it might sound! Even if it can be a challenge at first, I hope that this cohesive guide will help you take your first steps to mastery!

7 Easy Scales to Learn to Play in Third Position
