Your violin intonation can make or break your performance – here are 12 tips for better intonation.
The violin is an incredible musical instrument that is as versatile as it is complicated. You may already know that perfect violin intonation is necessary to produce a beautiful sound, but do you know the secrets to achieve this?
To be able to play the violin in tune, you must understand how to go about practicing your intonation. The 12 tips in this article will help you with practice suggestions, in order to practice your intonation in an effective way. I have noticed that quite a few of these practice tips have not been mentioned by any other violin teachers on the Internet so far, so I hope to contribute by sharing them with you in this post!
Tired of struggling to stay in tune? Check out all of the practice tips below to start improving your intonation today.
12 Best Violin Intonation Tips to Play in Tune
Tip 1: Use the Double Contact Points Method
The double contact point method is a technique that allows violin players to feel a lot more secure and confident about their finger positioning. It is one of the most helpful tricks I have learned to improve my intonation.
I explain all the details of the double contact points method in this video that I created a while ago:
Tip 2: Bow Softly with Little Pressure
Did you ever notice that when you hear very loud noises, your ears tend to become less sensitive? And conversely, when it is very quiet, every little whisper seems very loud?
When I play the violin, I notice it gets a lot easier to hear the intonation of a note if I play with soft, delicate bow strokes.
So, the next time you play your scales, etudes, and exercises, try to play them with soft bow pressure.
Tip 3: Practice Without Vibrato
Many violinists can’t WAIT to learn vibrato – and as soon as they get the hang of it, they never stop using it!
But wait! Sometimes, it can actually be useful to NOT use vibrato.
For instance, when practicing your violin intonation.
When you are playing vibrato, it is harder to hear if you are playing in tune. That is why it can be helpful to refrain from playing vibrato during your intonation practice.
Tip 4: Listen to Recordings of Violin Music
If you listen to solo violin music often, your sense of pitch will improve and you will become more sensitive to it.
If you are unsure where to start listening, I can recommend the Bach Partitas and Sonatas by Julia Fischer. You can listen to them on this playlist on YouTube or over on Spotify.
Aside from helping you to improve your ear, Bach’s solo pieces for violin are an absolute must-listen for any violinist! They are some of the most beautiful pieces written for violin.
Other pieces for solo violin you could listen to are the Paganini Caprices:
I have to say that I am not a big fan of the Caprices myself. I highly regard the players who can play all of them, but I don’t really love them for listening. However, I know many violinists who feel otherwise, so definitely give them a try and let me know in the comments if you agree or not!
If you would like to listen to some highly regarded, virtuosic modern music for violin solo, have a listen to the Ysaÿe Sonatas:
Also, always be sure to listen to the recordings of the piece you are currently playing!
Tip 5: Play with Others
During my Violin Villa violin camps, I always have a pianist joining me at every rehearsal. The reason for this is that I notice my students play a LOT more in tune when playing with the piano!
When playing with others, we don’t only listen to our own pitch relative to what we have played before. We also listen to how our notes harmonize with the chords that the other instruments play. That makes it a lot easier to notice if we are playing out of tune.
If you are advancing at violin playing, it can be very helpful to play with other instruments to expand your listening skills. This can help you greatly to improve your intonation – and even other skills, such as rhythm and good listening.
If you are not able to play with other musicians, consider playing with violin accompaniments. There is a full accompaniment library available in my online violin school, Julia’s Violin Academy.
Tip 6: Practice with a Tuner
Even though most violinists do not want to rely on a violin tuner in the long run, it can be very helpful to practice with a tuner to get an idea of how close your intonation is to the target pitch.
I have created a free online tuner that you can access by clicking on this link.
When playing each note, the tuner will tell you if it is in or out of tune. Many of my students also like to use clip-on tuners during their practice time away from the computer.
Tip 7: Play Slowly
If you are rushing through a piece, it is a lot harder to listen for intonation. One of the best things you can do for your intonation is to play through your pieces at a slower pace.
While playing your pieces, listen to every note you’re playing and assess whether it sounds in tune or not. If a note sounds out of tune, restart playing your piece or scale from the note before the note you played out of tune. That way, you can practice the correct distance between these two notes.
Tip 8: Use Anchor Fingers
Anchor fingers are fingers that we keep on the string without playing them. When playing the violin, we violinists often keep fingers on the string to make sure that our hand frame stays in the correct location.
One of the most important fingers to keep on the string whenever you can is the first finger. The reason for keeping the first finger “locked” is that it helps you to play in tune – not only that note but also all the other notes.
If we keep our first finger on the string, the only thing we need to learn is the distance between every note and the first finger note. This is a lot easier than trying to find every note from scratch on the fingerboard.
As an additional bonus, when you teach yourself to keep your first finger on the string, it will also truly help you when learning to play in the other violin positions. You will always have an easy “reference note” to make sure you are still playing in the right position.
Tip 9: Check Your Left-Hand Posture
Sometimes, an intonation problem is actually a posture problem. That is why it is so important to check your left-hand posture, before trying to fix your intonation in other ways.
If you are constantly moving your left hand in different shapes, it is a lot harder to play with the correct intonation.
The reason is that you are placing your fingers from different angles, each time your hand position changes. That is actually making playing in tune a lot harder!
If you look at professional violin players, you will see that their hand frame looks very stable. It looks like they keep their hand effortlessly in one place while only moving their fingers.
For instance, look at violinist Maxim Vengerov playing the dauntingly difficult Ysaÿe Sonata No. 3 in D Minor. Do you see how beautifully shaped and relaxed his left-hand hold looks, no matter what position he plays in?
Make sure to review your left-hand hold for stability and comfort. Here are the elements of a great left-hand hold on the violin:
- Your forearm should be aligned with your wrist (the wrist does not move inward toward the fingerboard)
- The thumb is in between the first and second fingerboard sticker, sticks out a little above the fingerboard, and is in a relaxed, slightly bent position
- You are playing on your fingertips
- Your hand feels comfortable
Tip 10: Think “up” When Playing Descending Scales and Passages
A funny thing I’ve noticed is that when many of my students play their descending scales, they tend to place their fingers a little bit too low. This might be caused by the brain thinking that the music passage is going “downward.”
When playing a descending passage, trick your brain by thinking “up” with every descending note. This simple trick will help you avoid placing your fingers too low on the downward portion of your scales.
Of course, be sure that you don’t place your fingers too high either. I know, playing the violin is not easy!
Tip 11: Play Scales and Arpeggios Regularly
For many violinists, this is a no-brainer, but still, I know that many of my readers are not practicing their scales often enough!
If your intonation does not sound good and you want to improve it, but you have never practiced your scales – something needs to change quickly!
I have created many PDF booklets with scales that are published for free on this website. To get started, I recommend practicing with my 5 Most Common Violin Scales lesson.
I’ve created two versions: one for beginners and one for intermediates. If you haven’t done so already, choose your level and start practicing your scales right away!
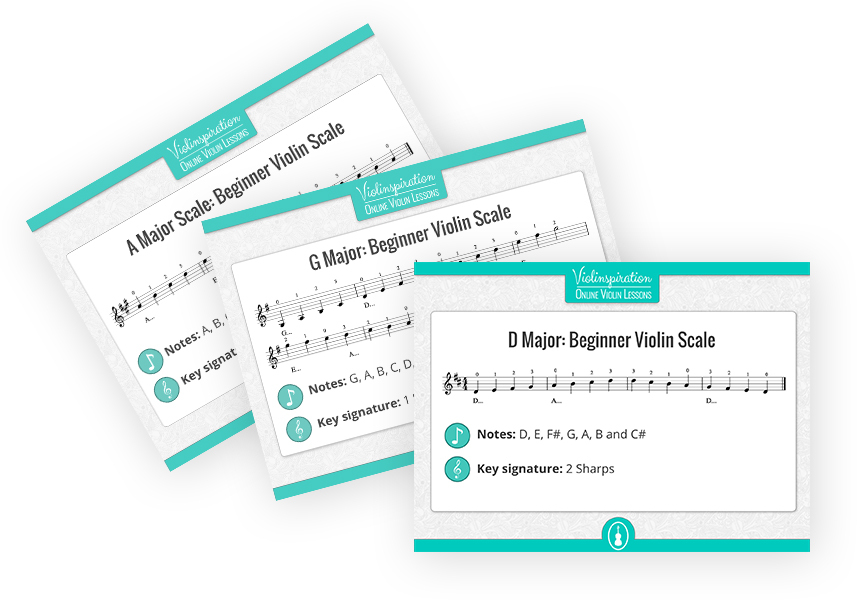
5 Most Common Violin Scales
for Beginners
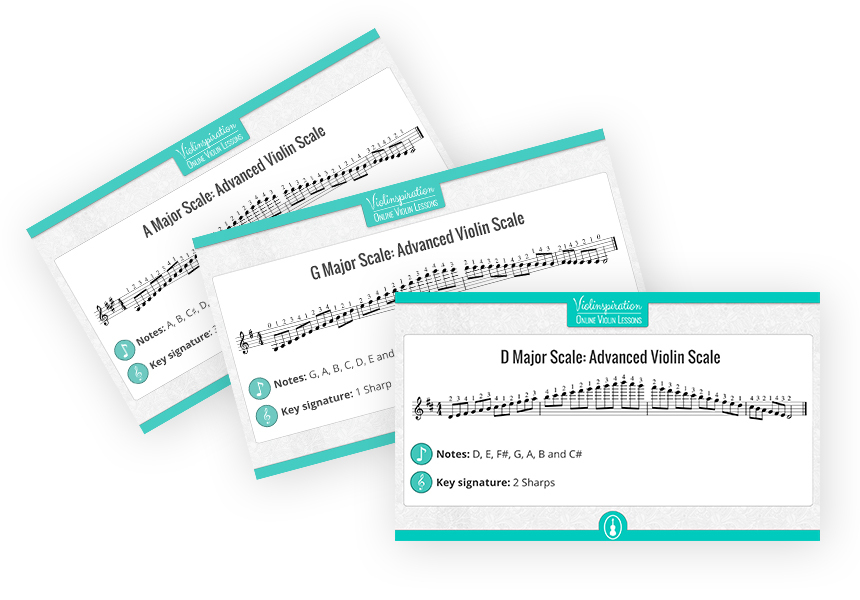
5 Most Common Violin Scales
for Advanced Player
If you are in doubt and feel like you are in between both levels, you might like my free booklet with all my recommended third position scales.
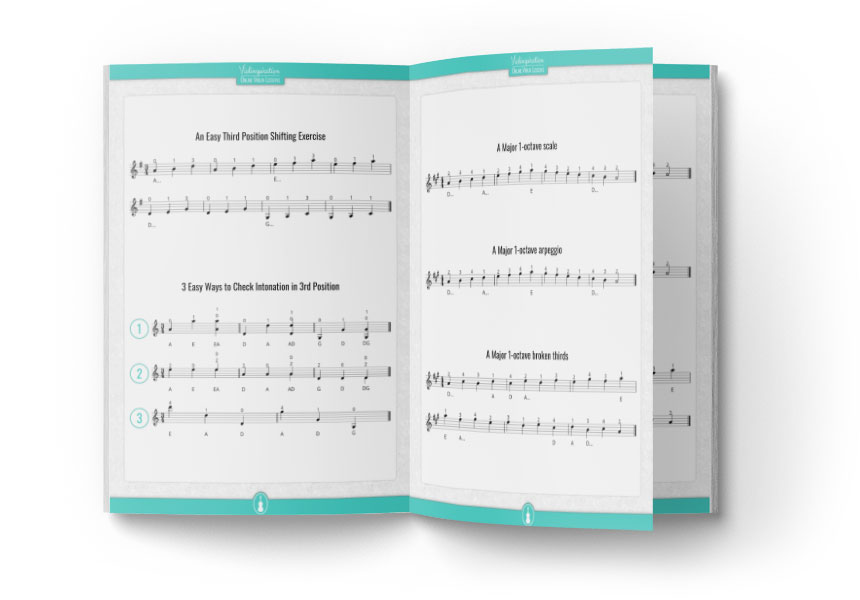
7 Easy Scales to Learn to Play
in Third Position
Tip 12: Use Drones During Scale and Arpeggio Practice
A drone is a vocal or instrumental part that is constant throughout the duration of a piece. Drones are often used to accompany other instruments or vocals, filling out the harmony with a continuous background sound.
Drones are also great for intonation practice! Try practicing your scales and arpeggios on top of drone notes to always have a reference at hand to hear if you are playing in tune.
Don’t Give Up!
Many of my students get worried if they cannot hear whether a tone is being played in or out of tune. They have the misconception that they are tone-deaf when in reality, they have just not been exposed to enough music listening and training to hear the difference.
Many of my self-proclaimed “tone-deaf” students do, over time, recognize the pitch better and better. It can be a very motivating and rewarding process to realize that you are starting to hear tones and pitches that you could not hear before.
I hope this article has given you enough ideas and tips to improve your intonation up to that level too!


