Violin fingering tapes are a popular way to get familiar with left hand fingering for new violinists, and there are plenty of store-bought fingerboard stickers available.
However, without a doubt, the best way to use fingering tape on the violin is to create it yourself.
The best thing is that all you need is some tape and scissors, something you will probably already have on hand!
Benefits of Creating Your Own Fingering Tape
First of all, you might wonder: why would I create my own fingering tape if commercial finger tapes are available?
Aside from cost (it is a lot cheaper to create your own), the most important reason is ensuring correct intonation.
If you place your DIY fingering tapes right, they will be a lot more accurate than commercial tapes.
For instance, let’s have a look at the most commonly used commercial solutions: violin fretboard tape.
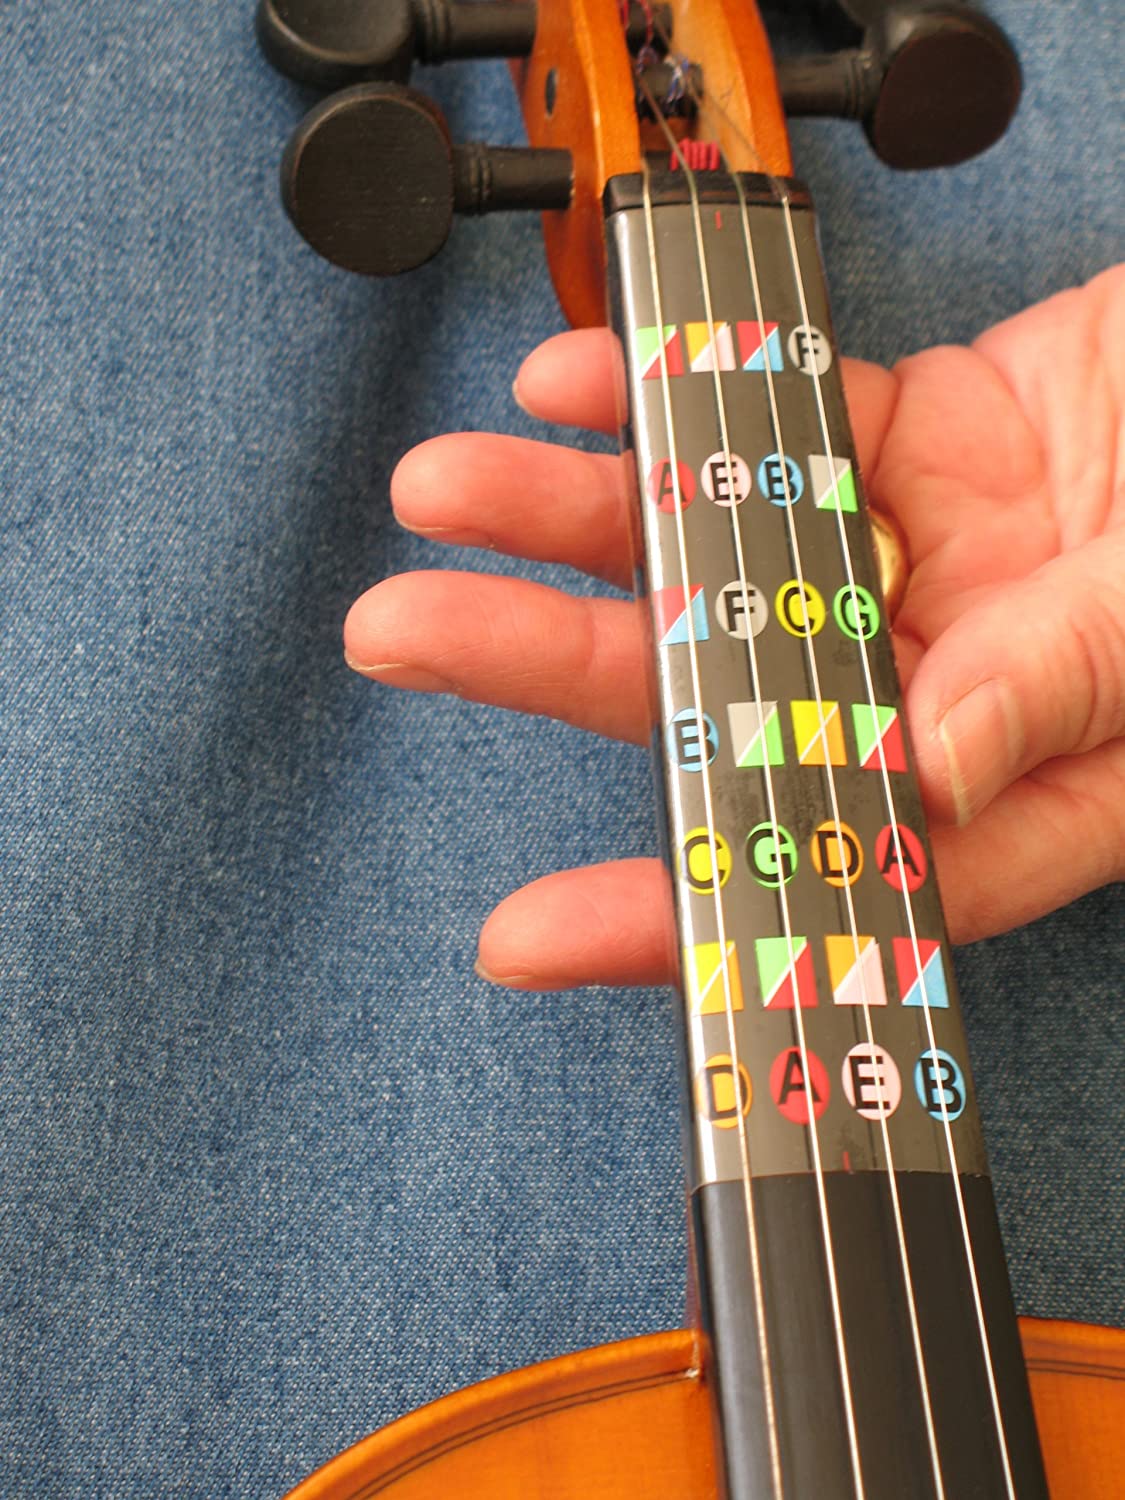
Fretboard tapes are available in many different shapes and sizes, but they have one thing in common: it is one larger sticker that you can place on the violin at once.
This can be very appealing to starting players as the idea behind this is that you would not have to find the individual notes by hand, but instead just place the sticker once.
However, the length of the fingerboard, and thus the location of the individual notes, is different on each violin.
That is why most of my students that used guides, like the one above, before starting lessons did not play in tune and had to relearn the correct finger locations.
This problem can easily be avoided, and the solution is easy: create your own fingering tapes!
What do you need to create your own violin fingering tape?
To make violin fingering tapes, keep the following items on hand:
- Scissors
- Tape
- Violin tuner (you can use this online tuner).
As for tape, the best fingering tape is tape that will easily rub off when you would like to remove it from your violin.
What kind of tape can you use on a violin fingerboard?
Here are the tapes that I tried and ordered from best to worst: Tape made specifically for Instruments (perfect, but expensive), Car decal stickers (perfect, but only available in a big roll), Printer Labels (breaks a little less easily than painters tape, not a lot of residue), Painters Tape (not sticky, but tears easily), Electrical Tape (moves easily, leaves a sticky residue).
Electrical Tape
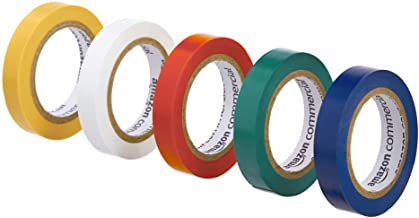
I used electrical tape for many years on my own violin. It is not the best tape, but most people have it on hand or can easily get it in a nearby shop.
Electrical tape is nice because it has many colors, but it can move easily so you have to check regularly if it is still in the correct location.
The tape does leave some residue, but you can wipe it off with a cotton pad or tissue.
Masking Tape
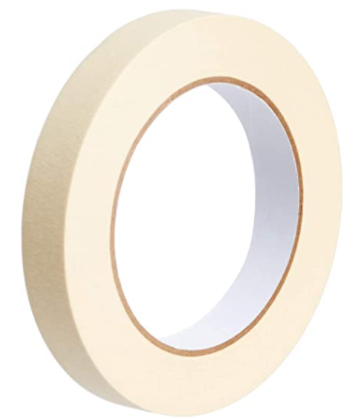
Masking tape can easily break, so be sure to apply it carefully. It is a little less pretty than electrical tape and tears more easily, but it does stick better to the location and leaves a less sticky residue on the fingerboard.
Printer Labels
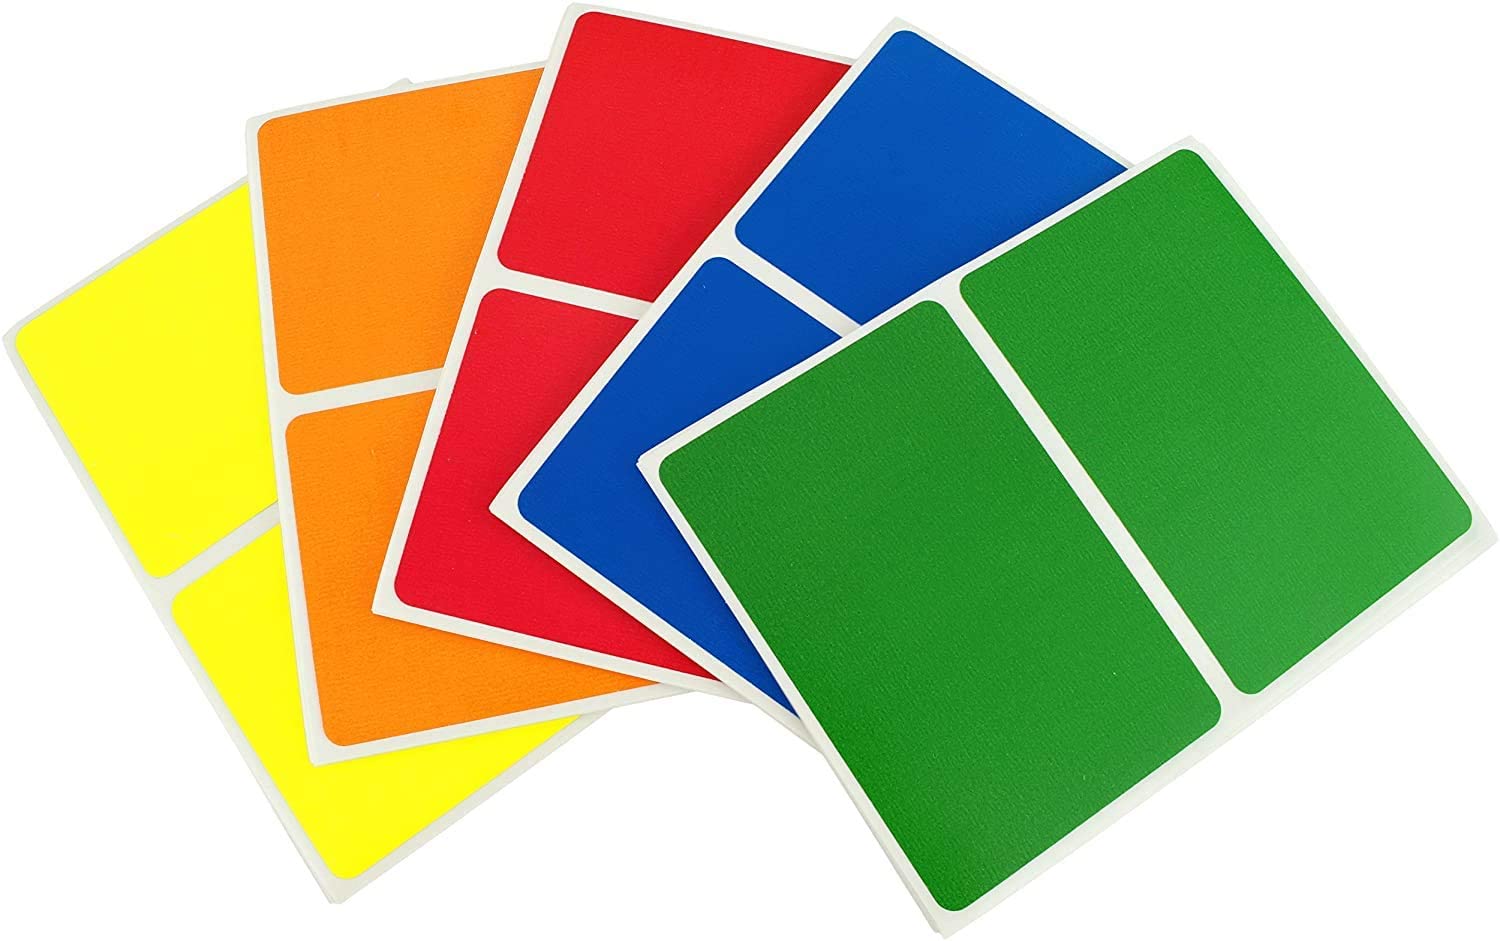
This is what I am using on my violin at the time of writing this post (for making easy tutorial videos). It is not perfect, but it is available at local shops and a little more durable than masking tape. It is also a little easier to remove and does not move around as much as electrical tape.
I am currently using plain white labels, but they are also available in different colors, e.g. fluorescent.
Decoration Tape for Cars
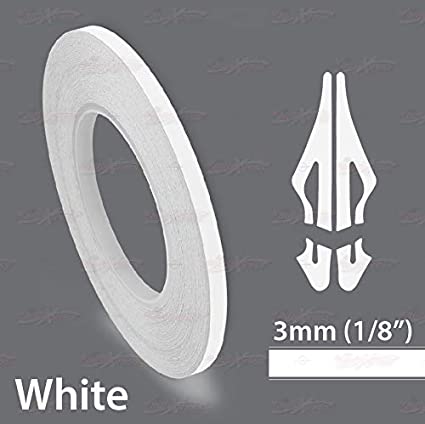
One of the best options is thin tape made for car decoration because this type of tape is both durable and leaves very little residue. However, it can be a bit harder to come by.
This type of tape is much cheaper than tape made specifically for violins, but has the same quality.
It is a great option for violin teachers that need to tape violins for many students because the rolls of tape can be pretty large.
Violin Fingering Tapes
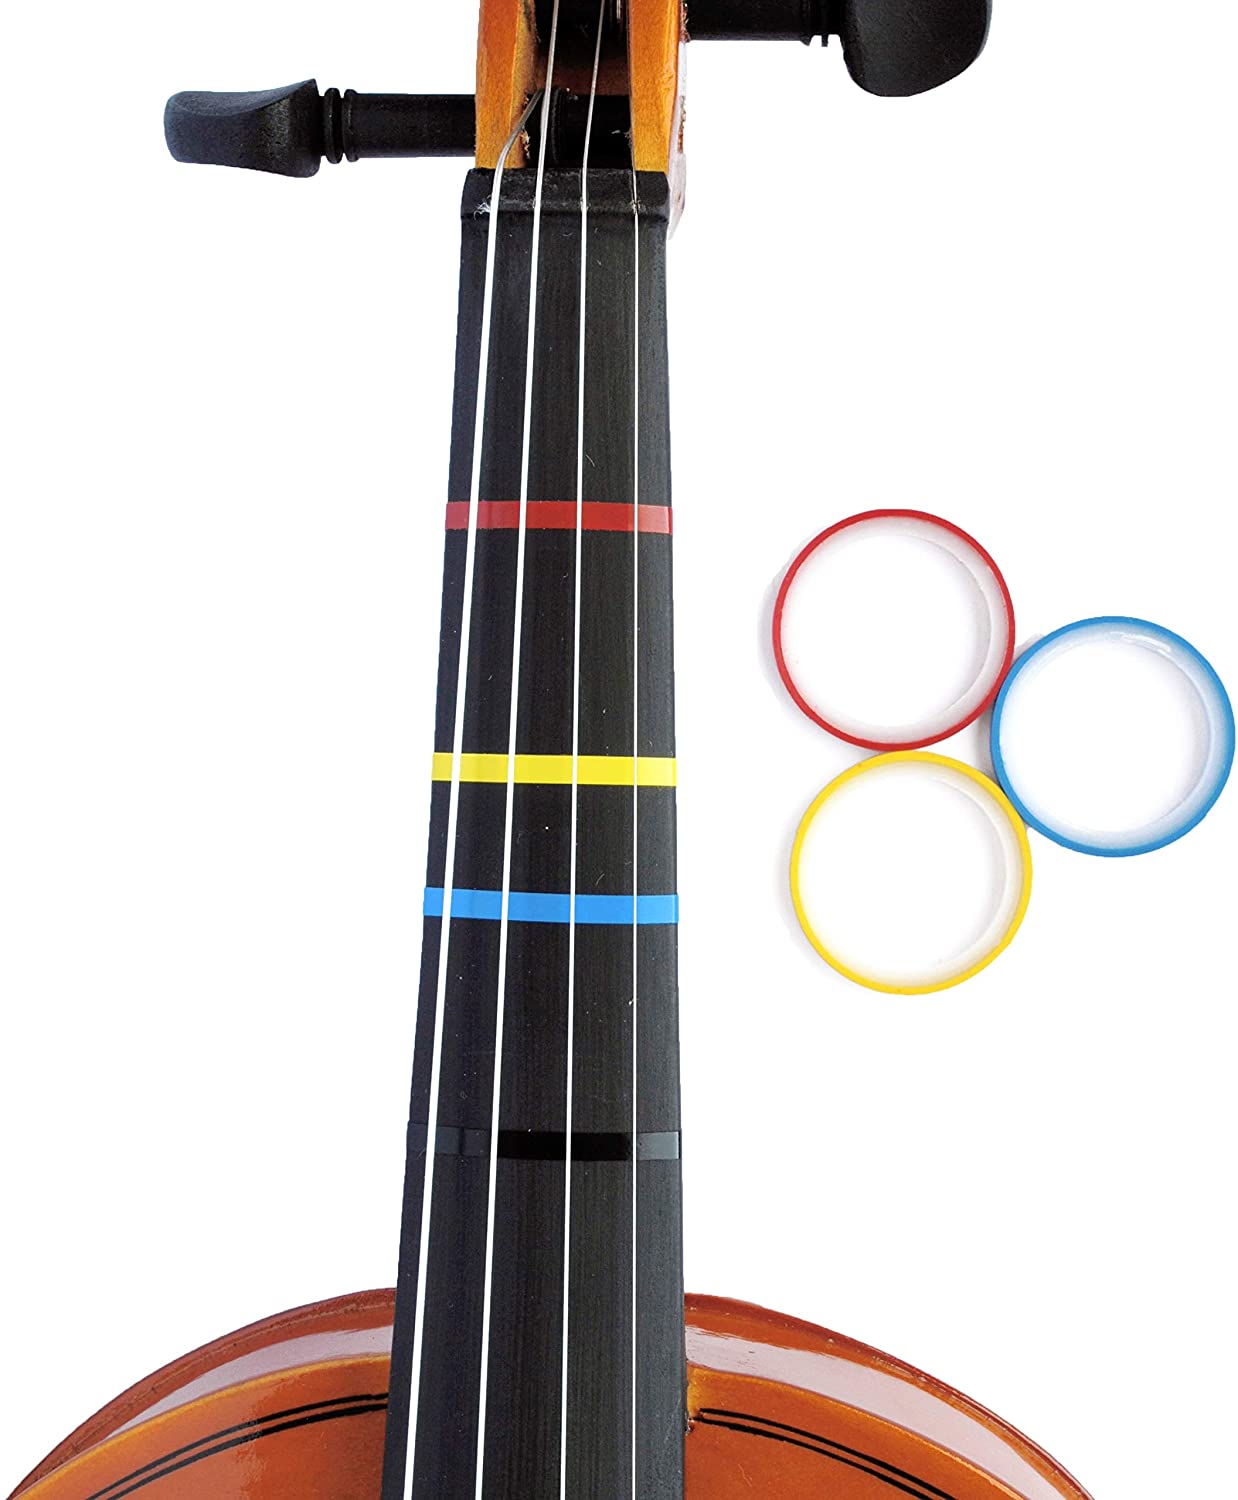
Violin fingering tapes are made specifically for violins. If you want to use different colors and have only one violin that you would like to apply tape to (as opposed to a violin teacher that would need multiple rolls of tape), the “3 Mini Color Violin Fingering Tapes” sold on Amazon would be a good option.
They are pretty expensive but durable. By buying a small amount you will avoid buying a lot more tape than you actually need.
Tips for Buying Tape
There are many more variations of tapes available. The most important quality to look for in tape is that it leaves little to no residue. The second feature to look for is that the tape is thin (about 0.1 inch or 3 mm).
But most importantly: please do not overthink which tape to place on your violin!
Personally, I have learned to play the violin beautifully while using the cheapest electrical tape available. It was sticky, moved around and it was imperfect, but it did the job: I learned how to play the violin!
If you have any tape lying around in your house right now, just use that tape – you can always upgrade your tape if you re-apply it to your instrument after it wears out.
Directions
Now that you have all the materials ready, it is time to place your tapes on the fingerboard! Follow the guide below to place your tapes on the fingerboard correctly.
1. Cut three pieces of tape
The first step to creating your own fingering tapes is cutting three pieces of tape. Each piece should be about 3.3 inches or 8 cm in length.
The pieces should be about 3 mm or 0.1 inch in width.
2. Find the right locations for your fingering tapes
The next step is calculating the exact location of your fingering tapes.
Start by measuring the length of your fingerboard from the nut to the bridge. Make sure that you measure from the border of the nut, not any further than that.

Write that measurement down.
Now, fill out the measurement in this fingerboard sticker calculator under S. It does not matter if you fill it out in mm or in inches.
If you are a musician and can easily recognize pitch by ear, find the following locations on the A string:
- First sticker: B
- Second sticker: C#
- Third sticker: D
- Fourth sticker: E
However, if you can already recognize tones by ear, you probably don’t need fingering tapes in the first place.
3. Place the Tapes on the Fingerboard
Using the measurements from the fingerboard tape calculator, place the fingering tapes on your violin.
If you did not measure your locations on your own violin in the last step, you can use the following measurements:
- first tape: 34 mm or 1.33 inches
- second tape: 65 mm or 2.55 inches
- third tape: 79 mm or 3.11 inches.
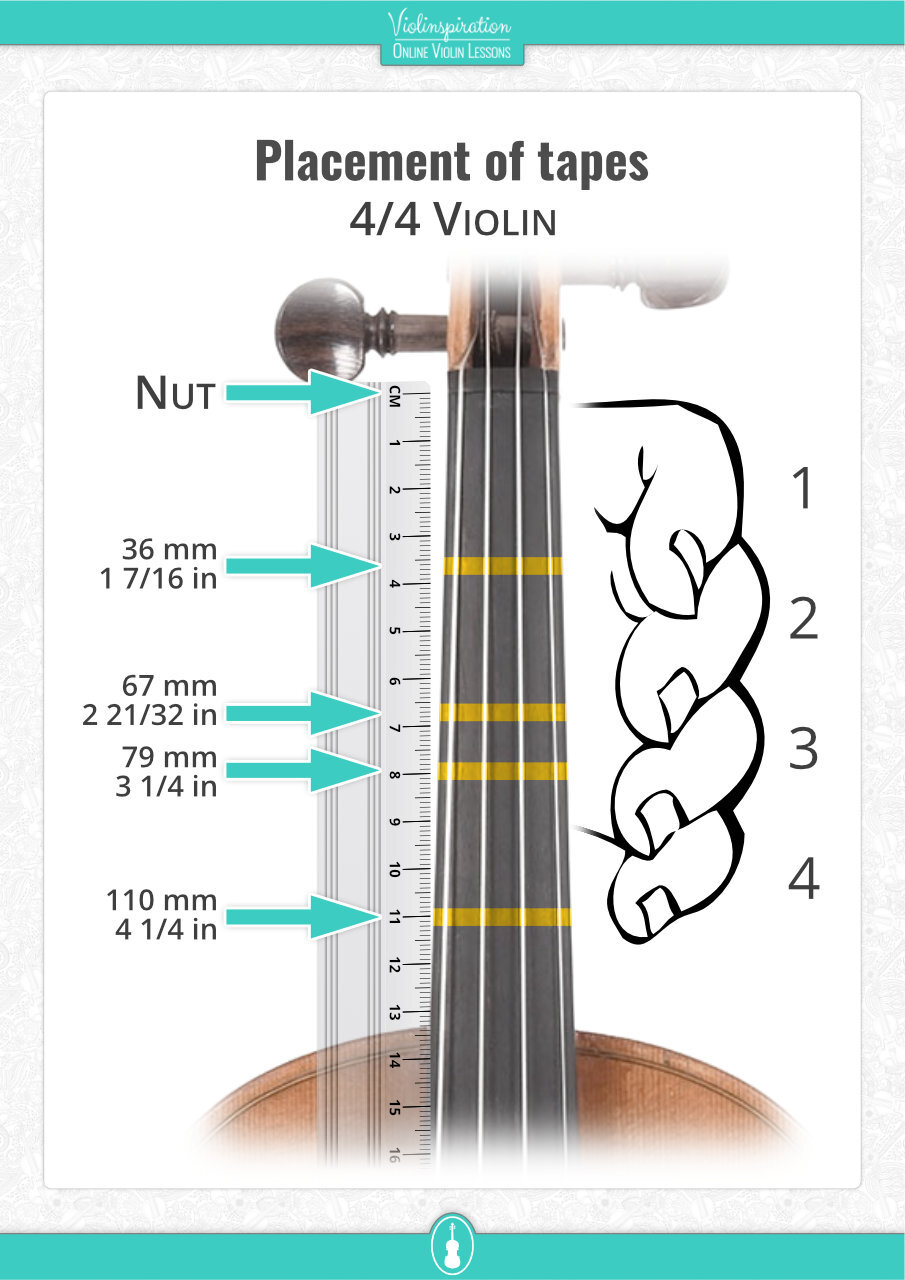
Optionally you can also add a tape for the fourth finger. In that case, add a fourth tape on the following location:
- fourth tape 104 mm or 4.09 inches.
Normally you will start with three fingering tapes and add the tape for the 4th finger later in your violin journey. The reason for this is that the pitch of the note for the fourth fingering tape is the same pitch as the open string above. For this reason we usually use open strings instead of playing that note with our fourth finger.
4. Adjust your fingering tapes with the tuner
Now you have placed your fingering tapes, we need to confirm they are placed on the correct spots. You can easily do so with a violin tuner.
First, tune your instrument to make sure that all your strings are perfectly in tune. In case you need any help with that, check out my blog post and video “How to Tune the Violin for Beginners”.
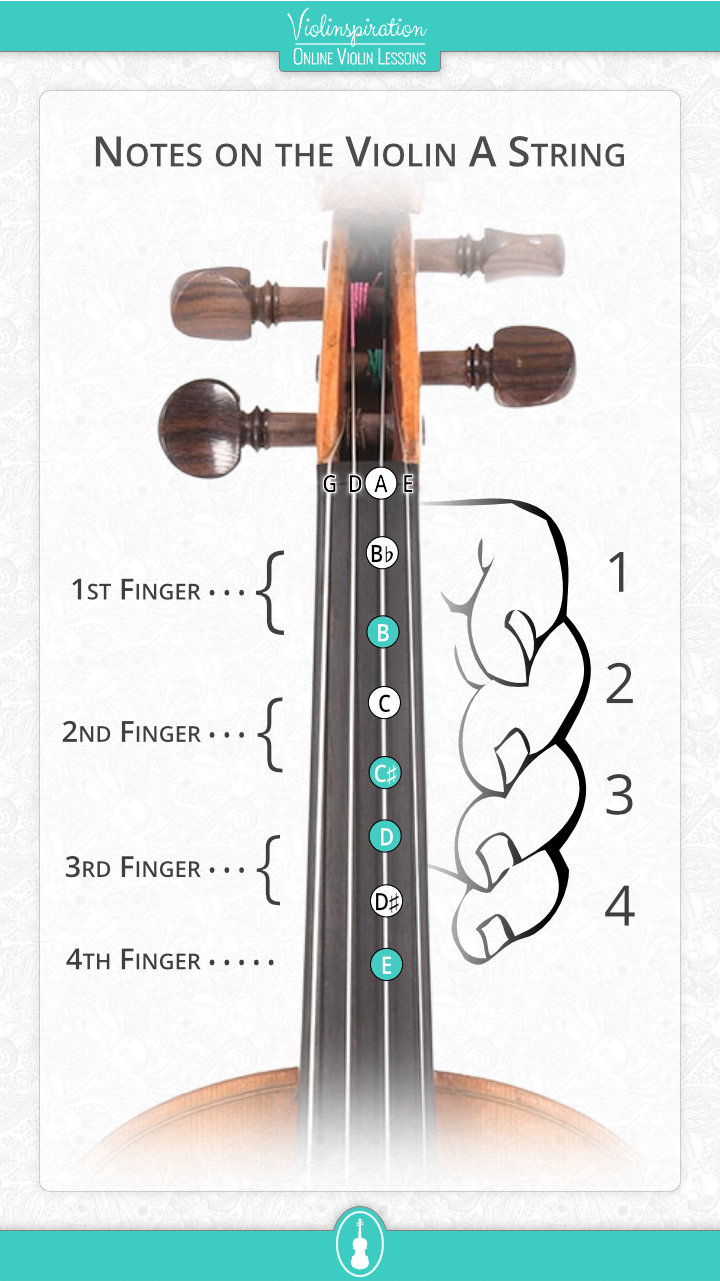
After that, place your fingers on each tape on the A string. Check if each tape is placed correctly by placing your left hand fingers on the tapes and using the bow to play each of the notes.
If the tape is placed correctly, the tuner should show the following notes:
A string
- First sticker: B
- Second sticker: C#
- Third sticker: D
- Fourth sticker: E
If the tuner is showing the correct notes but not pointing exactly to the middle, you have to adjust the fingering tapes in the following way:
- If the needle of the tuner points to the left, you have to place your fingering tape a little higher.
- If the needle of the tuner points to the right, you will have to place the fingering tape a little lower.
Adjust the location of the tapes until the marks are at the right spot.
5. Replacing Your Tapes
Every once in a while, your tapes wear out. In this case you will have to replace them.
To replace your tapes, remove all the tapes from the fingerboard.
Depending on what tape you used, there may be some sticky residue left on the fingerboard.
Please do NOT use water, vinegar, oil, soap, or anything else to remove these tapes from your violin. This can damage the fingerboard, and if it leaks, the varnish and wood of the violin!
Instead, use tissues or cotton pads to remove the tapes.
It may take a little longer, but it is worth the effort knowing that you will keep your beautiful instrument in great condition.
Keep scrubbing over the tapes between and under the strings until you have removed the residue.
Sometimes the violin can still feel a little sticky after this process, but normally after playing for a few days the stickiness will go away.
Alternative Violin Fingering Tape Ideas
Using Dot Stickers instead of Fingering Tape
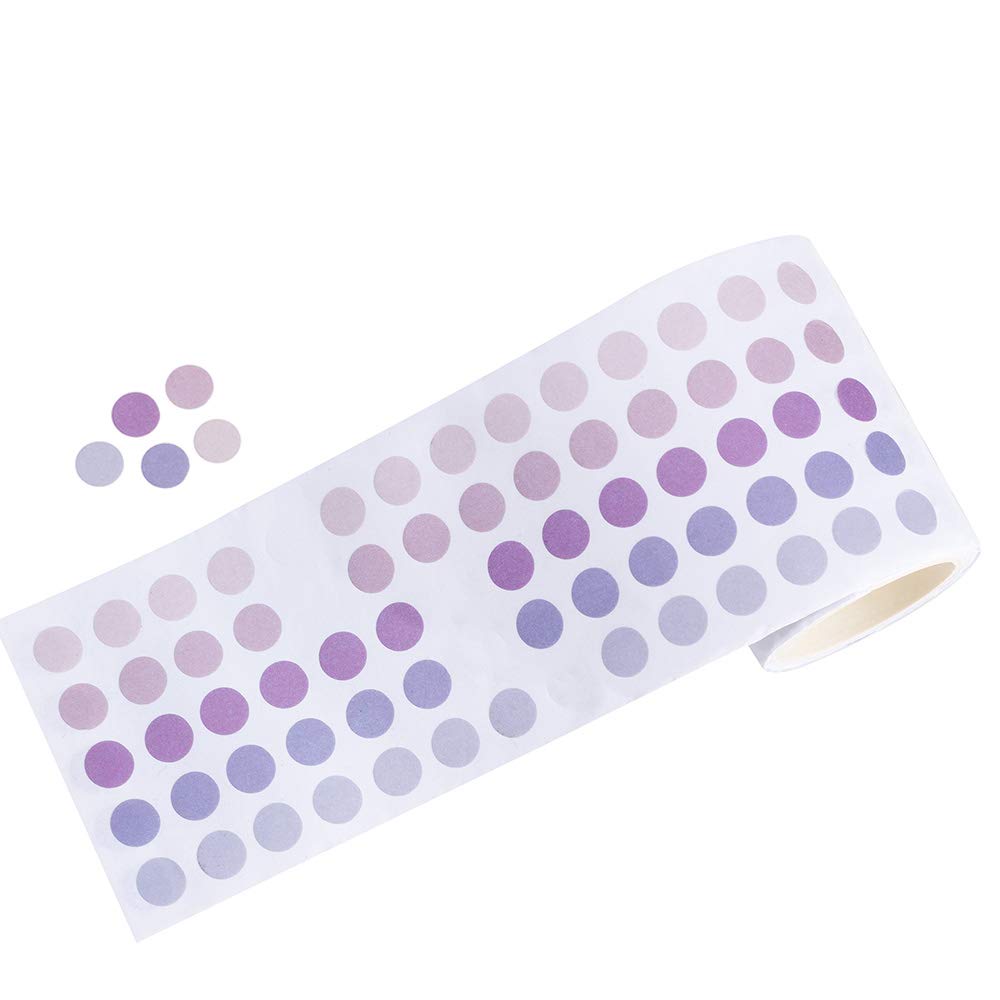
Sometimes violin teachers use dot stickers instead of fingering tape.
This can be especially helpful for you if you can play generally in tune, but still have problems with hitting very specific notes (for instance: the high third finger on the G string).
You can use a pencil to write note names on your dot stickers before applying them to your violin.
You can find an example of such dot stickers here.
Using Fantastic Finger Guides
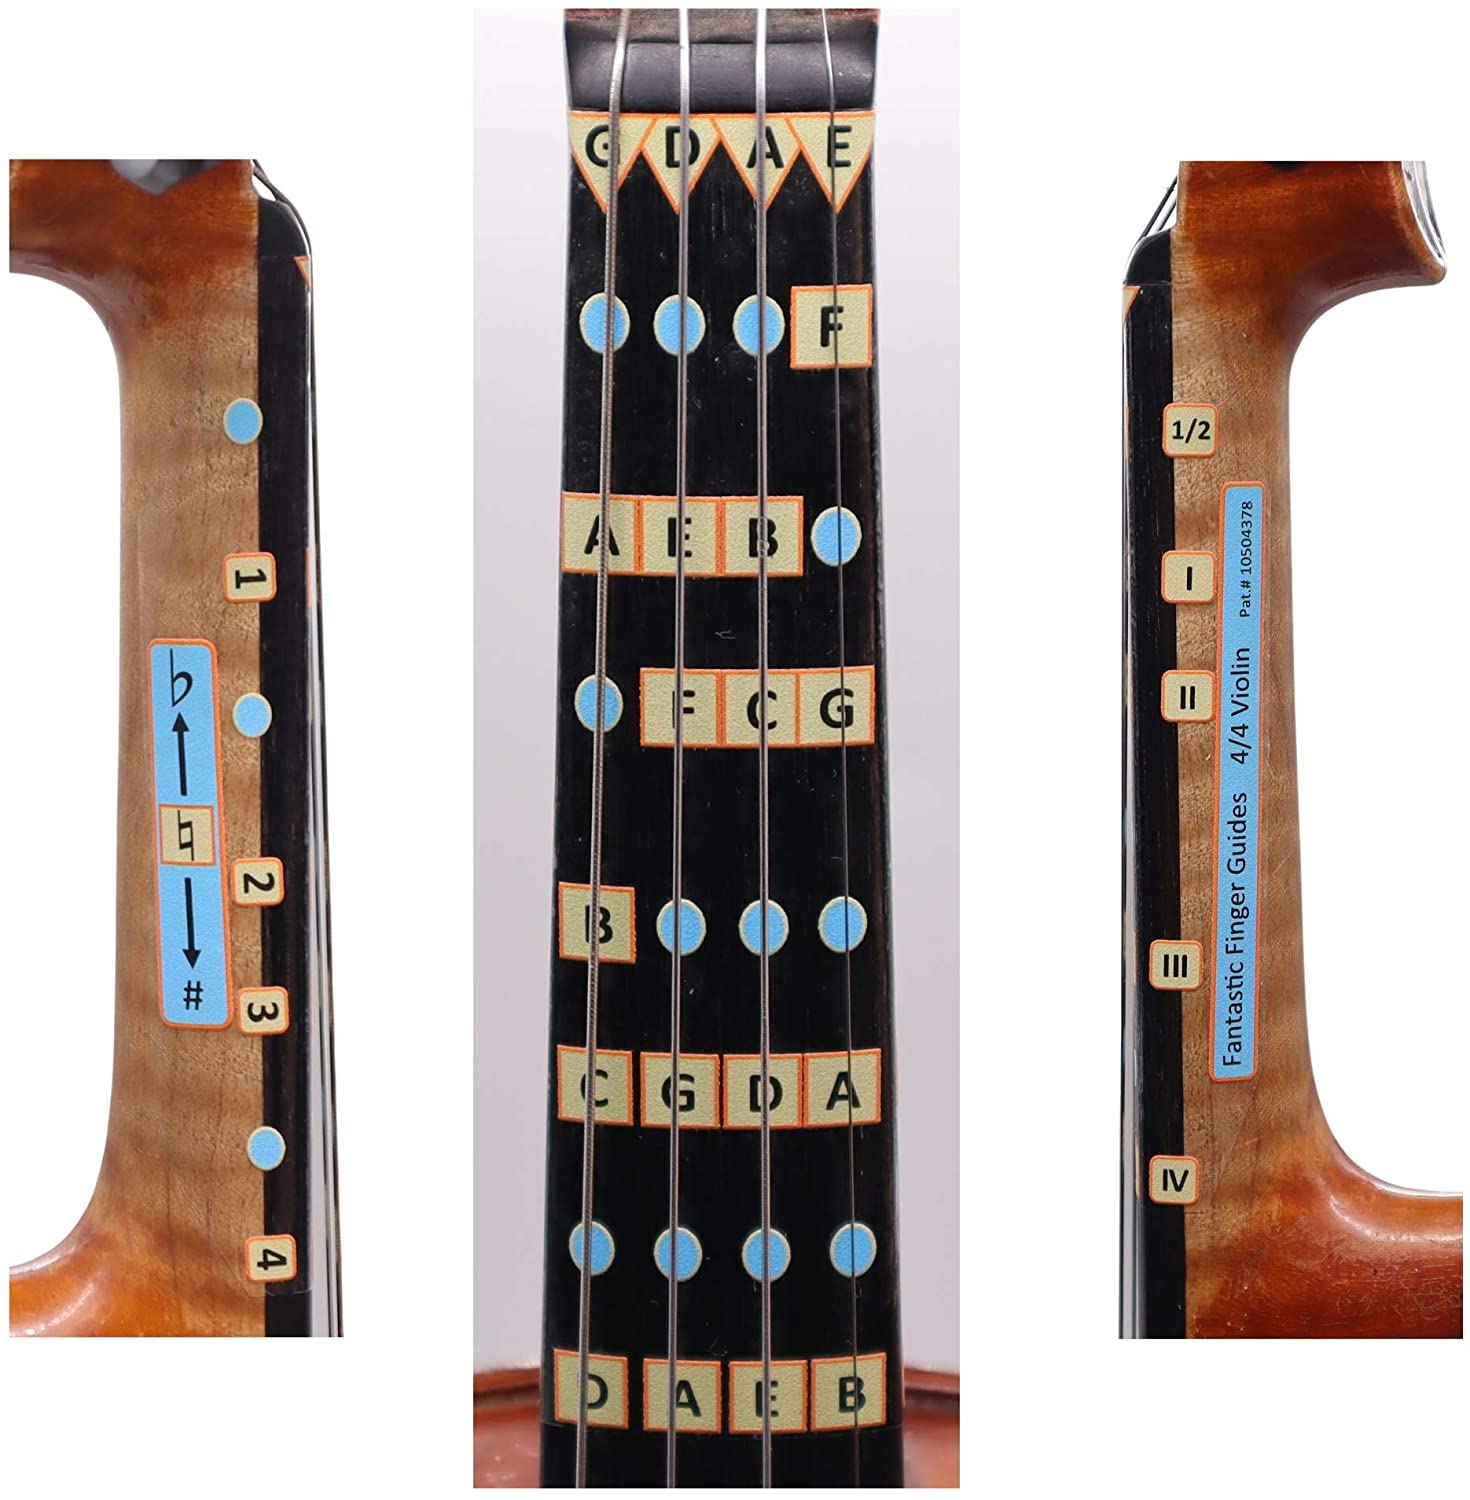
Another option similar to dot stickers are fantastic finger guides. They have the same benefits as dot stickers, but on these stickers the note names are visible.
You do need to realize that when you are playing the violin, you would not actually see the notes. If you look at the fingerboard from the playing position you would see the location of a tape, but not the note name that is written on it.
So this tape is mainly meant for easy reference of where all the notes are when you are learning to read notes.
Using Fingering Tapes in Higher Violin Positions
Until now, we have discussed how to place violin fingering tapes in the first position. This is mostly meant for beginning violinists.
Some more experienced violinists might like to add fingering tapes higher up on the fingerboard as a support to learn the higher violin positions.
For instance, try placing a tape where your first finger goes in 5th or in 7th position. It can be helpful to have a visual reference point to get a better idea of where these positions are on the fingerboard while you are training your muscle memory to find them.

Frequently asked questions
What are the benefits of violin fingering tape?
Using fingerboard tapes on your violin can help speed up your violin learning in several ways.
First of all, fingering tape will give you a visual reference point at the location of your fingers. This will help you to get a mental concept of where the notes are. This can be very helpful, especially for visual learners. You are learning with a combination of looking and hearing.
Another benefit of fingerboard stickers is that you have a visual input to reinforce what you hear. This is especially helpful for violin learners who are still insecure about their intonation.
In addition, the fingerboard stickers can also help as a reference point for your thumb position. Beginning violinists can find it helpful to use the first position sticker and advancing players can use a fingerboard sticker on the third finger position to learn to play in the third position.
Fingerboard stickers are not only about visual reference points. Another benefit of adding fingering stickers to your violin is that your fingers will feel where the notes are. The structure and feel of stickers are different from the feel of the fingerboard. This different structure can allow a beginner to rely less on sight when placing his or her fingers and “feel” where the notes are, despite not being able to hear them yet.
What are the disadvantages of fingering tapes?
The first disadvantage of using fingering tapes is that some beginning violinists assume that playing on the stickers means that they are playing in tune. This is not always the case. Stickers can move, and even if you use stickers, it is still important to use your ears to decide if you are playing in tune or not. That’s why some violin learners decide to only work with their ears from the very start. If you notice that the stickers hold you back from listening and playing with your ears, it would be good to experiment with playing without stickers.
Another pitfall of using stickers is that you could develop a dependence on your fingerboard stickers.
Furthermore, fingerboard stickers can leave a gummy residue on the violin, which you need to clean.
Creating your own homemade fingerboard stickers is a method that violin teachers have used for decades, even after commercial solutions came to the market.
Should I use fingerboard stickers on my violin?
Deciding if you should use fingerboard stickers on your violin depends on your situation:
If it is difficult for you to hear if you are playing in tune, it is a good idea to use stickers while you develop your listening skills and your muscle memory.
If you already developed very good listening skills and it is really easy for you to identify if a note is in tune, I would advise against fingerboard stickers.
Which Notes Should You Mark with Fingering Tape?
The following notes are usually marked with fingerboard tape:
G string
- First sticker (from the nut): A
- Second sticker: B
- Third sticker: C
- Fourth sticker: D
D string
- First sticker: E
- Second sticker: F#
- Third sticker: G
- Fourth sticker: A
A string
- First sticker: B
- Second sticker: C#
- Third sticker: D
- Fourth sticker: E
E string
- First sticker: F#
- Second sticker: G#
- Third sticker: A
- Fourth sticker: B
The reason that we mark these notes is that these are the most commonly used notes in violin pieces.
How do you remove the tape from the fingerboard?
To remove fingering tape from your violin fingerboard, start by pulling off the tape from the side of the fingerboard. If there is any leftover residue, use a cotton pad or a tissue and keep rubbing it back and forth on the fingerboard until it does not stick anymore. Don’t forget to clean up the residue under the strings and along the neck of your violin.
Do NOT use water, vinegar, oil, soap, or anything else to remove these tapes from your violin. This can damage the fingerboard, and if it leaks it may damage the varnish and wood of the violin!
3 Practice Recommendations with Your New Tapes
After placing the fingerboard stickers, one of your main goals is to get familiar with the finger positions of the left hand.
- Practice Scales: one of the best ways to get familiar with the finger positions is by practicing scales! Here are the 5 easy scales (including a printable PDF) that I recommend to start practicing first as a beginner.
- Get familiar with all the notes in the first position. Learn what notes are under each sticker by reading my post All Violin Notes for Beginners.
- Practice fun beginner songs. Next to practicing your theory and scales, make sure to practice some easy beginner songs (like the ones in my Video Lessons library) to reinforce what you have learned while practicing your scales, and of course to have fun!


