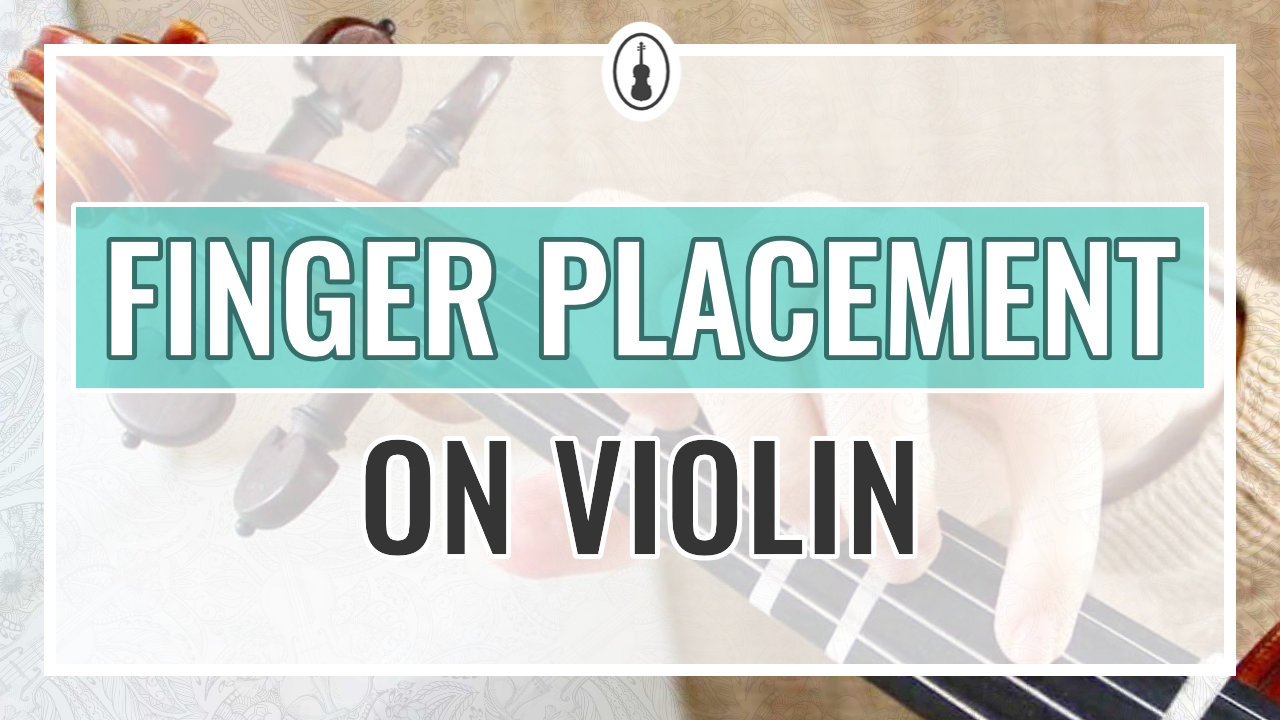
A beginner’s guide to left-hand finger placement on violin.
If you’re new to playing on the violin you might be wondering: a violin has no frets, so how do I know where to put my fingers? How will I be sure that a note has the correct pitch? Every violinist struggles with this at the beginning. Sometimes you can even feel some pain in the left hand. In this article, I would like to address the most common questions that beginners ask. If you have different struggles, please let me know in the comments section below the post.
I hope this guide will help you progress in your musical learning, so you can become the best-sounding musician on the violin that you can be!
Where Do I Put My Fingers on a Violin?
You should put your fingers on the strings pressing them down to the fingerboard. You can look for the exact spot with the help of fingering charts and a tuner, finger tapes, or your ears (e.g. by comparing a note played on a piano with the note you play).
1. Use Violin Fingering Charts

First, it’s good to visualize where the exact spots are to put your fingers on the fingerboard. It would be great to already know how to read sheet music, but it’s not obligatory at this moment. When you are starting to play the violin you can read the violin tabs that I include in all sheet music that I share with you.

Get Your Free Fingering Charts
of All Violin Notes
in the First Position
2. Check the Pitch with a Tuner
When you know which note you want to play, you can use a tuner to check whether you’re playing the correct pitch. There is a wide variety of tuners – mobile apps, online tuners, or devices like Korg TM-60 which also includes a metronome. I personally prefer to use an online tuner that you can find here with some tips for tuning your instrument.

InTune app

There is also another software that can help you play notes the right way. It is called “inTune” and it is available to all students at Julia’s Violin Academy. It will analyze the pitch of the notes you play and give you feedback in the form of charts and statistics. This way, you will know which notes were played correctly and which were played sharp or flat.
3. Use Fingering Tapes
It’s hard to search if you can’t see where to start! That’s why it is so useful to put fingering tapes on your fingerboard. They work almost like frets on a guitar, helping you visualize the spots to place your fingers.
In my article, “DIY Violin Fingering Tape (Cheap & Easy)“, I explain how to make your own fingering tapes and give you an overview of ready-to-use solutions like dot stickers or Fantastic Finger Guides.
If you prefer to watch a video instead, here it is:
4. Listen and Learn to Recognize Pitches
Now the hard part, but don’t worry, it’s not required when you’re just a beginner. At this moment, think of it as a challenge for the future.
During your violin journey, with enough time spent on practicing violin scales and etudes, you will get familiar with the notes on each string of the violin. When you feel you’re ready, you can try to rely more on what you hear than on the finger tapes or the tuner. It’s always good to have a reference tone, so you can, for example, play a note on a piano (even if it’s just a mobile app piano) or an online tone generator and then repeat the same note on your violin.
A different way to practice with a reference tone is to practice with a play-along. You can find a lot of play-along recordings in my Video Lessons Library for many popular and easy tunes. This way of practicing will help you improve your intonation and quickly find mistakes on your own.
What Are the Positions on a Violin?
The positions on a violin are the places where your left hand is located on the fingerboard. Positions are numbered from the first, which is very close to the scroll, usually to the eighth, but there are even higher violin positions. Violinists typically learn first position, then third position, then fifth or second position, then the others.
You don’t have to learn any positions other than the first to start playing, but it’s nice to know about the others. You can read about them in my article “The Ultimate Guide to the Violin Positions” and download free PDF charts for all the positions.
What Is the First Position on a Violin?

The first position on a violin is the position of the left hand which is very close to the scroll. In this position on the A string, the first (or index) finger lands on B, second finger on C or C#, third finger on D or D#, and fourth finger on E.
If you just started learning how to play the violin, you are using the most basic position which is the first position. Before you learn any other position, I highly recommend you taking some time to explore what is the correct left-hand hold and what is the role of each part of the hand. It will help you better understand the mechanical part of playing the violin and you will also avoid some bad habits.
How Do You Practice Finger Placement on Violin?
The best way to practice finger placement on violin is to practice scales, arpeggios, etudes, and other finger exercises, including trills. The practice should be at a slow tempo without vibrato. Finger placement (therefore pitches of notes), should be corrected along the way with the help of a tuner, tone generator, or listening to a reference recording.
The goal is to develop your muscle memory so that you won’t need finger tapes to play the notes in tune.

Also, it’s worth working on your finger coordination which includes relaxing and stretching. You can find more on this topic in my article “A Quick Guide to Finger Dexterity.”
Why Does My Left Hand/Wrist Hurt After Playing for a While?
Your hand or wrist could be hurting due to an inward or outward bend in your left wrist, incorrect left elbow angle, or most notably, the clench of the whole left hand. To locate the cause in your case, use a mirror to check if your left-hand hold is correct and relax your hand and arm.


You should also check if the cause isn’t located in your violin set-up, in other words, whether or not your chinrest and shoulder rest (if you use them) are causing some tension in your violin hold.
Also, if you are an adult beginner, there may be different reasons connected with your health.
The most important thing is to not disregard the pain that you are feeling. If you have a violin teacher, ask what might be causing it at the nearest opportunity, or if you are a member at Julia’s Violin Academy, submit your video in the feedback section to get a reply from a professional violin teacher.
Do You Need Long Fingers to Play the Violin?
No, you don’t need to have long fingers in order to play the violin. With the proper left-hand hold and maybe some small adjustments, you should be able to play the violin, even if your fingers are not very long. The only required things to play the violin are a willingness to learn and practice.
Famous violinists such as Niccolò Paganini had long fingers, but for example, Kyungwha Chung and Midori make such beautiful-sounding music with smaller hands.
What is it Called When You Pluck a Violin String with Your Fingers?
When you pluck the strings on a violin with your fingers it is called playing “pizzicato”. You can play pizzicato with your right hand while still holding the bow or play the left-hand pizzicato. You can also hold your violin like a ukulele and play it in a similar way to playing ukulele or guitar.
Here is an example of playing violin like a ukulele by Rodion Shchedrin:
Conclusion
Achieving the correct finger positions on a violin is hard and there will always be something to correct about the intonation, but it is possible! I hope that the information provided in this article along with the resources I share with you will make your violin journey a bit easier. Now it is your turn: keep practicing and trust yourself that you will get there.
Get Your Free Fingering Charts
of All Violin Notes
in the First Position


