Are you ready to learn about violin shifting? After reading this article, you will be very well prepared!
If you’ve been playing the violin for a couple of months or more, you might have noticed that the notes in first position are not enough for playing repertoire for intermediate or advanced players. You may have also seen that other violinists position their hands higher on the fingerboard and you might want to try that. Well, that’s where learning to shift will help you!
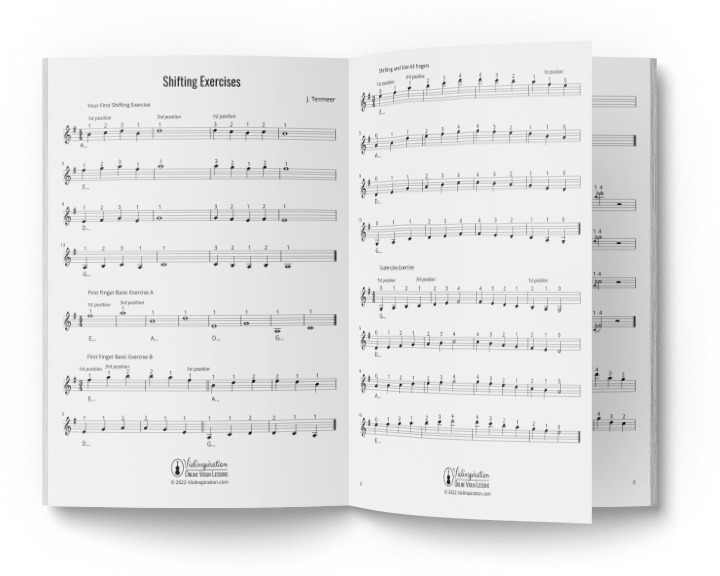
FREE Shifting Exercises
Improve Your Shifting Technique
What Will You Learn in This Article?
In this article, I’m sharing with you the fundaments of shifting and tips on how to master it. You will learn what shifting is and why violinists use it, as well as the correct technique to do that. I will also elaborate on why shifting is an important tool, if you truly need it, and why.
While not everyone aims to be a violin virtuoso, having the tools to play more will elevate your abilities in the things you already know!
What Is Shifting?
Shifting is the technique of moving from one position to another on the violin fingerboard. Think about your fingers placed in the first position. Now imagine your hand is an elevator, and the position for each finger is a separate floor. Shifting is the technique of moving that “elevator” to the appropriate “floors.”
In the elevator analogy, each “floor” is called a position. The first position is the one you start playing, so where your hand is when you play the B note on the A string, for example. In the second position, you place your first finger where normally your second finger is; likewise for the third position, etc.
I briefly explain the term “violin position” in this video:
Of course, you need the proper technique to do it, as just moving your hand when you see fit will not help your sound and your intonation might suffer.
Let’s have a look at the three types of shifting.
The Same Finger Shifting
This is the most basic type of shifting, where you reposition your hand to a higher or lower position and play using the same finger.
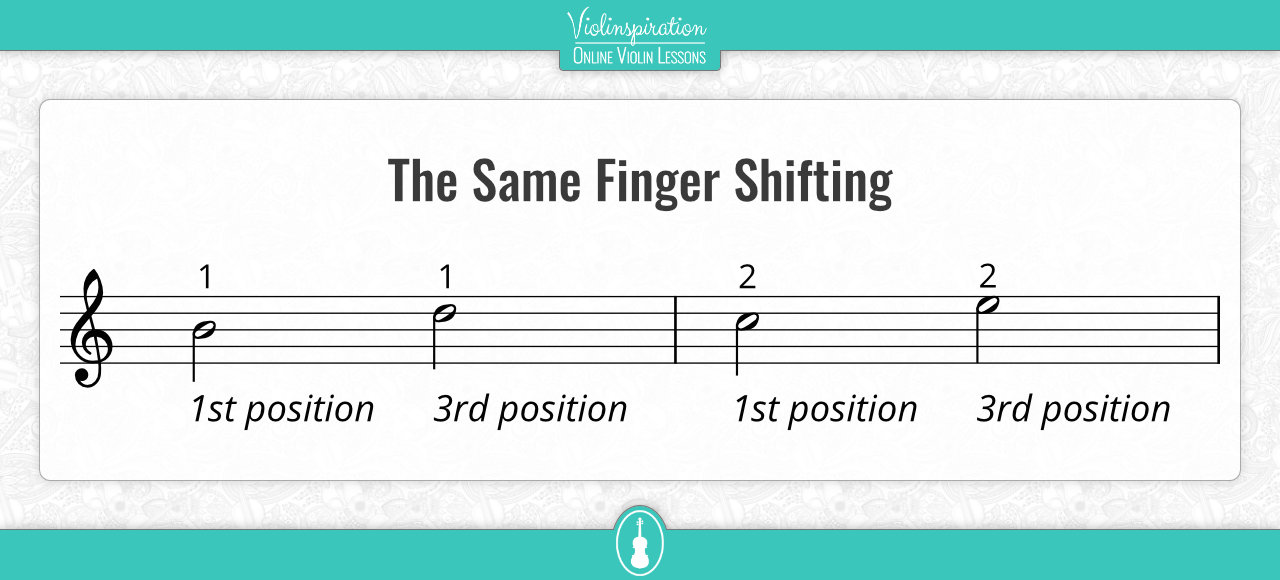
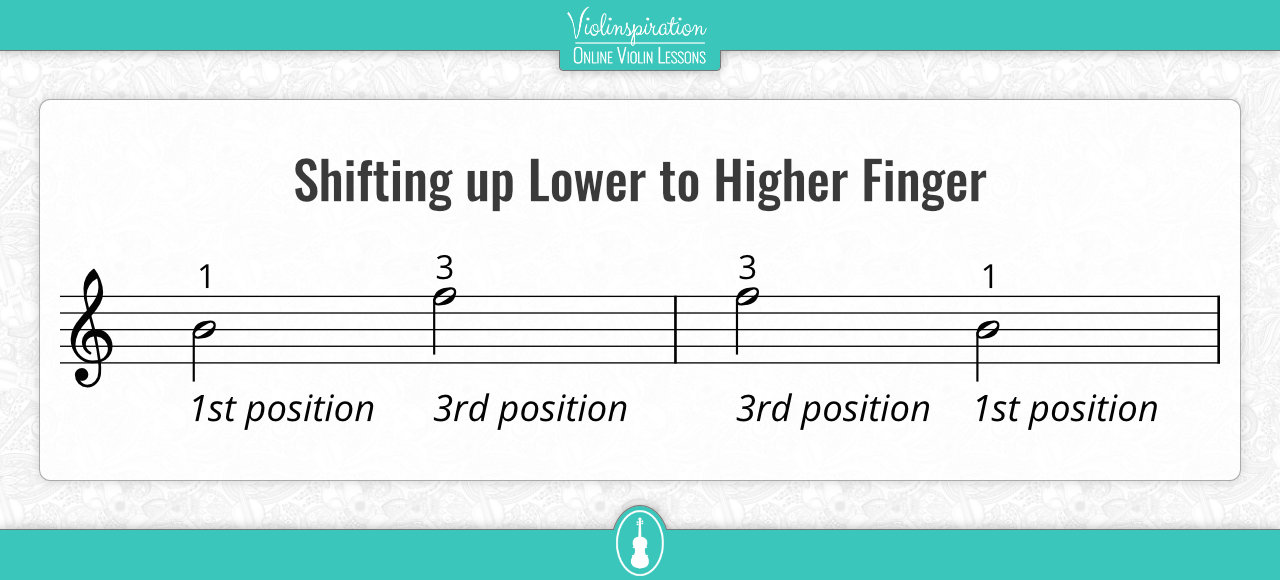
Shifting up Lower to Higher Finger
This is when you’re playing, for example, B on the A string in the first position and you shift to your third finger in the third position. It can also be executed in the reversed order – then it is shifting down the higher finger to the lower finger.
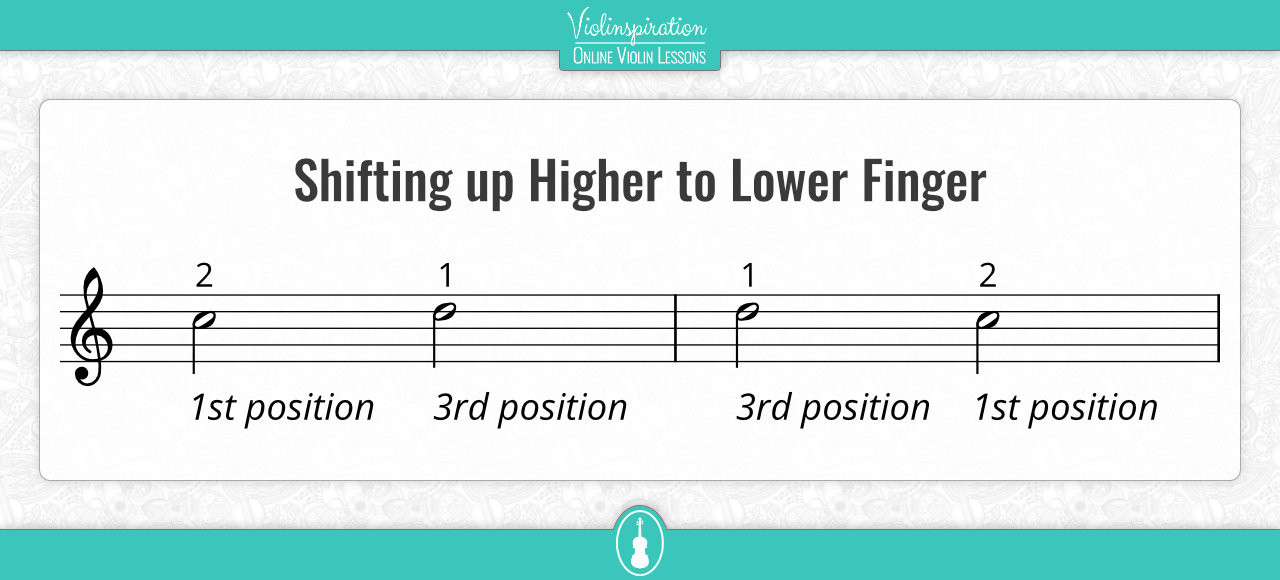
Shifting up Higher to Lower Finger
This is the opposite of the previous type of shifting. In this case, you would play, for example, second finger on the A string and then first finger in the third position. In reversed order, it is shifting down the lower finger to the higher finger.
Why Do Violinists Shift?
Violists shift because it gives them the following advantages: more notes can be accessed higher on the fingerboard, and it gives the opportunity for alternative fingering, as well as a richer tone.
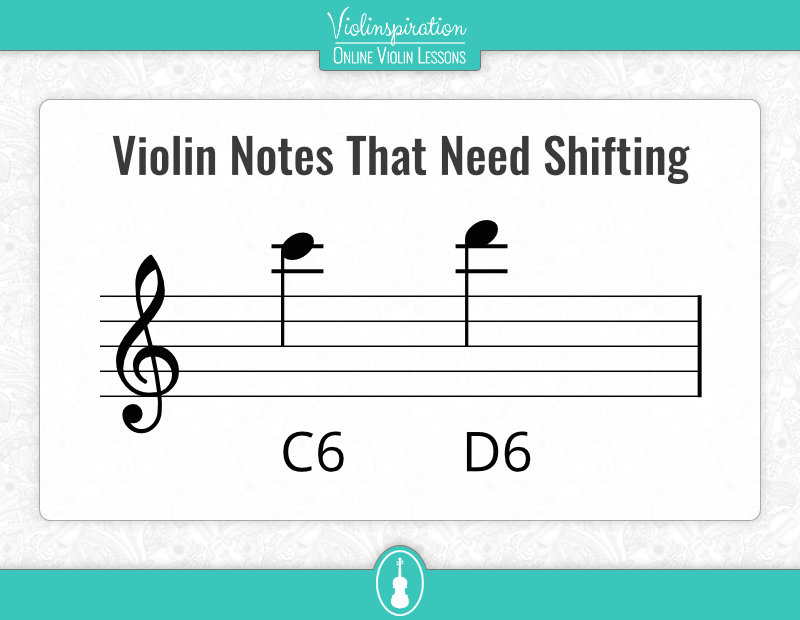
The first one is pretty self-explanatory: you get higher on the violin fingerboard so there are higher notes that you can’t play otherwise. For example, C6 or D6, each with two ledger lines, are very common in many solo pieces as well as orchestral music. Those notes can’t be found in the first position.
Also, the violin is famous for its clear sound in the high register. If you don’t play notes higher than those in the first position, you’re sort of “robbing” the violin of one of its most recognizable characteristics.
The other advantage might not be that obvious if you’re not an intermediate-level student or above: it is preferable to stay on the same string and position, if that is applicable. So a shift to a different position enables you to use a fingering combination that best suits you and the music you’re playing.
Other times, the composer might prefer the tone of a particular string for a given passage, even though you could play the same note easier in some other position. If you try the same notes in different positions, you’ll discover that the tone changes and the same passage sounds different. Sometimes, of course, it’s just a matter of convenience to find the position that makes a passage easier for you, so you can avoid string crossings!
When Should I Start Learning How to Shift?
You should start learning how to shift if:
- You have mastered the violin and bow hold
- You play in tune in the first position
- You have trained your ear enough
- You have a good understanding of the basic bowing techniques
- You have played some pieces and easy concertos as well as etudes in the first position
- Your teacher – if you have one – says you’re ready
If you check all those boxes, you’re ready to try some shifting!
Usually studying shifting means that you’re about to start practicing Vivaldi’s Concerto in A Minor. It is one of the easiest concertos that is at the same time well known. Most likely you’ll start playing etudes and exercises before that, such as Kayser and Mazas, and after you’ve managed to play some of them, you can try that concerto. However, different teachers might advise you about different repertoire options.
In my online school, Julia’s Violin Academy, I provide a step-by-step plan to learn to play the violin, including shifting. When you join the Academy, you can study shifting in the Intermediate level courses and go even beyond that by joining the live classes or watching the replays in the Resources section.
When Should I Shift on My Violin?
You should shift when:
- It is necessary to access higher notes
- It is easier to play in a different position
- It will sound better
Knowing when to shift basically means deciding in which position you should play. In the video below, I share with you my tips on how to choose the position:
How Do You Properly Shift on Violin?
Shifting needs proper technique, otherwise your sound quality and intonation might suffer. Here’s what you should do to shift smoothly:
1. Make sure you know what the desired note is.
Draw a mental picture of where your finger should be placed. If needed, play the desired note in the first position before shifting.
2. Loosen the pressure in your left hand.
Make sure your left hand is relaxed. Do not hold the violin neck; it should be more like just touching it.
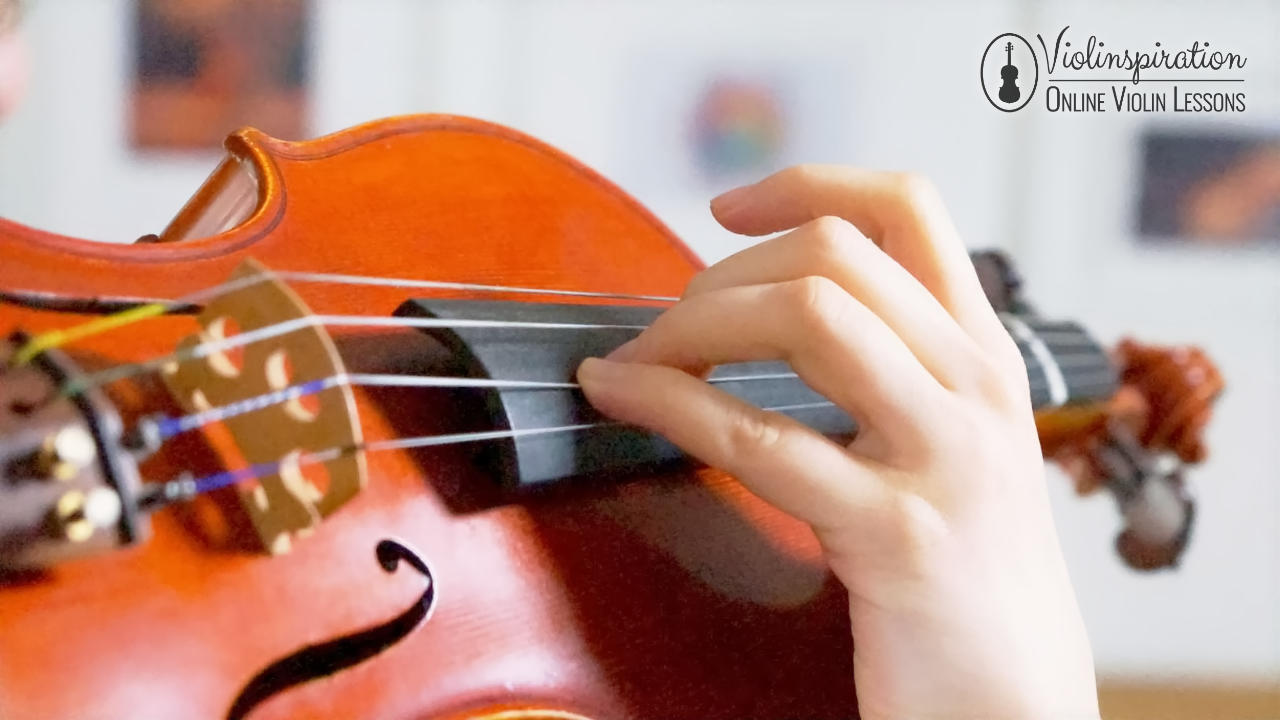
3. Slide your finger to the new note.
You should not entirely leave the string, neither it should sound like glissando (when you purposely slide on the string).
Your elbow initiates the move and not your left arm or left hand. In fact, they should remain practically unchanged.
4. Apply again the correct pressure.
When you land on the desired position, be careful of your thumb placement. While shifting, it should be loose, as you want it to move along with your hand.
When learning to shift, you should also learn about positions – make sure to check out my Ultimate Guide to the Violin Positions.
How Can I Improve My Violin Shifting?
You can improve your shifting by practicing it in various positions and combinations. Make sure to do the following:
- Include in your practice 2- and 3-octave scales and also etudes with the use of different positions.
- Slide, don’t completely lift the fingers.
- Use a metronome to learn to do the shift fast.
- Keep the first finger pressed down as your anchor, even if you use another finger in the new position.
- Observe yourself while shifting – you can use a mirror, record yourself. Always check what you could improve.
It might seem difficult at first but as with everything else, your shifting skills will become much better if you practice consistently.
If you have a violin teacher, of course, ask her or him for feedback on your shifting. For all members of Julia’s Violin Academy, there’s an option to submit a video and receive feedback from a professional violin player. If you feel that it would be a useful service for you, request your invite to the Academy now!
Final Note
Shifting is a fundamental technique, especially if you’re interested in the classical repertoire. It is very helpful and every violinist should have at least some basic understanding of it.
If you’re tired of limiting the repertoire you can play on the violin, it’s probably time to start practice shifting, and eventually, get to play some of the most famous music pieces for the instrument.
Below you can download a free booklet with shifting exercises and here (click) is a blog post where I explain how to execute all these exercises. Enjoy!

FREE Shifting Exercises
Improve Your Shifting Technique
