Improve your violin playing by following my bowing tips!
Violin bowing technique, the way in which you bow, is crucial in your development as a violinist.
Robert Gerle wrote in the preface to The Art of Practicing the Violin:
”It is the bow technique which will largely determine the artistic category of the player”.
So in this post, I’ll give you my best violin bowing tips and exercises, and explain to you everything you need to know to improve your bowing.
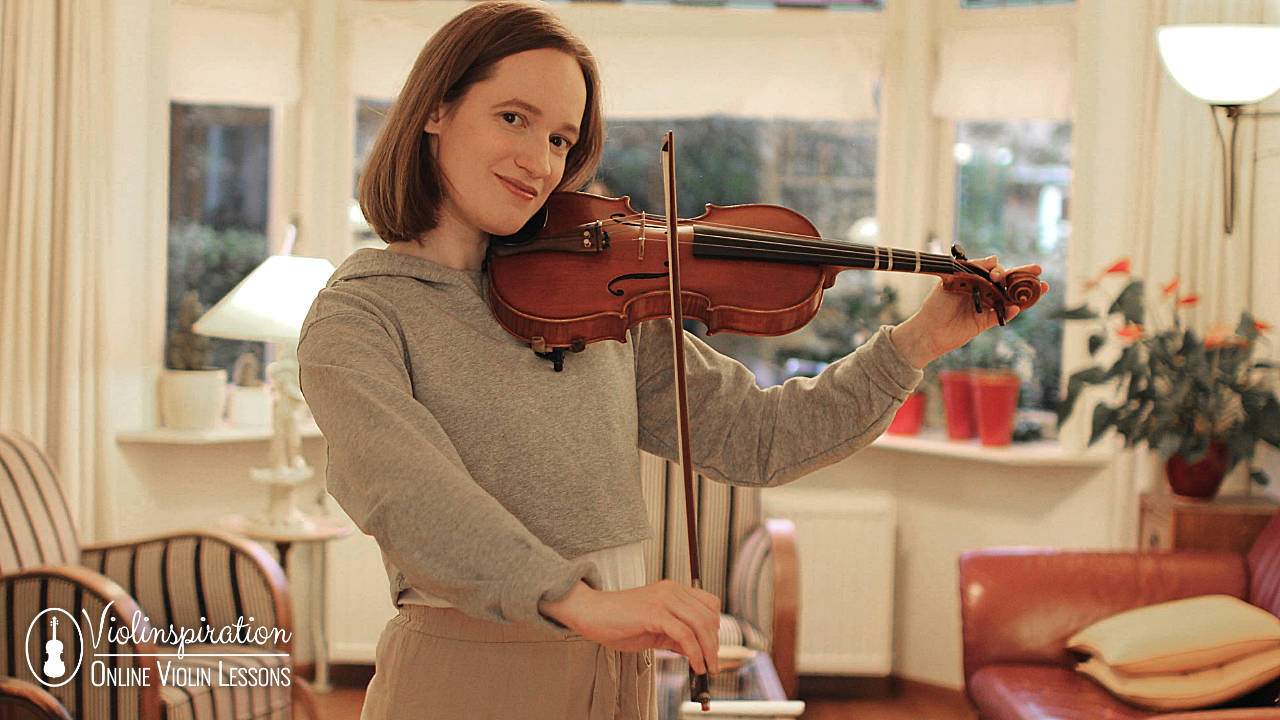
Why Would You Want to Improve Your Bowing Technique?
The three most important reasons to want to improve your violin bowing technique are:
- the overall quality of your playing – poor bowing has a great effect on how your violin playing sounds. Improper technique will cause your bow to bounce and produce inconsistent tones that can sound weak.
- scratches and squeaks – using too much or too little pressure or speed often causes scratchy sounds or some squeaks.
- injuries – improper hold or tensing up your right arm when bowing can lead to chronic pain.
And, although bouncing bow will be something you’ll want to learn later in your violin journey, when you’re beginning to play the violin, the most important thing is to learn the basics of bowing like the correct bow hand hold and bowing straight.
So, before we dive into the bowing tips and exercises, let’s review your bow hold – it’s the base for improving your bowing technique.
Your Starting Point: Proper Bow Hold
The violin bow hold that I teach to my students is the Franco-Belgian bow hold. Take a closer look at the photos to see how you should place your fingers on the bow.
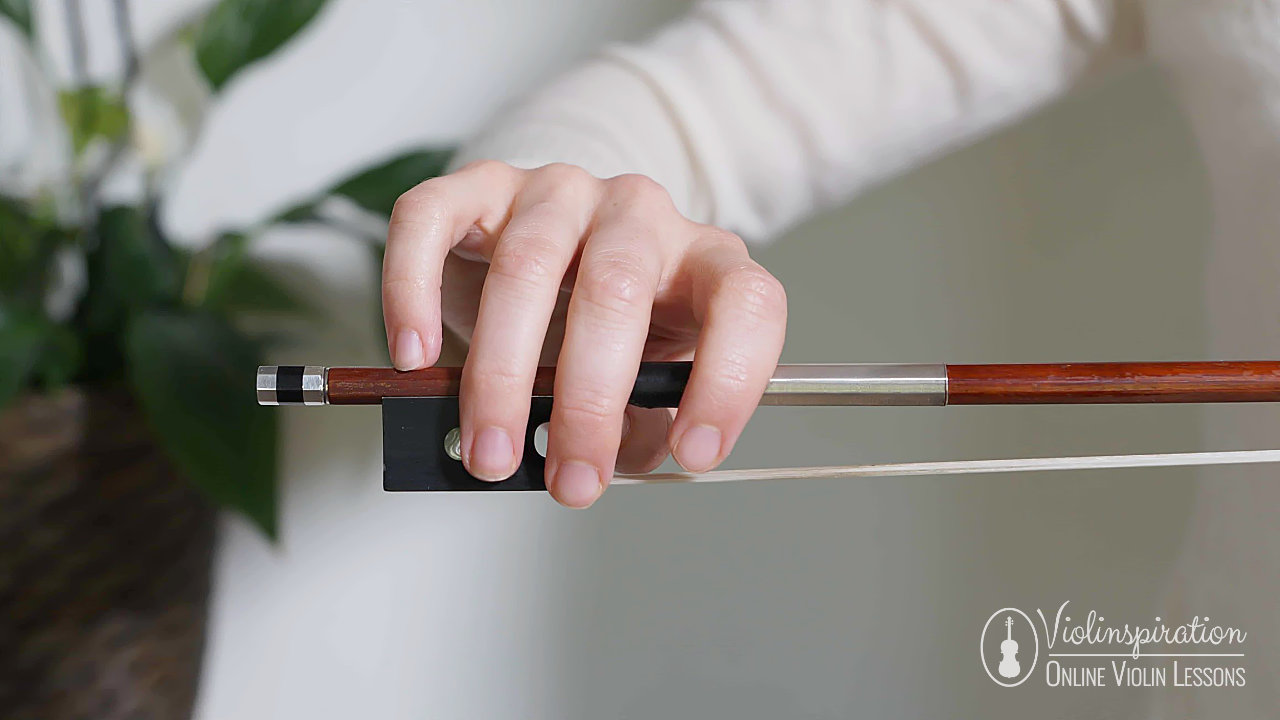
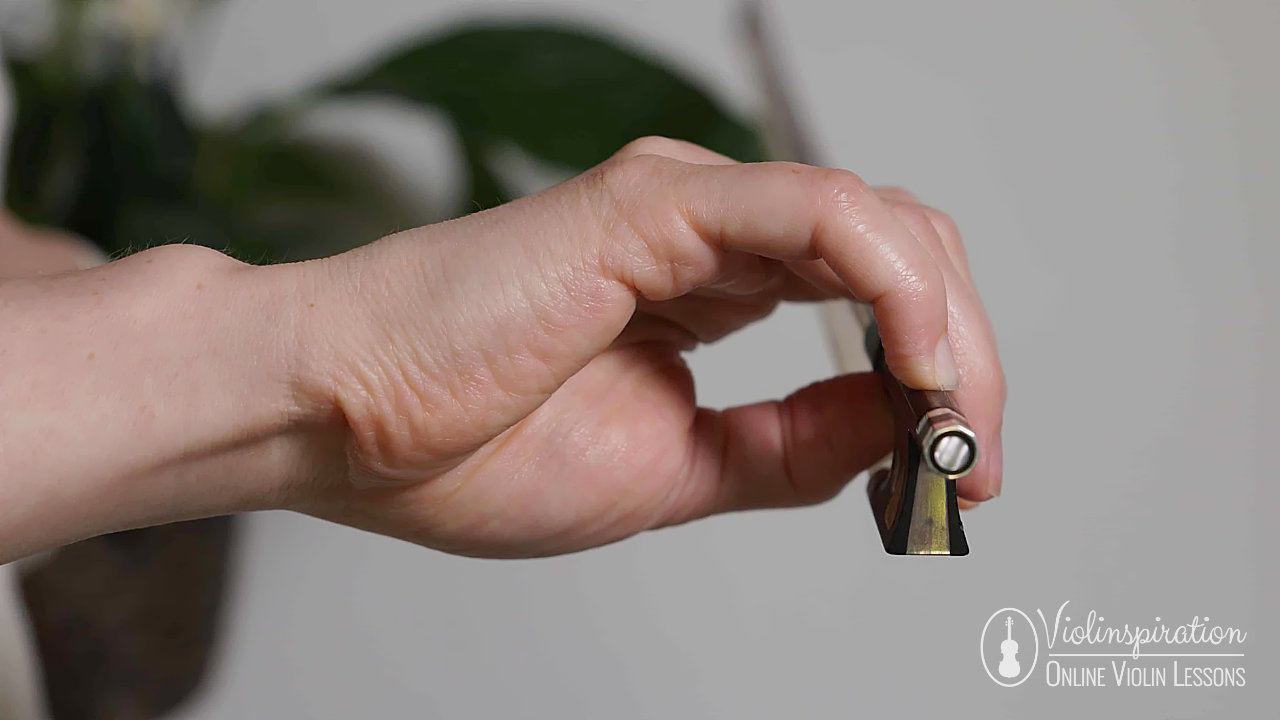
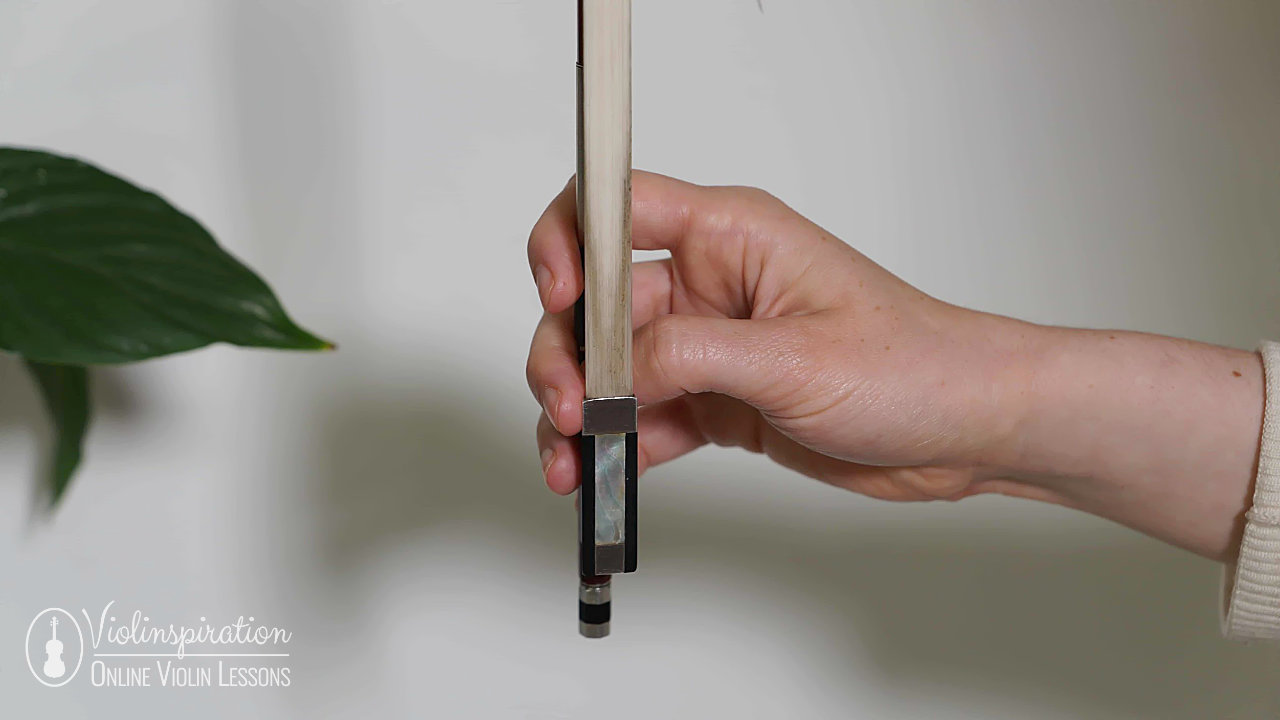
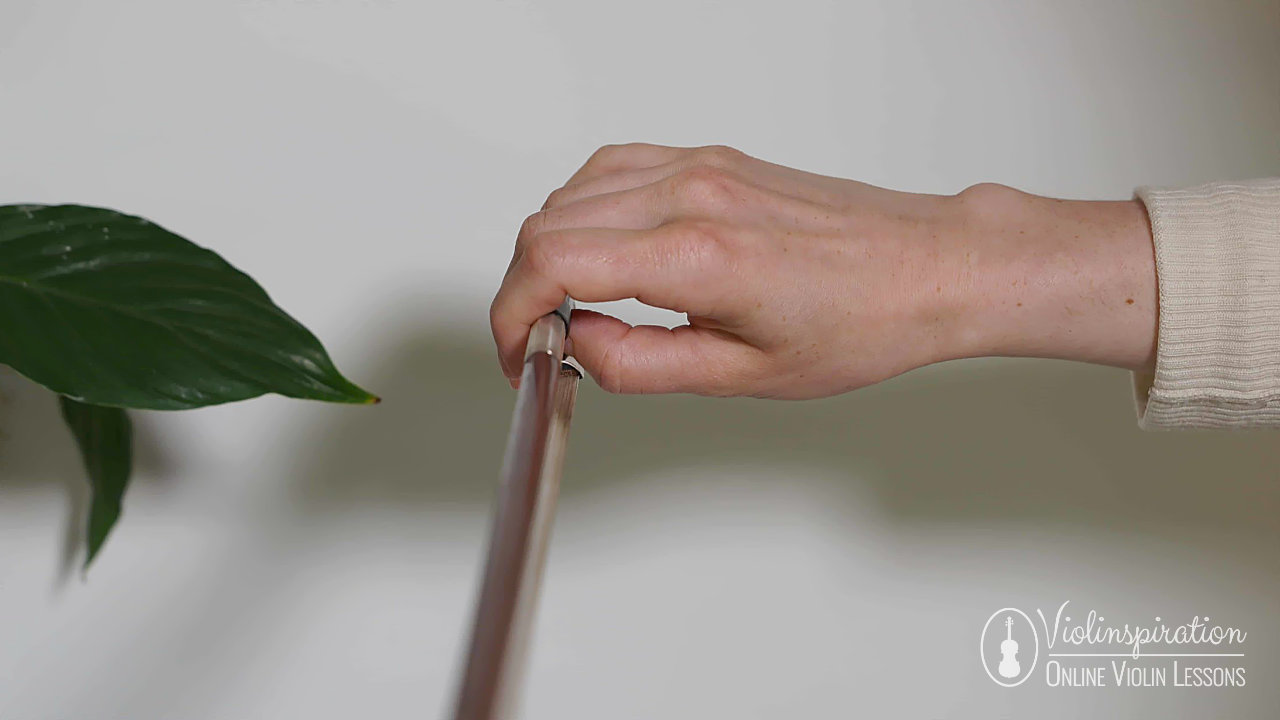
If you’re just starting to learn to play the violin and need in-depth instruction on how to do the Franco Belgium bow hold, make sure to read this blog post: How to Hold a Violin Bow: The 6 Steps to a Perfect Bow Hold with the Bunny Method inside!
This is the most frequently used hold but if you are curious to know what are other bow holds, check out my post: The Most Common Violin Bow Holds. There’s also a section for fiddle players!
Bowing Tips: How to Produce a Good Tone with Your Bow
There are four main things to consider to produce a lovely tone when bowing: bow speed, bow pressure, point of contact, and the direction of the bow stroke.
Let’s examine each of these aspects.
Compare the sound in the following video examples:
Download my free Contact Point Guide below to learn how to use different contact points:
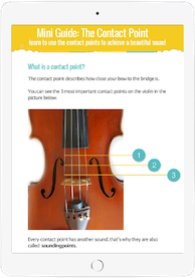
FREE Contact Point Guide
Improve Your Contact Points Technique
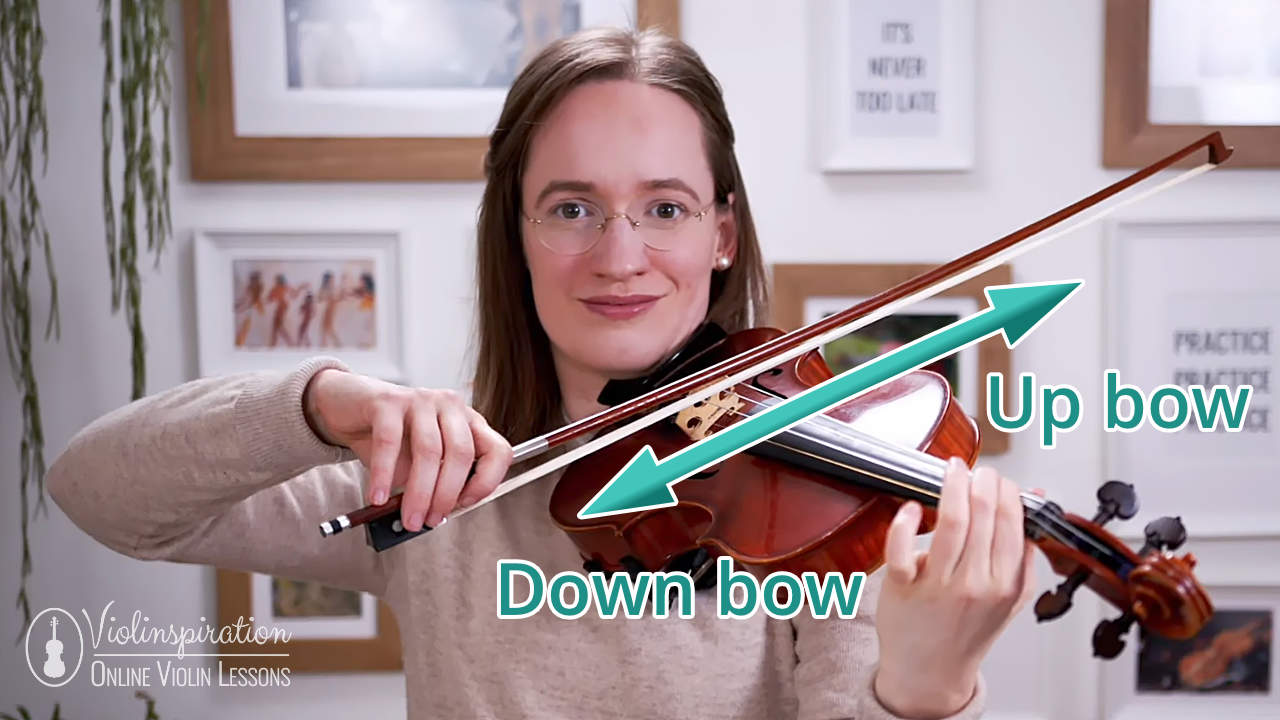
If you need some tips on how to bow straight, read my post How to Bow Straight on the Violin – a Beginner’s Guide.
As soon as you learn the correct bow hold and know what are the parameters of creating a good tone with your bow, the next step is to learn various bowing techniques.
Improve Your Violin Bowing With These Exercises
There are many exercises you can do that will improve your bowing technique. I recommend the following for my students. You may find them both useful and fun!
One-minute bow exercise ⏰
Try to draw a long and straight bow stroke.
- Begin at the frog and end at the tip of the bow.
- The trick is to time yourself and see if you can build up to making the bow stroke last a full minute before you reach the tip.
It doesn’t need to sound nice, most likely it won’t.
- Keep the equal pressure
- Bow parallel to the bridge
- Focus on your bow hold.
In this exercise, this is what is important. Not the tone.
When you’re able to bow for one minute, don’t stop! You can extend the time and try to bow even slower. My students at Julia’s Violin Academy were able to reach incredible records of 5’15” and 9’45”!
Seven elbow levels exercise 💪
Try to draw long even bow strokes on open strings in the following pattern:
- Start on the E string.
- Next, bow two strings, E and A, together.
- Move on and bow the open A string.
- Now bow both the A and D strings together.
- Following, bow the open D string.
- Then, bow the D and G strings together.
- Finally, bow the open G string.
Remember to repeat the exercise in reverse order!
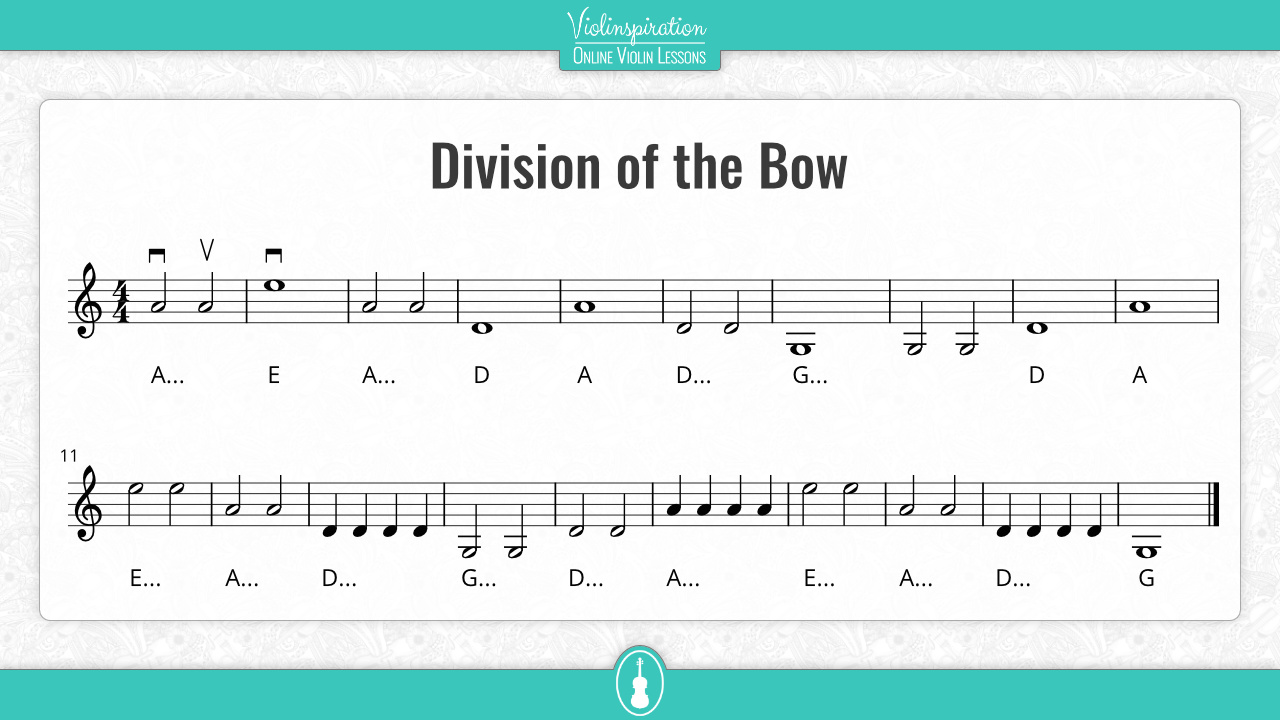
Do some mathematics 🤓 – divide the bow
When playing multiple notes on one bow stroke, calculate your bow division ahead of time, so you know exactly how much bow length to use for each note.
You can practice dividing the bow by playing this exercise:
Do two things at once 👯♀️
Practice different bowing techniques while you play your scales.
Start with two-note slurs and play them evenly. Then practice three-note slurs. Continue with four or even more, and see for yourself how many notes you play on one bow stroke!
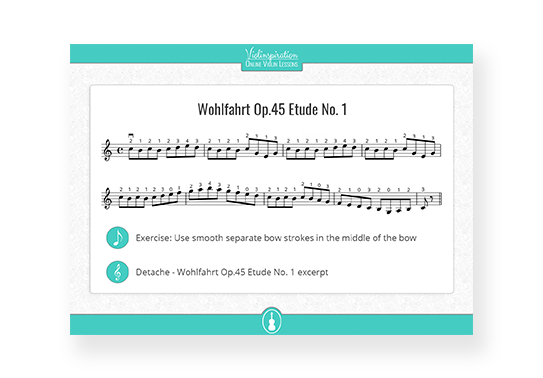
Detache – Wohlfahrt Op.45 Etude No. 1 excerpt
Detache Bowing Exercise [PDF]
Practice detache bowing
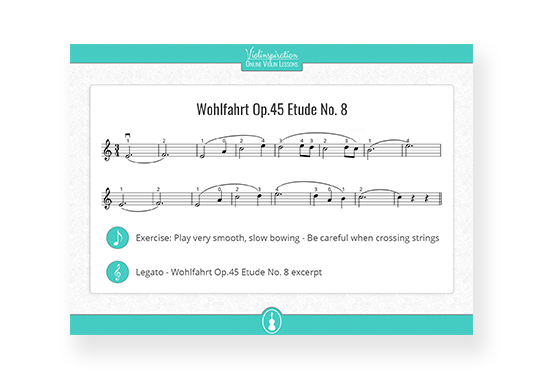
Legato – Wohlfahrt Op.45 Etude No. 8 excerpt
Legato Bowing Exercise [PDF]
Practice legato bowing
Final Note
The violin bow is to a violinist like a pen to a writer or a paintbrush to a painter. It is the tool we use to create art, tell a story through sound, and paint a musical picture through color and tone.
It is more than worth the effort in your violin journey to try and perfect your bowing technique. I hope that this post with my best bowing tips helped you improve!
And, if you like this post and my tips, you may also like:
- Violin Etudes in Order of Difficulty – A Complete List so you can get a lot of resources to practice
- 10 Best Violin Bowing Exercises for Beginners including warm-up exercises to do without your violin
- Martelé Violin Bow Stroke – Easy Guide which is a great next violin bowing technique to add to your arsenal!
